Three Ways to Force Spring Bulbs
How to Force Bulbs Indoors & Add Spring Cheer

Forcing spring bulbs is a really simple process, and the results are so beautiful — bringing color and cheer inside long before flowers begin to emerge outside! As I write this there is a thick blanket of snow on the ground outside my window and a cloudy, chilly sky, but I have some containers of bulbs just starting to grow, and I know I’ll have beautiful blooms in just a few weeks which makes me so happy!

What is “forcing bulbs” anyway?
Forcing is just a horticultural term for “tricking bulbs into thinking it is spring and blooming early.” Honestly, that’s all you are doing. When you are forcing bulbs, you do treat them a little differently — but it all about the deception. With the right conditions, you can have daffodils while the snow flies and tulips when it is below zero outside. You just have to create the right conditions for them to bloom. Forcing bulbs is part science and part art. It can be imprecise and hard to time them just right (for Valentine’s Day, for example), but the end results bring smiles no matter when the blooms actually come.
How do you force bulbs?
There are three primary methods for forcing bulbs depending on what kind of bulb you are forcing. Hyacinths will force with just some water, for example, but tulips won’t. The soil method will work for almost any kind of bulb, but the gravel and water methods only work for some bulbs.
What kind of bulbs can you force?
So many! But there’s a caveat: with most bulbs, you need to either purchase pre-chilled bulbs or chill them yourself. The exception is Amaryllis which does not require chilling. For this tutorial, I’m only talking about pre-chilled bulbs. Generally, these are bulbs that the sellers didn’t sell in the fall, and they have been stored in cold conditions for an adequate dormant time period.
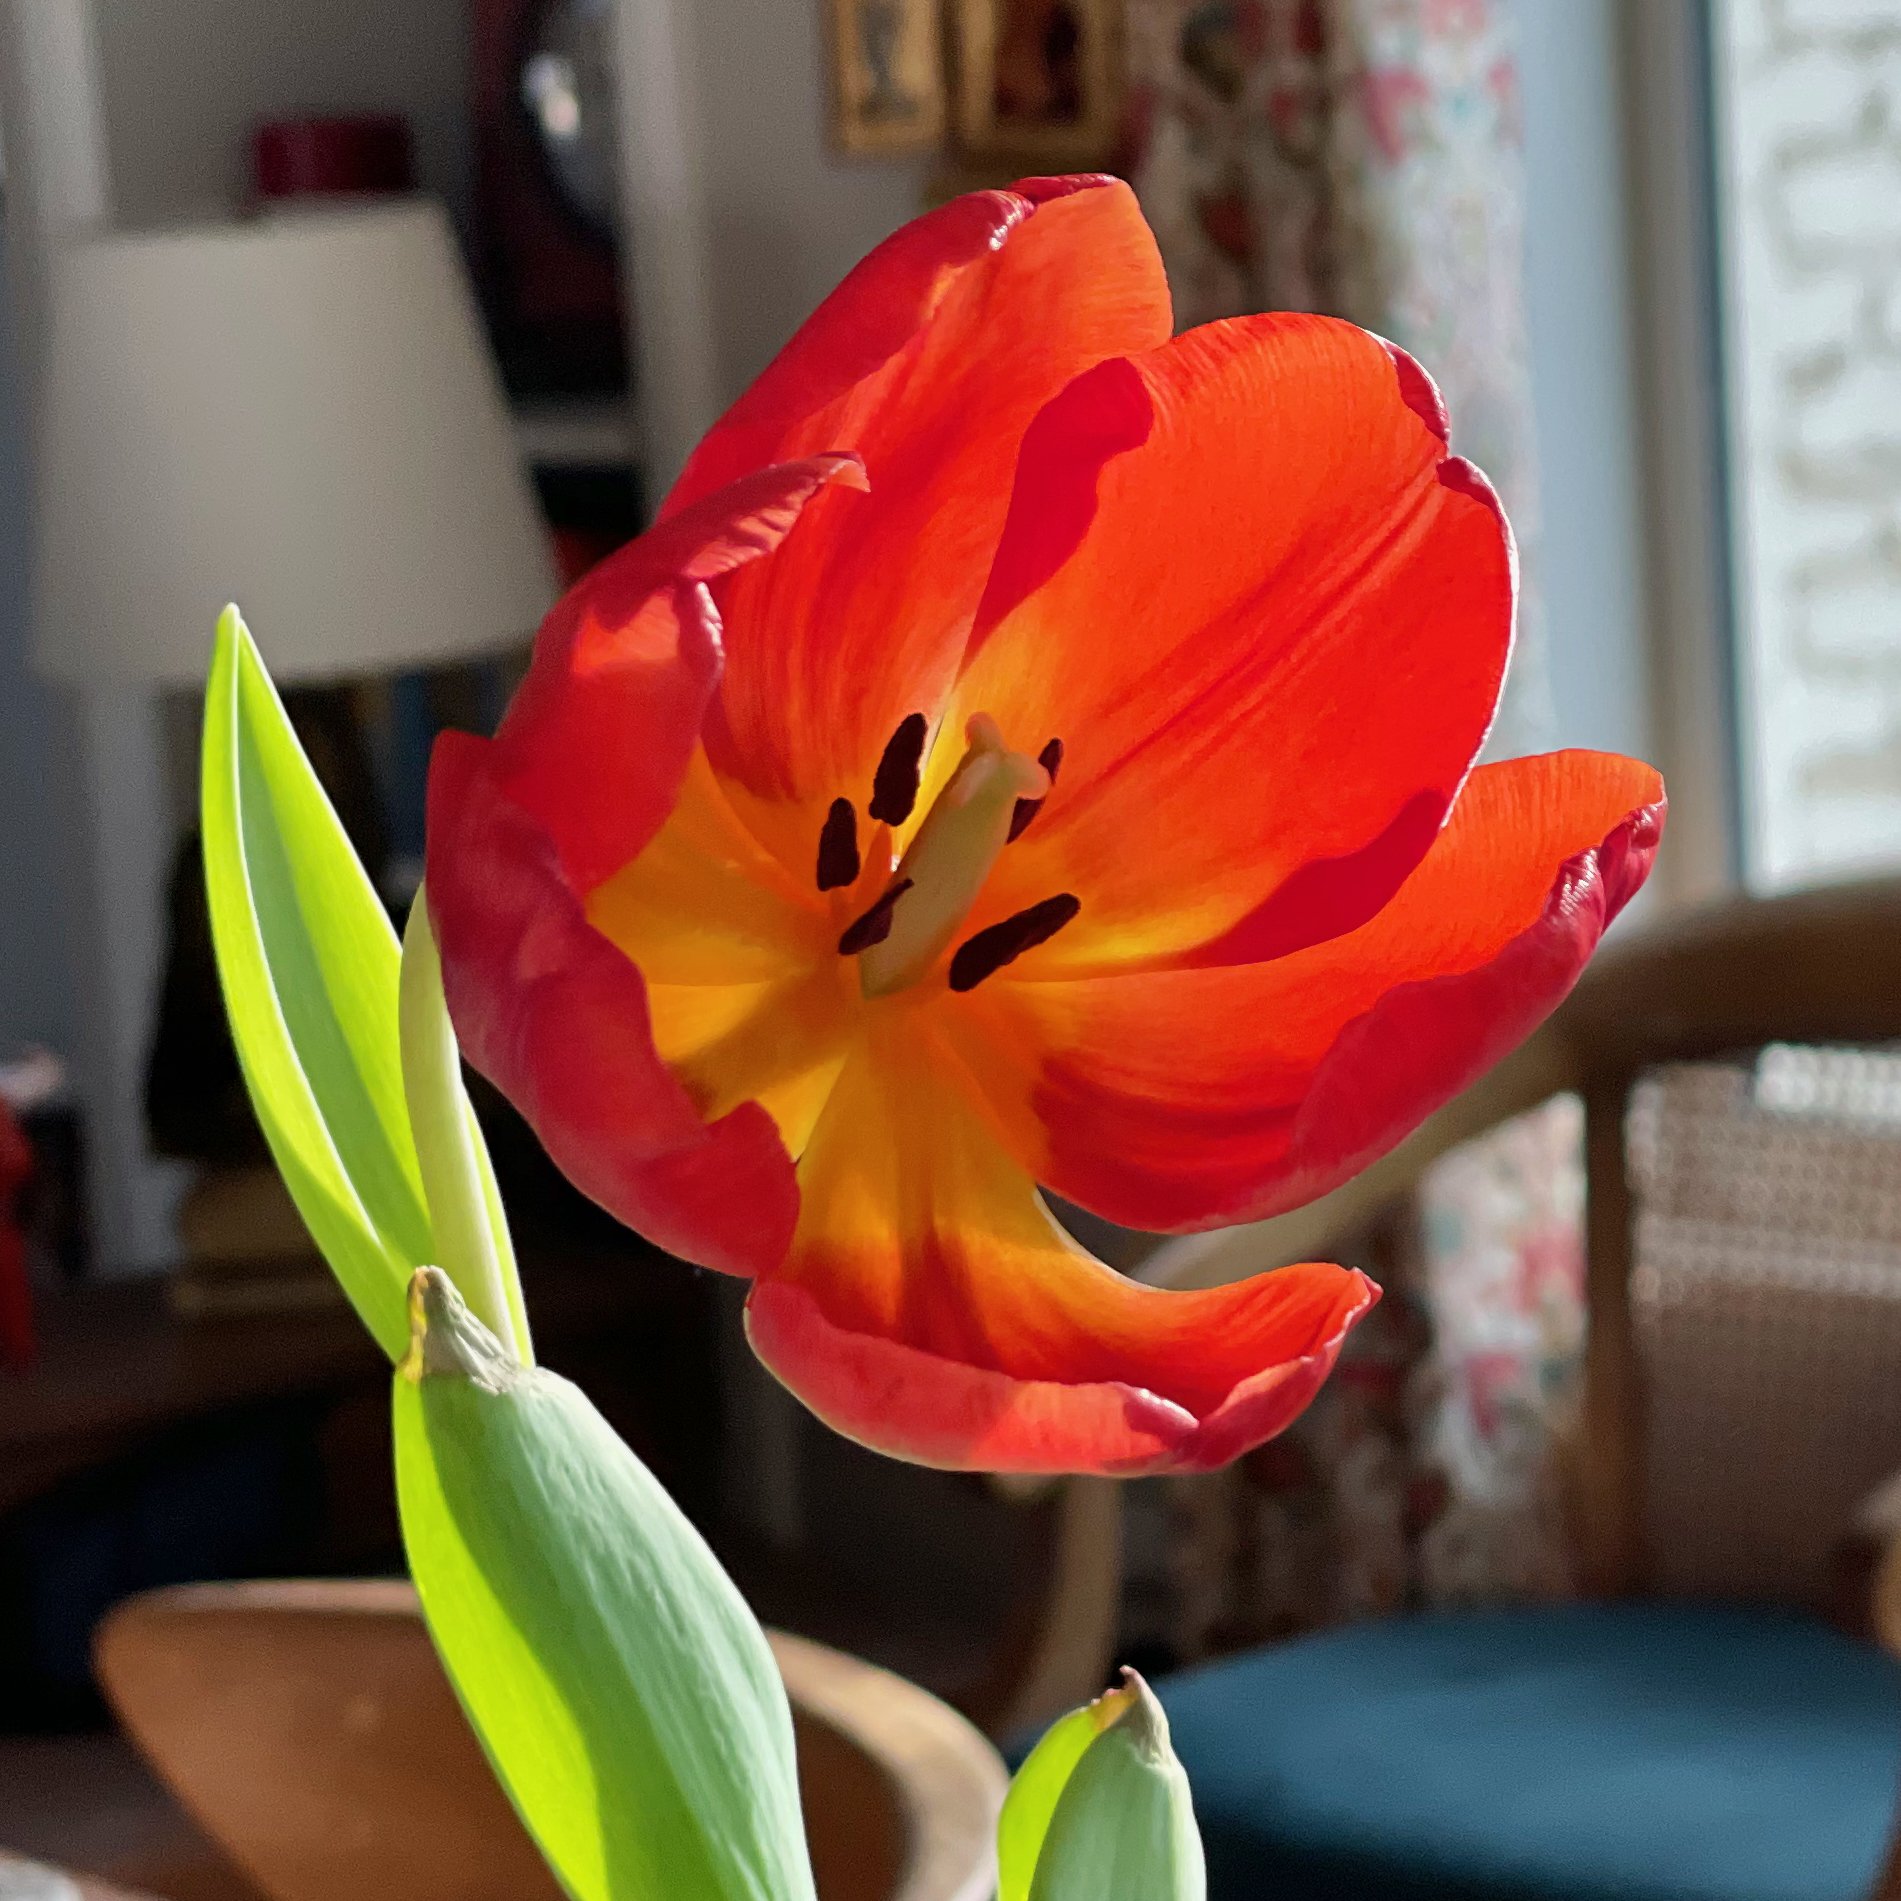
My favorite bulbs to force include daffodils (Narcissus) and hyacinths — super easy! And tulips, too. But you can also force Crocus, Iris reticulata, Lily of the Valley, and Crocus.
A note: I generally recommend forcing only one type of bulb in each pot. Different bulbs have different blooming times, and you might be disappointed when only half of your container is glorious at one time. But you also might get lucky — depending on the varieties. It’s worth experimenting if you’re not fussy. And keep notes on what works!

Why do bulbs need to be chilled?
With the exception of Amaryllis and other tropical bulbs, most plants that grow from bulbs require a dormancy period before they can grow and bloom again. Think about a daffodil (Narcissus) — it grows at a tremendous rate in early spring, blooms, and then it stores up energy in the bulb again over a period of weeks or months before it’s foliage dies back and it rests until the following spring. The bulb is actually a bank of energy — stored as carbohydrates — for the next growing season.
Most of those bulbs not only require a period of inactivity, but also a period of cold which helps trigger growth in the spring. When a daffodil is planted out in the garden, that chilling happens in the ground. That’s why people who grow daffodils in warmer areas have to dig them up every year or plant new ones. If it doesn’t get cold enough, the bulb won’t bloom the next year. So if my mother in Texas wants daffodils, she has to buy pre-chilled bulbs each year, or store her bulbs in a chiller for 15-17 weeks to simulate winter.
If you are going to chill bulbs yourself, refer to this great article about forcing which includes chilling times. I don’t have a good place to keep bulbs, so I buy pre-chilled bulbs for forcing.
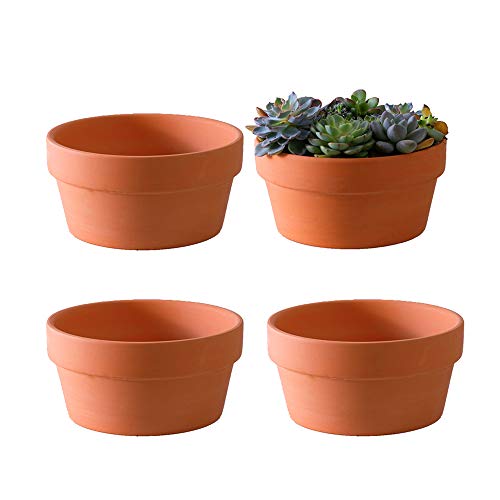
What kind of container should I use to force bulbs?
That depends on the method you’ll be using. But you don’t have to use anything fancy. No matter which method you use, your container also doesn’t have to be very deep. If you are using the soil method, you’ll want something 6-8” deep. But for the other methods of forcing, there are a range of containers which will work. The traditional pot for forced bulbs is called a bulb pan. They are usually wide and shallow — perfect for packing in a lot of bulbs together. But I have used glass vases, bowls, and other pots, too. Hyacinth bulbs have traditionally been forced in specially-shaped glass vases. They are beautiful, but there are lots of other vessels you can use, too.


What do I do with the bulbs when they are done blooming?
You certainly can plant them in your garden. However, you’ll have mixed results. Generally, tulips won’t reliably bloom again. Some will, but the flowers won’t be as big or as striking as their first bloom. If you have an area where you don’t need a focal point, but a pop of color each spring would be nice, put tulip bulbs there and see what happens. Daffodils and hyacinths won’t bloom again the next year, but they may in subsequent years, so tuck them in the earth when they are done blooming and see what happens.
If you are going to plant them out, wait until they are done blooming. If you use the soil method, wait until the foliage has yellowed and is dying back. Then cut the foliage off and plant the bulb into the ground.
Otherwise compost your bulbs and purchase new ones next year.
What else should I know?
Keep a record of what kinds you plant, what methods you use, and which are most successful. Forcing bulbs can be such fun, and building on that success year to year increases your joy in the process, too! I use Garden Notes for tracking all of my gardening — including the bulbs that I force.
Seriously, this is gardening at its simplest. So let’s get started!

DESCRIPTION:
- 30 weekly spreads with places for photographs, sketches, lists, and planning in any number of ways
- 6 monthly spreads designed for planning or for reflections
- Blank and dotted pages for notes and planning, sketches and photographs
- Printed on 70# paper – thick paper with a good tooth that holds ink well
AVAILABLE IN TWO SIZES:
- Classic (approx. 110 mm x 210 mm or 4.25 in x 8.25 in | same as the Traveler’s Notebook Regular)
- Wide (approx. 127 mm x 210 mm or 5 in x 8.25 in | an A5)
- Notebooks are made and trimmed by hand. Measurements are approximate.
Like all of the Owl & Ember notebooks, Garden Notes is designed to fit in a traveler’s notebook cover and is available in two common TN sizes, but it works independently as well.
MORE ABOUT GARDEN NOTES:
Garden Notes is a simple notebook: a place to make notes about your garden. It looks both forward and backward: both journal and planner. It’s a place to mark the months and the sowing which lies ahead as well as to reflect on the blossoms and harvests as the weeks of your growing season slip past. As you garden, year upon year, it also becomes a record. What flourished? What perished? When did the tulips emerge? The carrots ripen? The dahlias sing?
Whether you are a beginning gardener, a small flower farmer, or a dabbler with pots on a balcony, Garden Notes gives you a place to noodle about your plot of earth. With blank space for sketching, spots for list-making, lines and dots, and lots of freedom, this notebook leaves room for making it your own while providing just enough suggestions to help you get started, too.Garden Notes is the perfect gardening journal – created by Angela, a passionate gardener, and designed by Holly. In creating this journal, Angela looked at the scribbled notes she keeps about her own garden – pasted into a not-perfect journal. She considered the notes she and other gardeners want to keep:
- What is planted where?
- When was it planted?
- When was it harvested?
- How well did it do?
- What should we change next year?
Those big questions are particularly important when a garden is buried in snow, but the gardener like Angela is ordering seeds and plotting for spring. Frustrated by gardening journals that just didn’t quite work, she created her own. The result is Garden Notes – a beautiful, simple notebook with room for everything.
LET'S BE FRIENDS!
Check out our shop:
INSTAGRAM: @owlandember / @midmodernmama and @messymamaholly
FACEBOOK: facebook.com/owlandember
A NOTE ABOUT RISOGRAPH PRINTING:
Garden Notes is produced using a Japanese Risograph printing duplicator. Imagine an old-fashioned printing press and a fancy copy machine had a baby -- that’s the Risograph. Each color of soy-based ink is laid down separately -- like a printing press -- on rich, toothy paper. Like screen printing, each page must dry completely before the next color is applied -- a process which takes days.The soy inks are applied like paint, and occasionally some smudging may occur. This is to be expected. And as with any handmade product, imperfections are part of the charm! The result is a beautifully printed, handmade product with rich colors and an artistic feel.Owl and Ember produces each printed product in small batch runs at our headquarters in Menlo Park, California. All Owl and Ember products are printed on FSC Certified papers.If for any reason, you are dissatisfied with your purchase, please contact us so that we can make it right.
ABOUT THE CREATORS:
Angela K. Nickerson (@midmodernmama), author, and Holly Kennedy (@messymamaholly), designer, both love office supplies, planners, stickers, and creative living. They have been producing The Nice List, their first journal product, since 2016 and have been collaborating on projects big and small for almost 15 years. Together they are @owlandember and owlandember.com.
All designs © Angela K. Nickerson and Holly Kennedy, 2015-2025
Reproduction rights do not transfer with sale of items.

How to Force Bulbs in Soil
This is the go-to method for all bulbs including tulips, hyacinth, crocus, daffodils, and even amaryllis.

How to Force Bulbs in Gravel
The gravel method of forcing works best for daffodils and hyacinth bulbs. It’s really easy and beautiful.
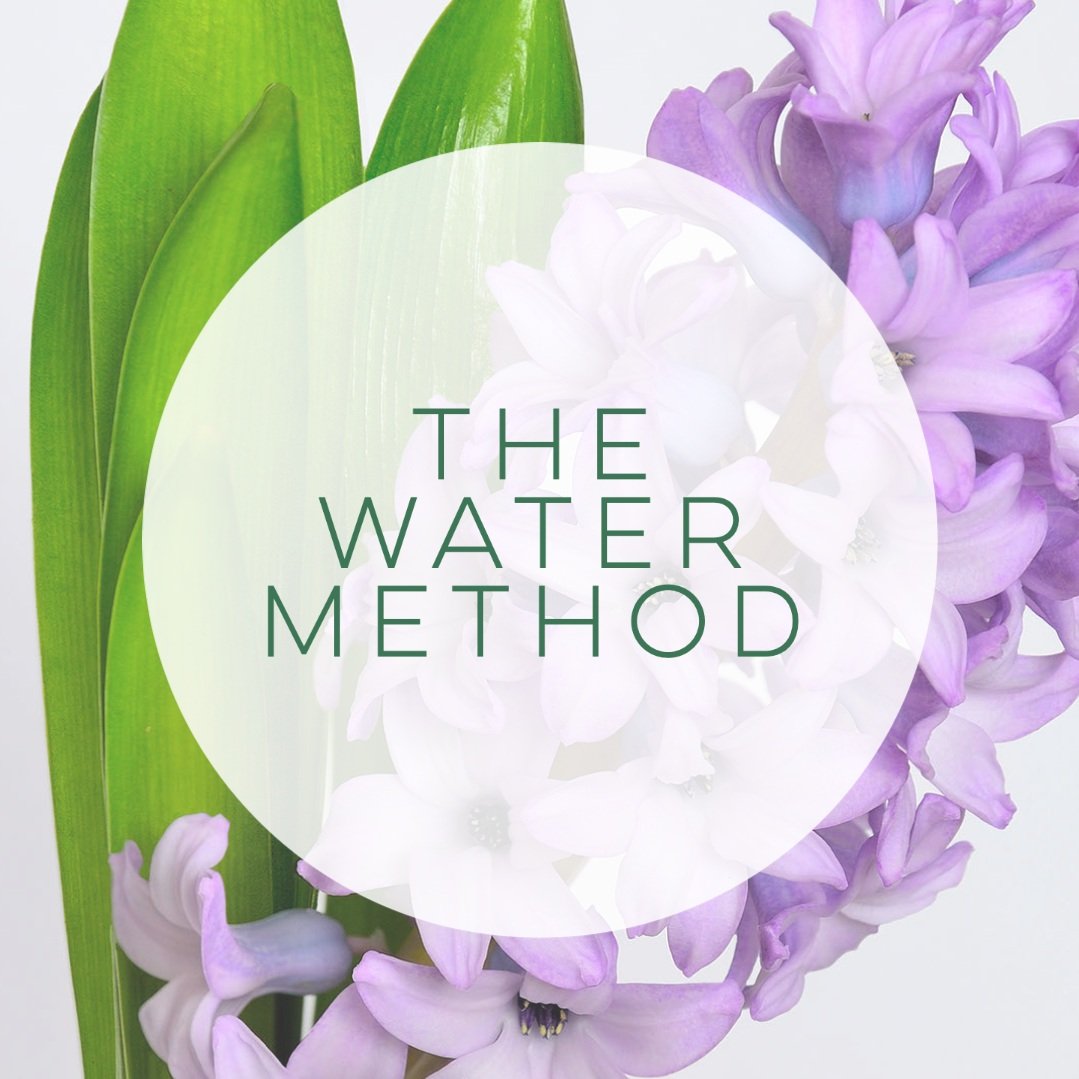
How to Force Bulbs in Water
This method works best for hyacinth bulbs which are traditionally forced with water.
Pin it!

Forcing bulbs indoors in a vase or a pot is such an easy way to decorate for spring! This tutorial shows you how to force bulbs inside using three basic methods: forcing bulbs in soil, forcing bulbs with water, and forcing bulbs in gravel. She gives you all of the instructions for how to foce tulip bulbs, hyacinth bulbs, daffodils, and amaryllis. Forcing bulbs is easy and fun for any gardener!