

3 Easy Ways to Start Seeds That Need Cold Stratification
Learn how to cold stratify seeds with three fall and winter sowing methods.
The Question
Dear Angela, I am seeing all of this stuff about sowing seeds for native plants in the fall. But that just seems so wrong to me. Shouldn’t we wait until spring? How are those seedlings going to survive over winter? Won’t animals eat them all?
This is such a good question! And without knowing it you are actually asking about cold stratification.
It can feel really wrong to plant seeds in the fall – especially for those of us in very cold climates. But that’s because we tend to think about sowing seeds in terms of annuals and vegetables – plants that would all die back before the winter comes.
Tomatoes, for example, are great to grow from seed. We start them in the spring – often inside because it is still too cold for them to germinate outside. And we pamper them until it is warm enough to plant them out.
And that is the gardening pattern that our minds tend to picture.
But that is only one way to sow seeds. And plants have evolved seed distribution and germination habits specific to the areas where those plants natively grow.
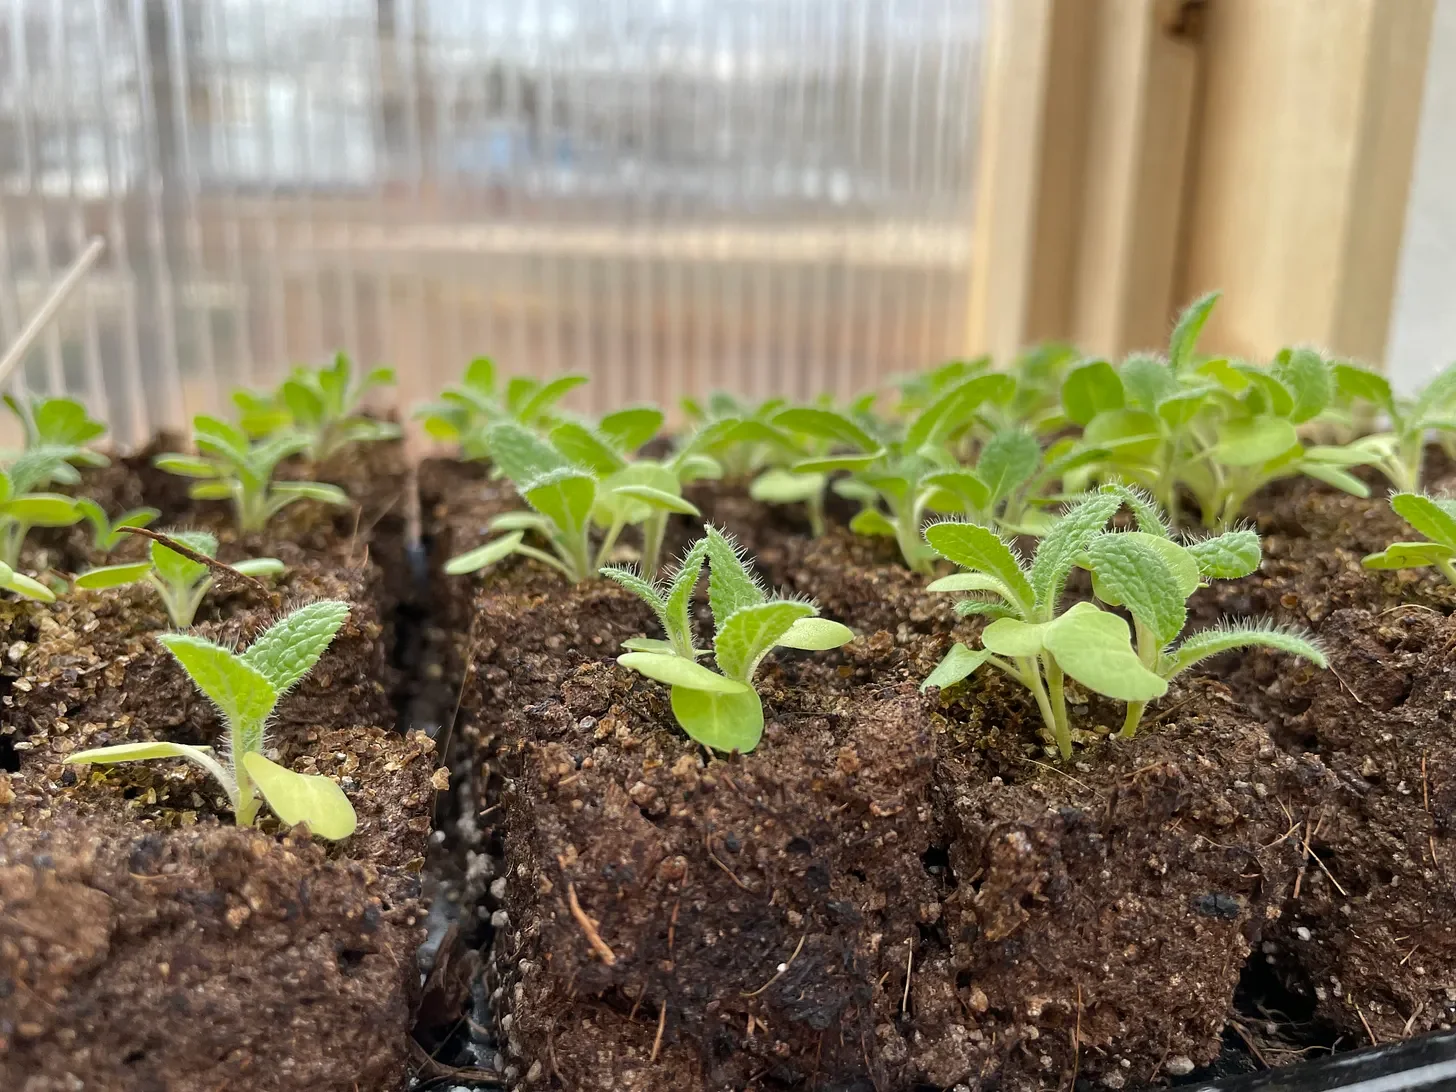
This is what we tend to think of when we think seed starting. But this is just one way, and it only works for seeds that DON’T need cold stratification.
What is cold stratification?
In much of North America, for example, seeds are produced by annuals and perennials in the fall. Then they fall to the ground or are distributed by the wind or by animals. But if they sprout in the fall, the plants won’t be mature enough to survive the cold of winter.
So they have a built-in mechanism that keeps them from germinating too soon: a thick seedcoat. The seedcoat is the outside coating of the seed. And for many native North American plants it is very thick and requires a period of cold, wet conditions to break down enough that the seed can germinate. In fact, there are some which need multiple years, and then will suddenly germinate!
The seed mechanism has evolved to NEED that cold, wet winter, and if we don’t provide winter, well, those seeds won’t sprout.
Last winter was so warm and dry here that the seeds I sowed directly didn’t germinate at all. The conditions were too temperate and far too dry. But many of those seeds may still be in the soil. If we have a better winter this year, they may germinate in the spring. That’s part of the evolutionary adaptation – the seeds can wait for the right conditions.
There are ways to do this artificially – in your refrigerator. But honestly the easiest methods involve planting those seeds outside and allowing Mother Nature to do most of the work.
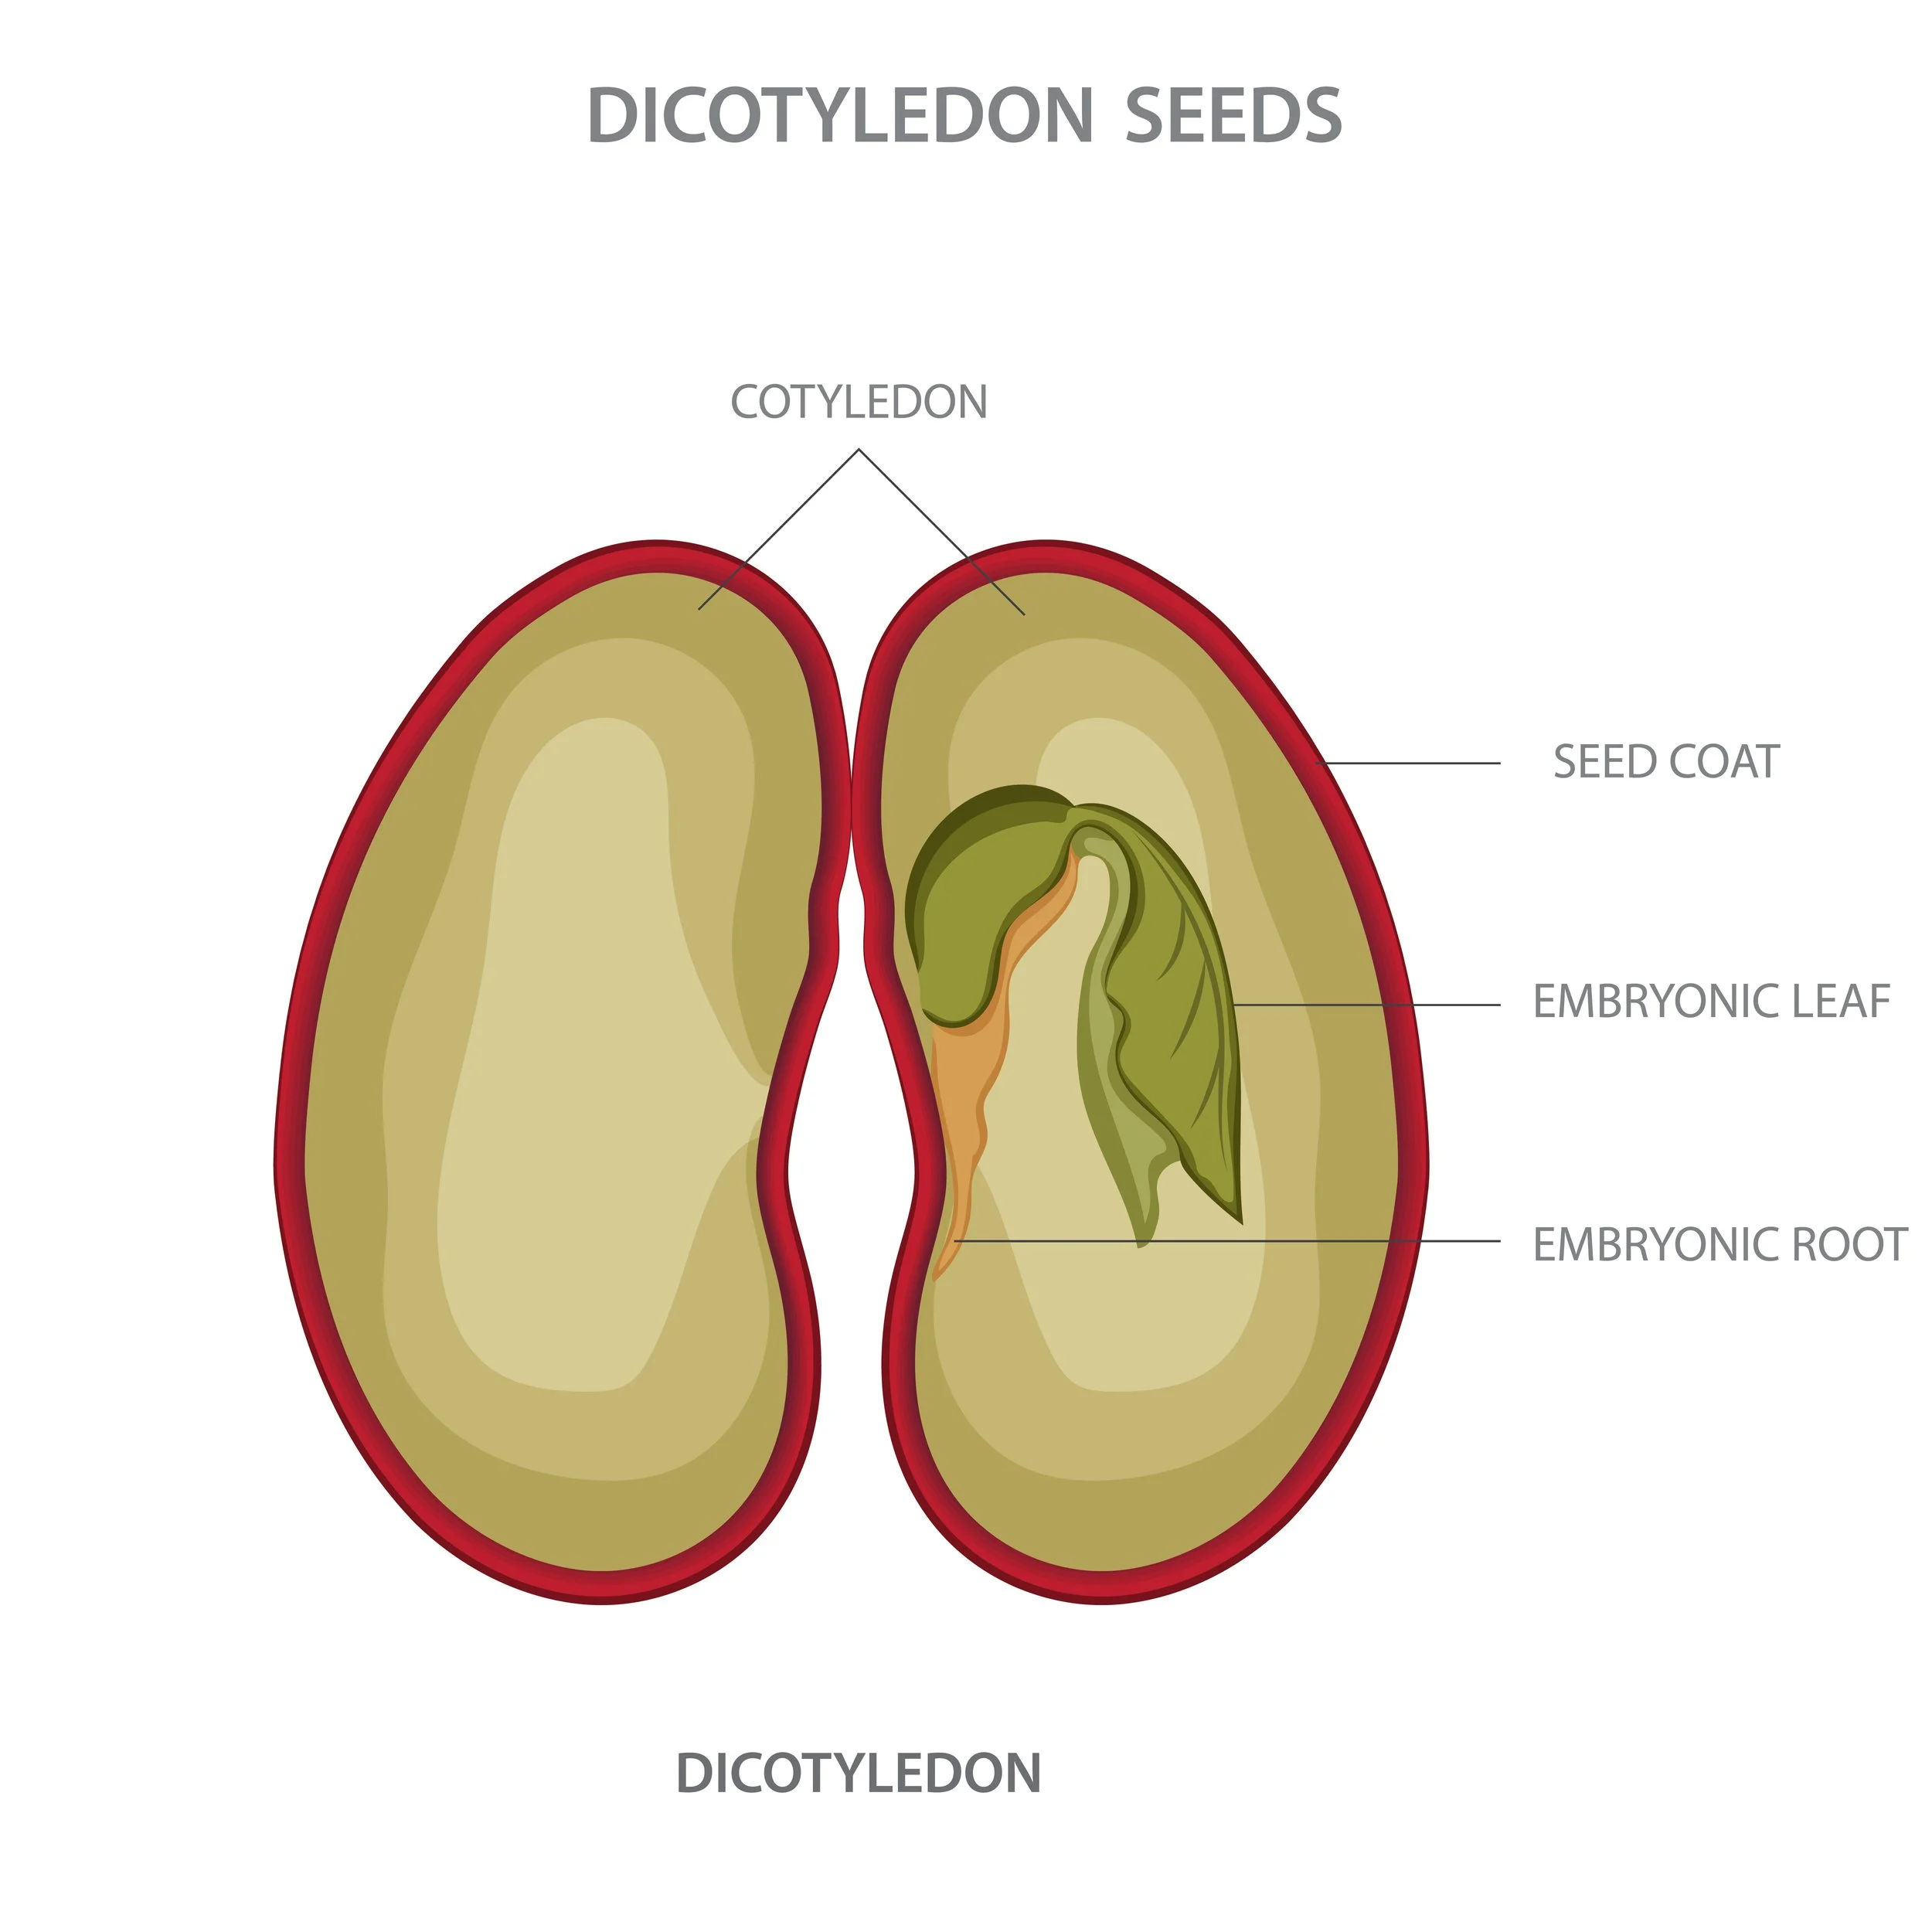
This is a bean seed, but it shows the basic internal anatomy of a seed. The seed coat varies greatly from species to species. | Photo ©️ Nandalal | Adobe Stock
Cold stratification: the process of exposing seeds to cold and moist conditions to break their dormancy period and trigger germination
Direct Sowing Seeds Outside in the Fall
The simplest way to do this is to plant the seeds in the fall. But, yes, as you suspect, you are trusting those seeds outside in the elements where you will have very little control for months at a time.
There are a few strategies you can use to ensure that you get good germination:
Wait to scatter seeds until the soil is cold but not frozen.
Step on the seeds to ensure good contact with the soil.
Only bury the seeds as deep as they are tall. Too deep and they won’t sprout. Too shallow and they are more likely to become snacks.
Sow lots of seeds. Some may become snacks for animals, but abundance means some will thrive, too.
I often wait until the hours before our second or third snow to scatter seeds. Or even early January, if I haven’t done it yet. In a good year, that’s plenty of time yet for my seeds to germinate. But if the ground is frozen, burying them gets a little tricky. You can just sprinkle some potting mix on top of the seeds if the ground is truly frozen.
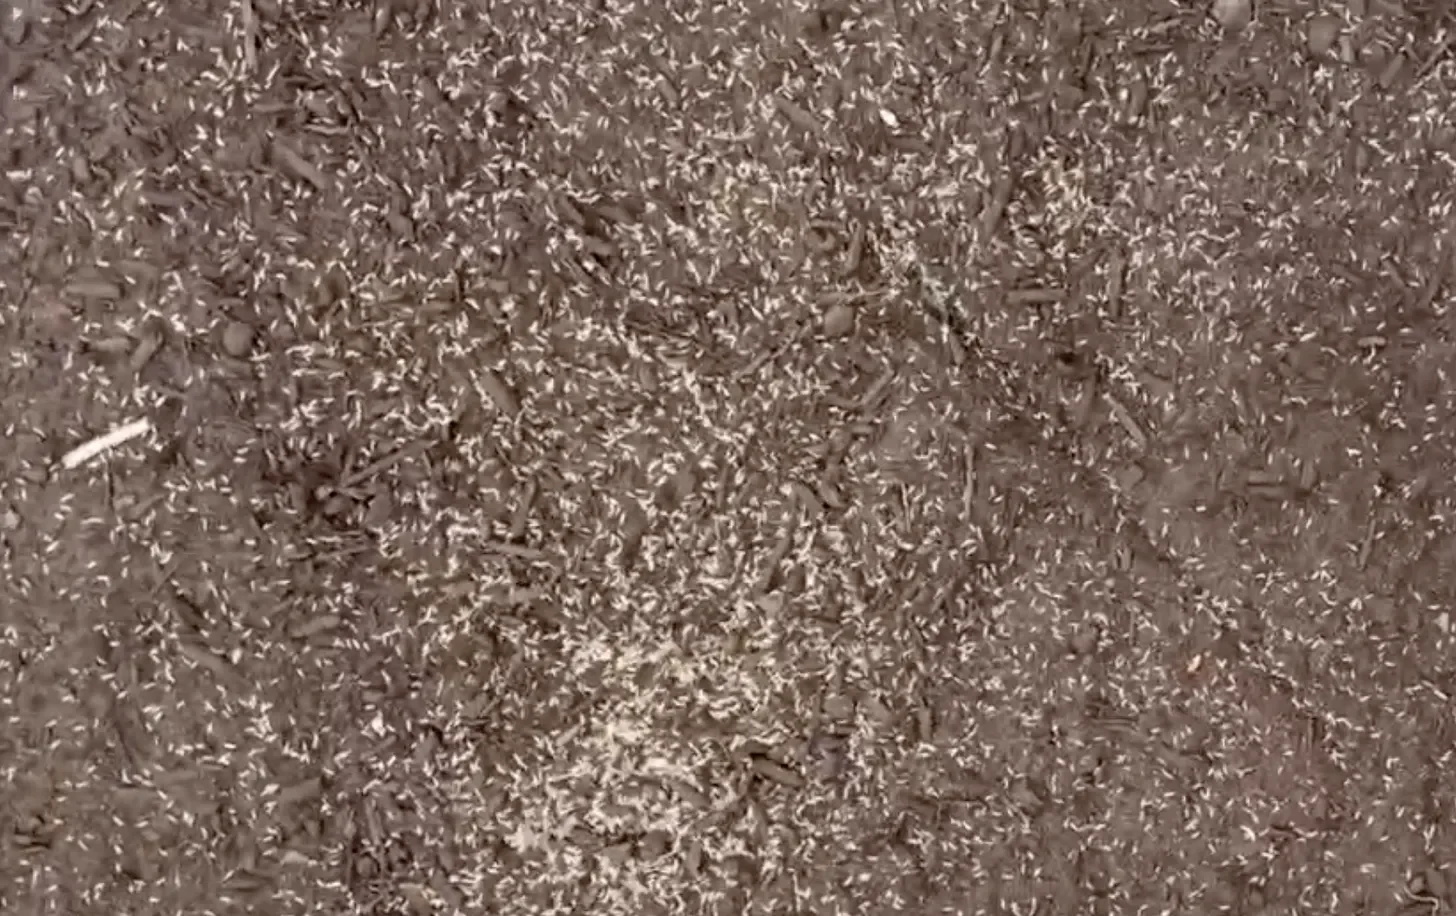
Seeds just sprinkled on bare soil can be an invitation to creatures great and small!
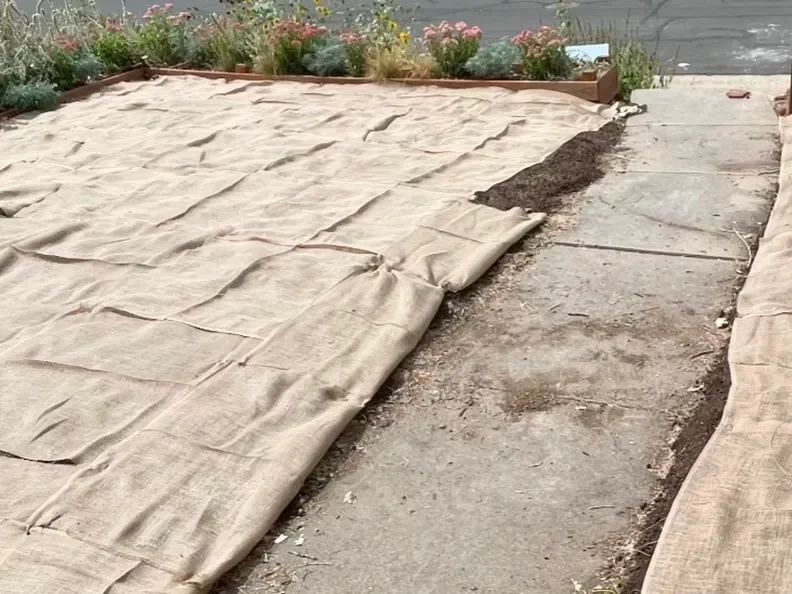
Tip: if you are spreading seeds in a larger area, you can cover the area with a single layer of burlap held down by landscaping staples. This will keep squirrels and other creatures from uncovering your seeds, but it still allows moisture to penetrate and sunlight to reach the soil. Remove the burlap in the spring (or don’t — it really won’t matter), and watch your seedlings emerge.
Milk Jug Winter Sowing Method
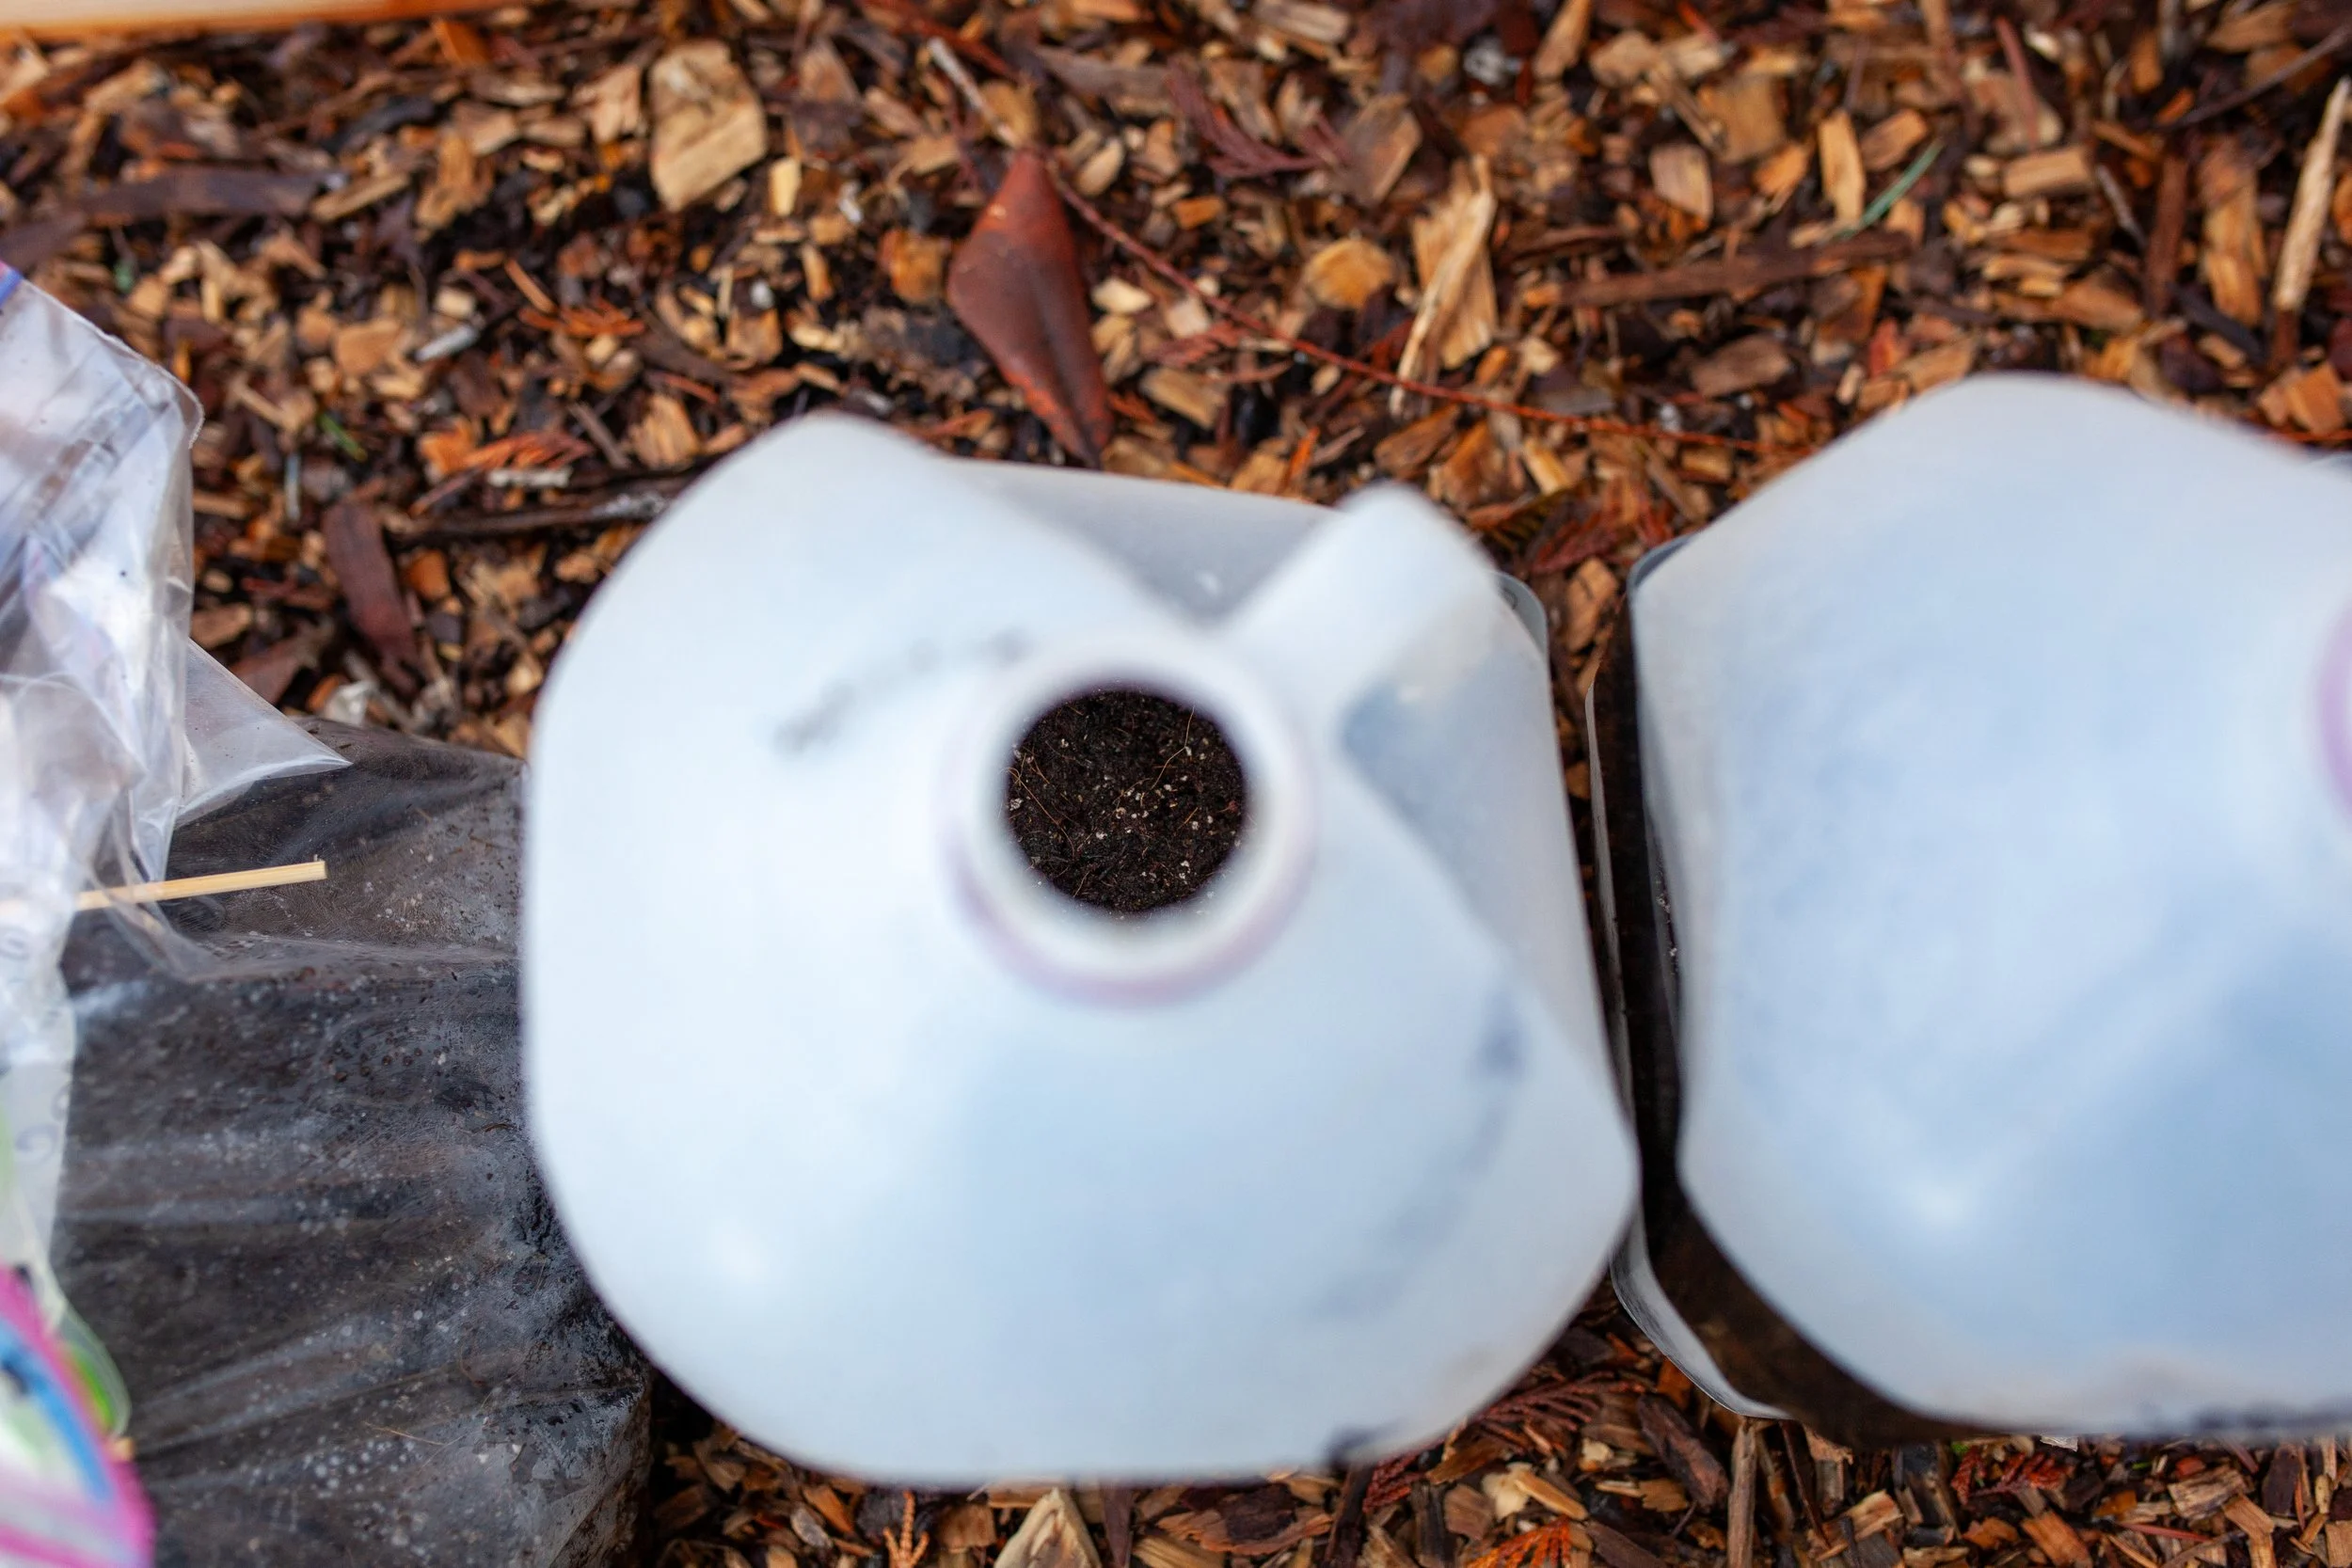
Using milk jugs and other plastic containers can be a great way to start seeds over winter with very little effort. | Photo ©️ AshleyBelle | Adobe Stock
Step-by-Step Instructions
Prepare the container: Clean a translucent gallon milk jug and remove the cap. Poke 4 to 6 drainage holes in the bottom. Cut the jug horizontally around the middle, leaving a 1-to-2-inch hinge near the handle so the top and bottom stay attached.
Add soil: Fill the bottom half with 3 to 4 inches of moist, potting mix (do not use heavy garden soil).
Sow the seeds: Scatter or space your native seeds on the soil surface. Lightly cover them with soil or press them down based on seed packet depth instructions.
Label: Write the plant name clearly on both the inside and outside of the jug using a weatherproof permanent marker.
Seal and vent: Close the top of the jug and wrap the cut seam securely with clear packing tape or duct tape. Leave the cap off so rain and snow can enter and naturally water the seeds.
Place outside: Set the jugs in a sunny, outdoor spot (like a southeast-facing location) where they are exposed to winter weather, freeze-thaw cycles, and natural precipitation.
Monitor moisture: check your jugs every few weeks. If they are dry, water a bit.
Spring Care and Transplanting
Monitor moisture: Check the jugs periodically. If the soil looks or feels dry, water gently through the top or bottom-water the jug.
Vent as it warms: When spring temperatures rise, watch for condensation or overheating; you can flip back or prop open the lid on warm days.
Transplant: Once the seedlings develop 2 to 3 true leaves (aside from the initial cotyledon leaves), gently separate or transplant them into your garden beds.
With this method you have a little more time to get things ready – especially if you live in a very cold place. Seeds can be winter-sown in January or February with success – even if your ground has frozen by then.
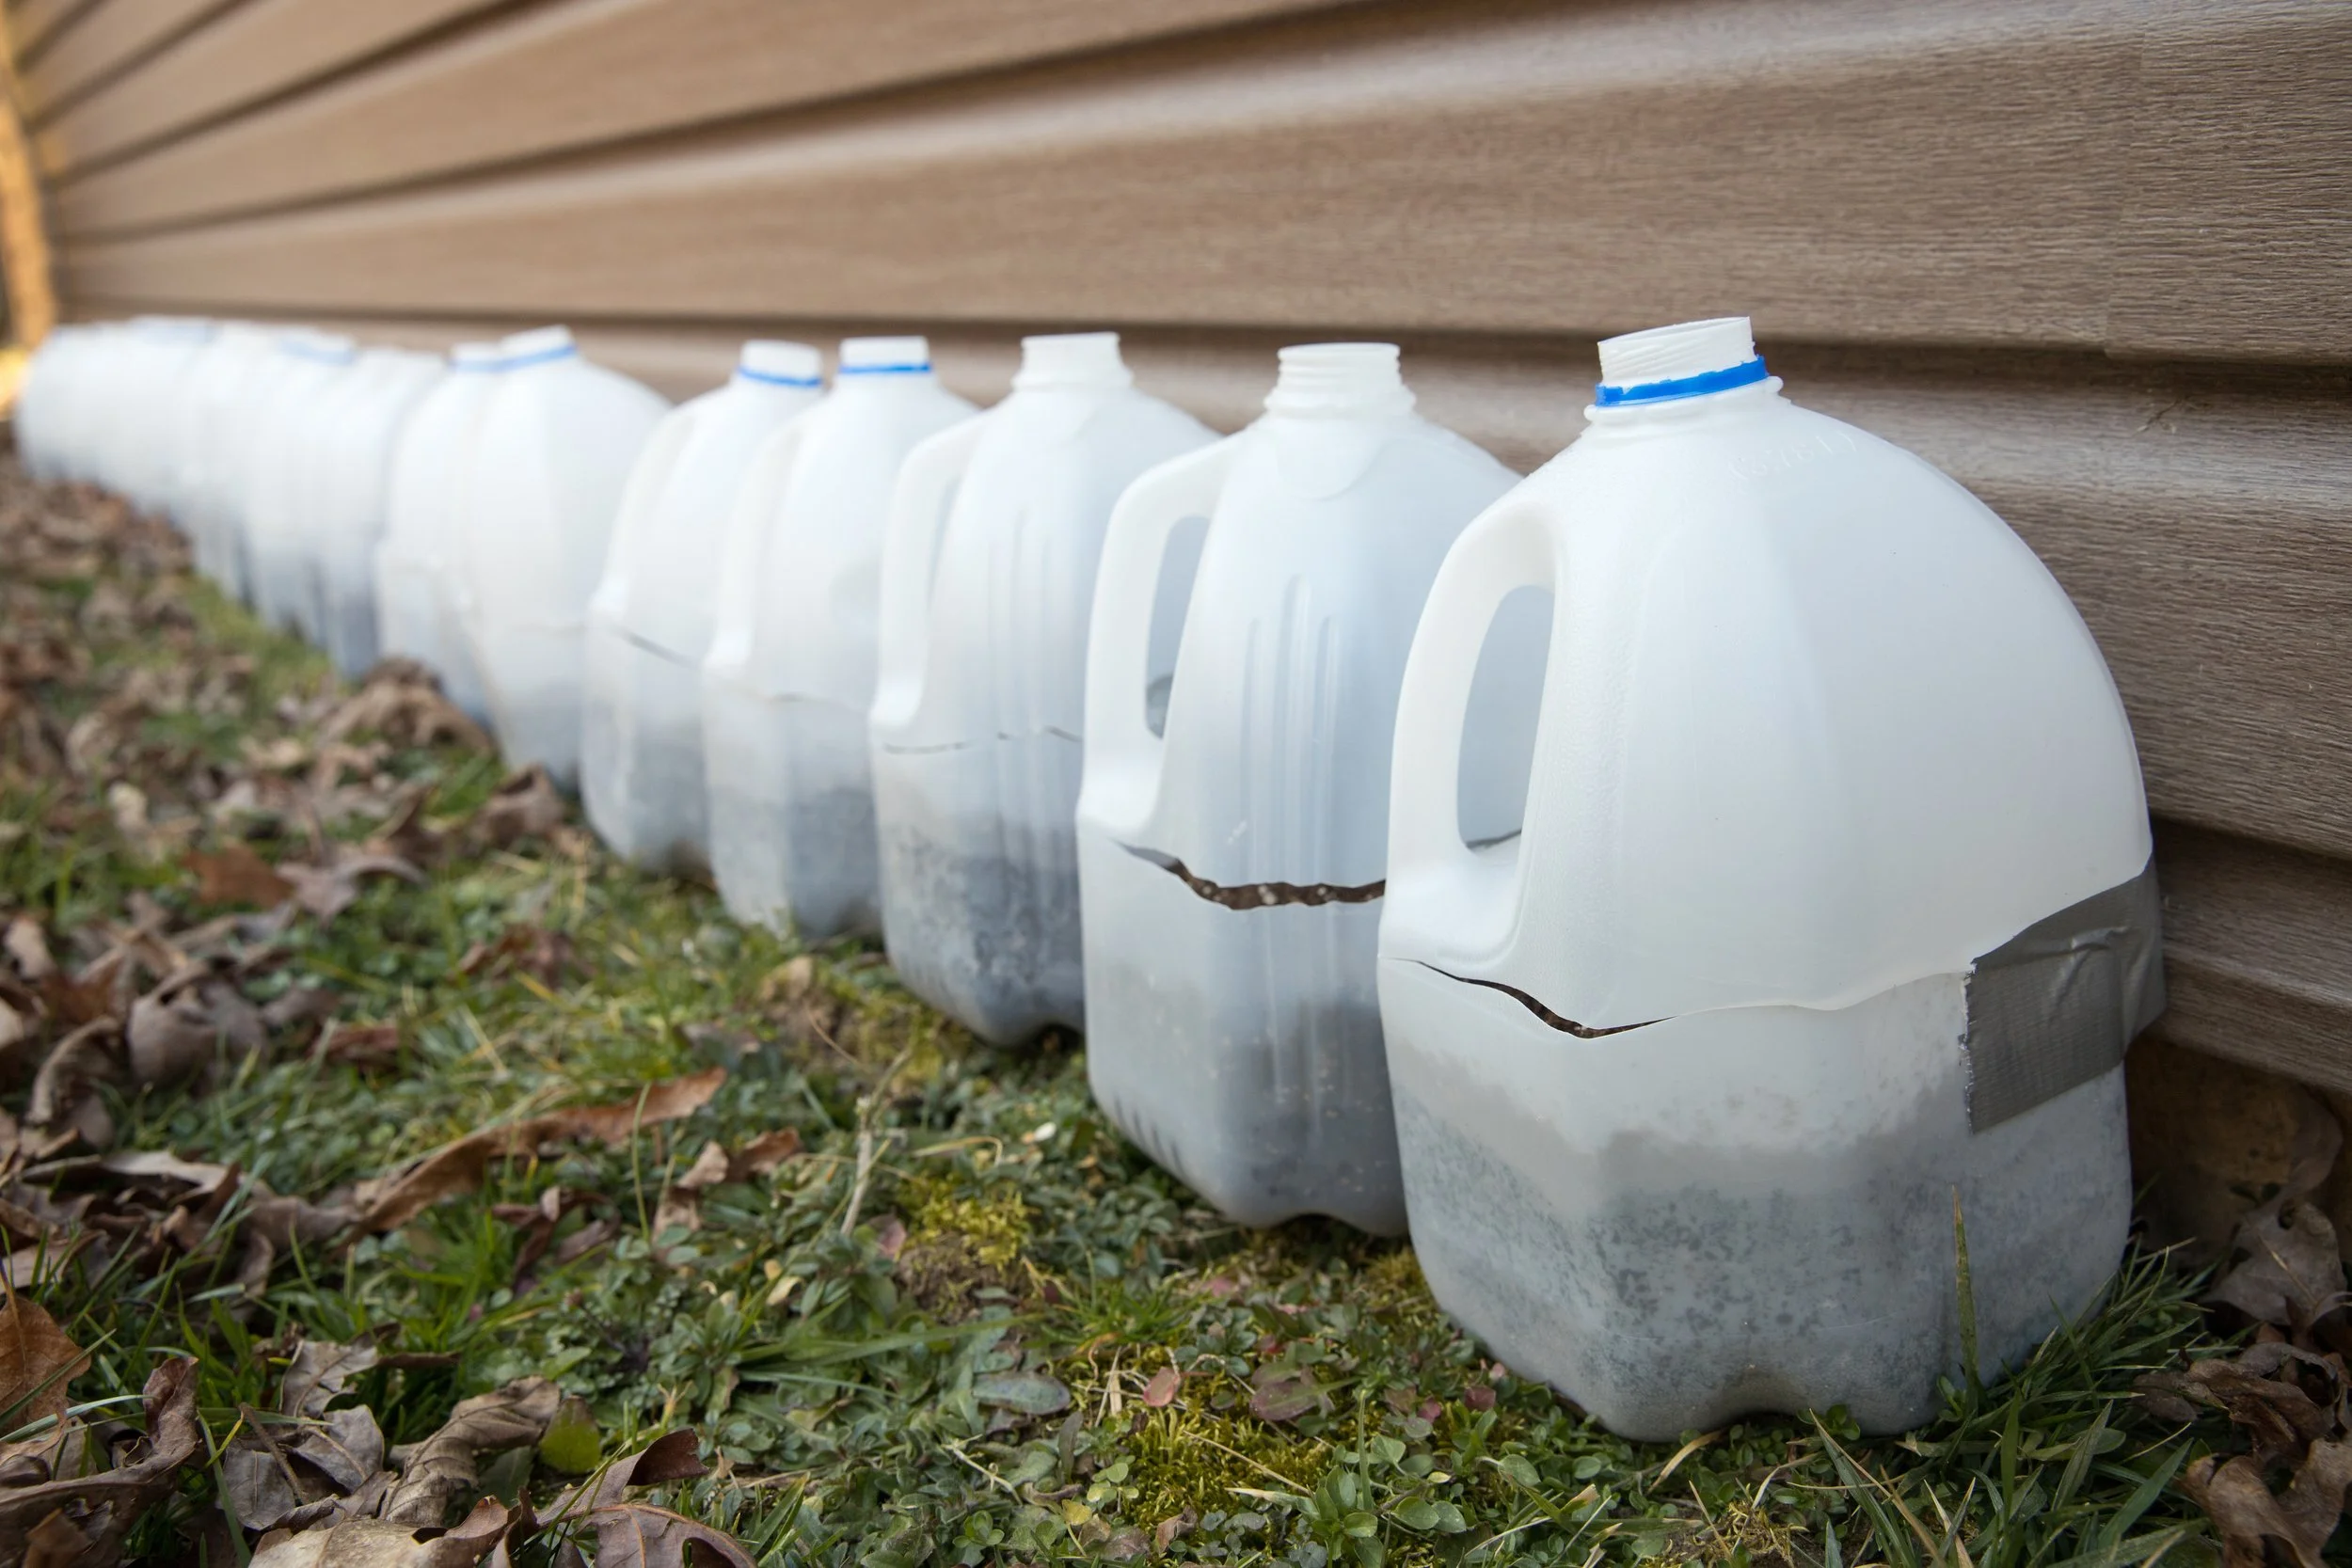
In the spring, you may need to open the milk jugs during the day to moderate the temperatures a bit. | Photo ©️ Lisa Carter | Adobe Stock
Tip: some people use plastic baggies for this method. Here at our altitude, those baggies tend to disintegrate in the UV exposure which can mean shedding microplastics and sad gardeners. But there are gardeners in other places who swear by this method.
Plastic Cloches | A Hybrid Planting Method
There is a planting method which is a hybrid of these two, also. I tried it one winter and found it was too windy here for it to work well. Perhaps I didn’t bury things deeply enough? But I know other gardeners who don’t live in the Rocky Mountain wind tunnel find this to be a fabulous way to start.
Materials Needed
plastic milk jugs or 2 liter soda bottle (these work particularly well)
peat-free potting mix
seeds
duct tape or clear plastic tape
permanent marker
Scatter seeds on the soil where you want them to grow – you won’t be transplanting them. Then you take a plastic milk jug or 2 liter soda bottle, cut off the bottom, and place it over the seeds like a cloche. Bury the edges of the cloche several inches into the soil so it doesn’t blow away. And then follow the same instructions for the Plastic Jug method – keeping the top off.
The benefits of this method are real! Your seeds are already in place, but they have some protection from creatures. But you will need lots of little cloches with a few seeds in each. Too many, and you’ll be doing a lot of transplanting in the spring. But maybe that’s ok, too!
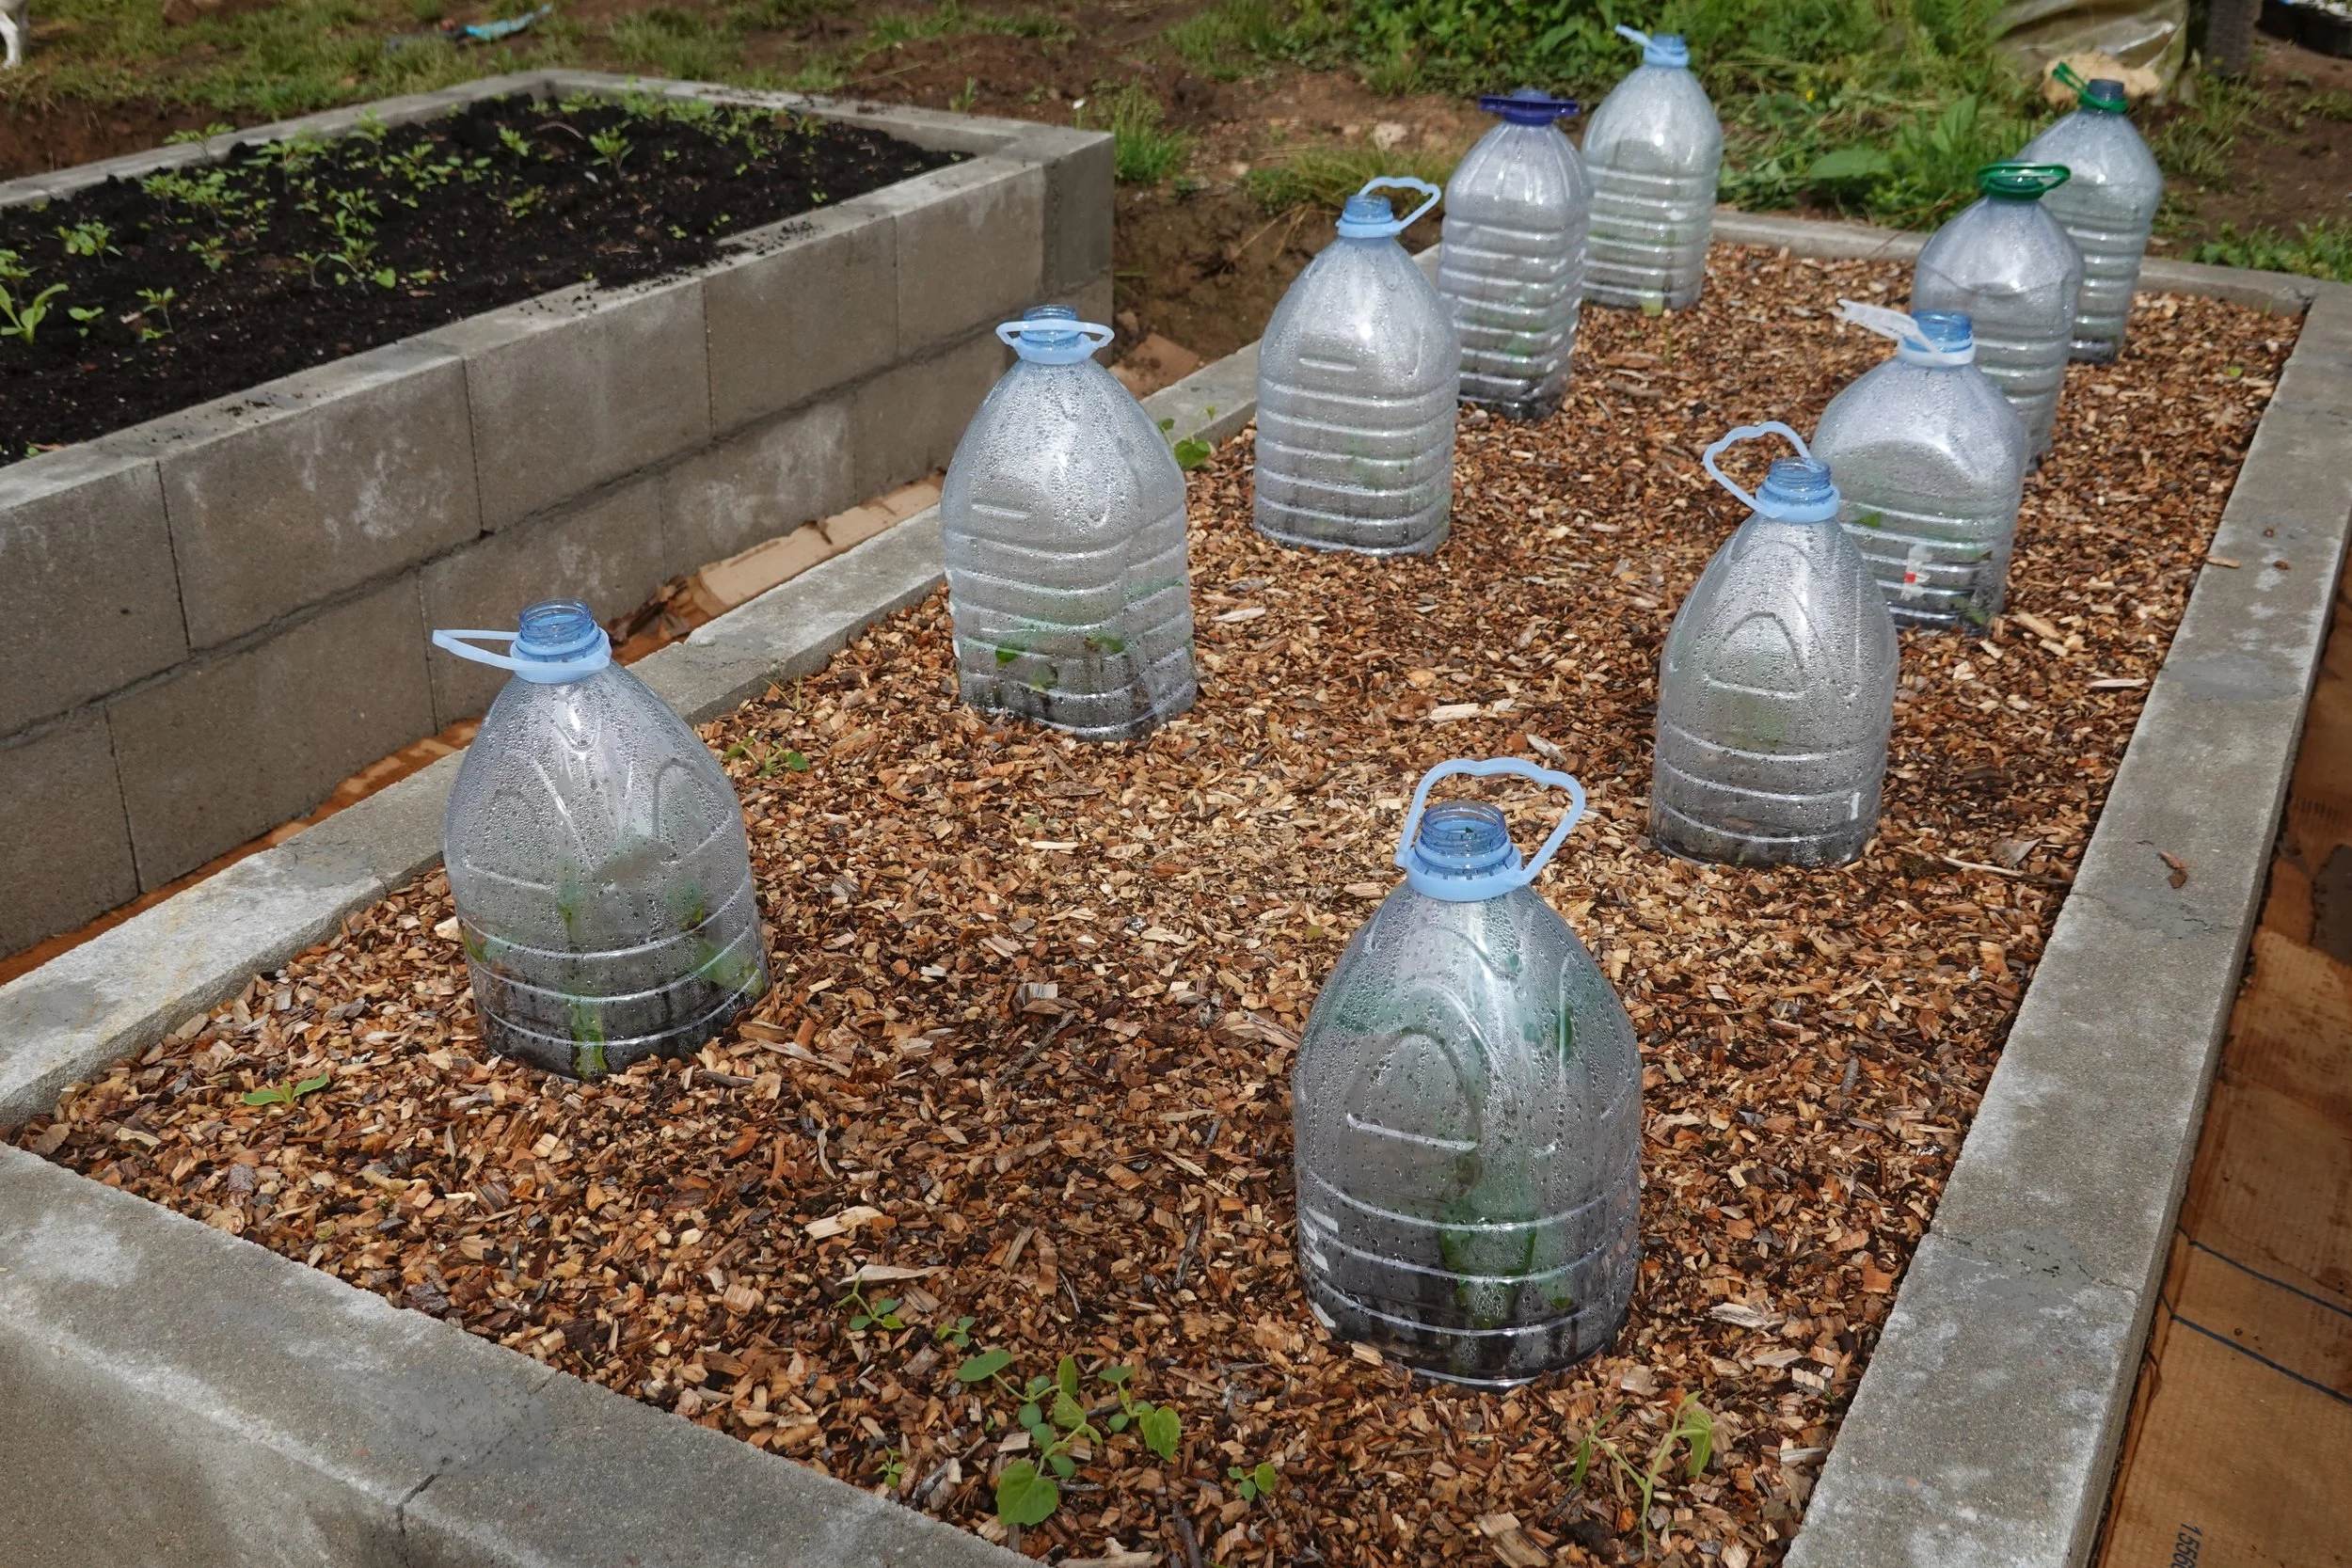
With this method you plant in place and then use plastic bottles to protect the seeds and seedlings. | Photo ©️ Tonifrito | Adobe Stock
What I’ll be Planting this Year
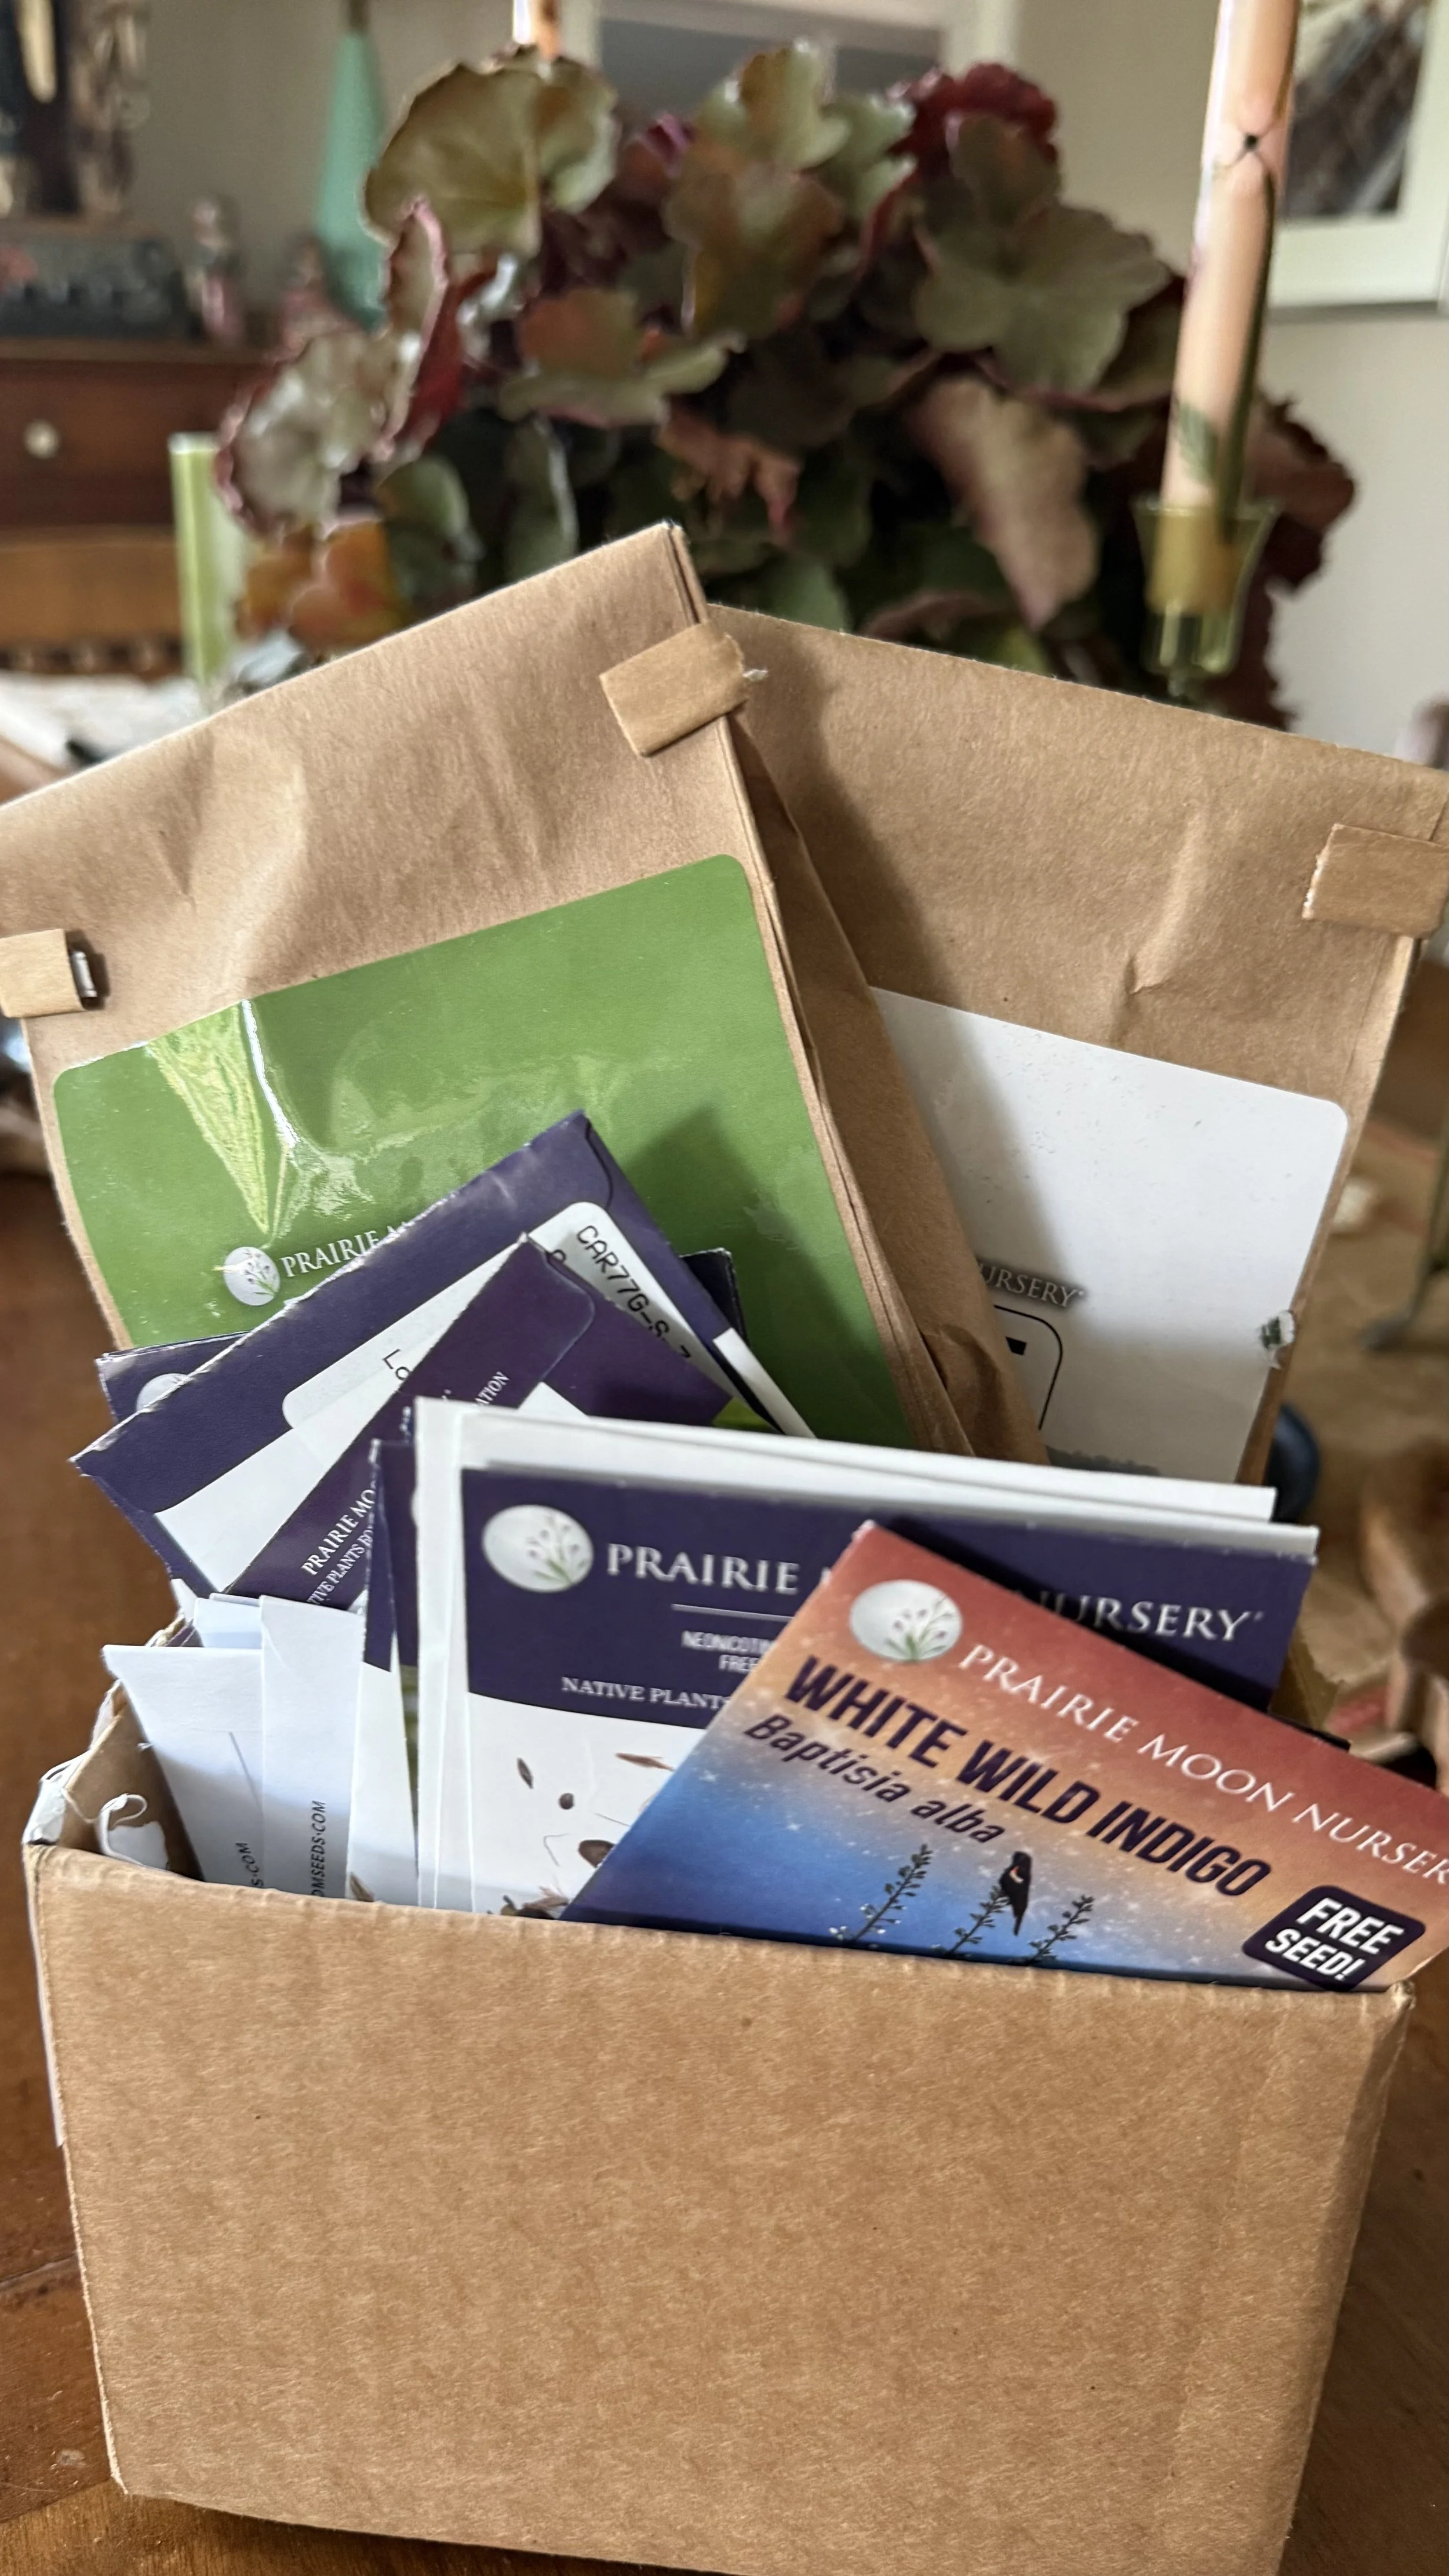
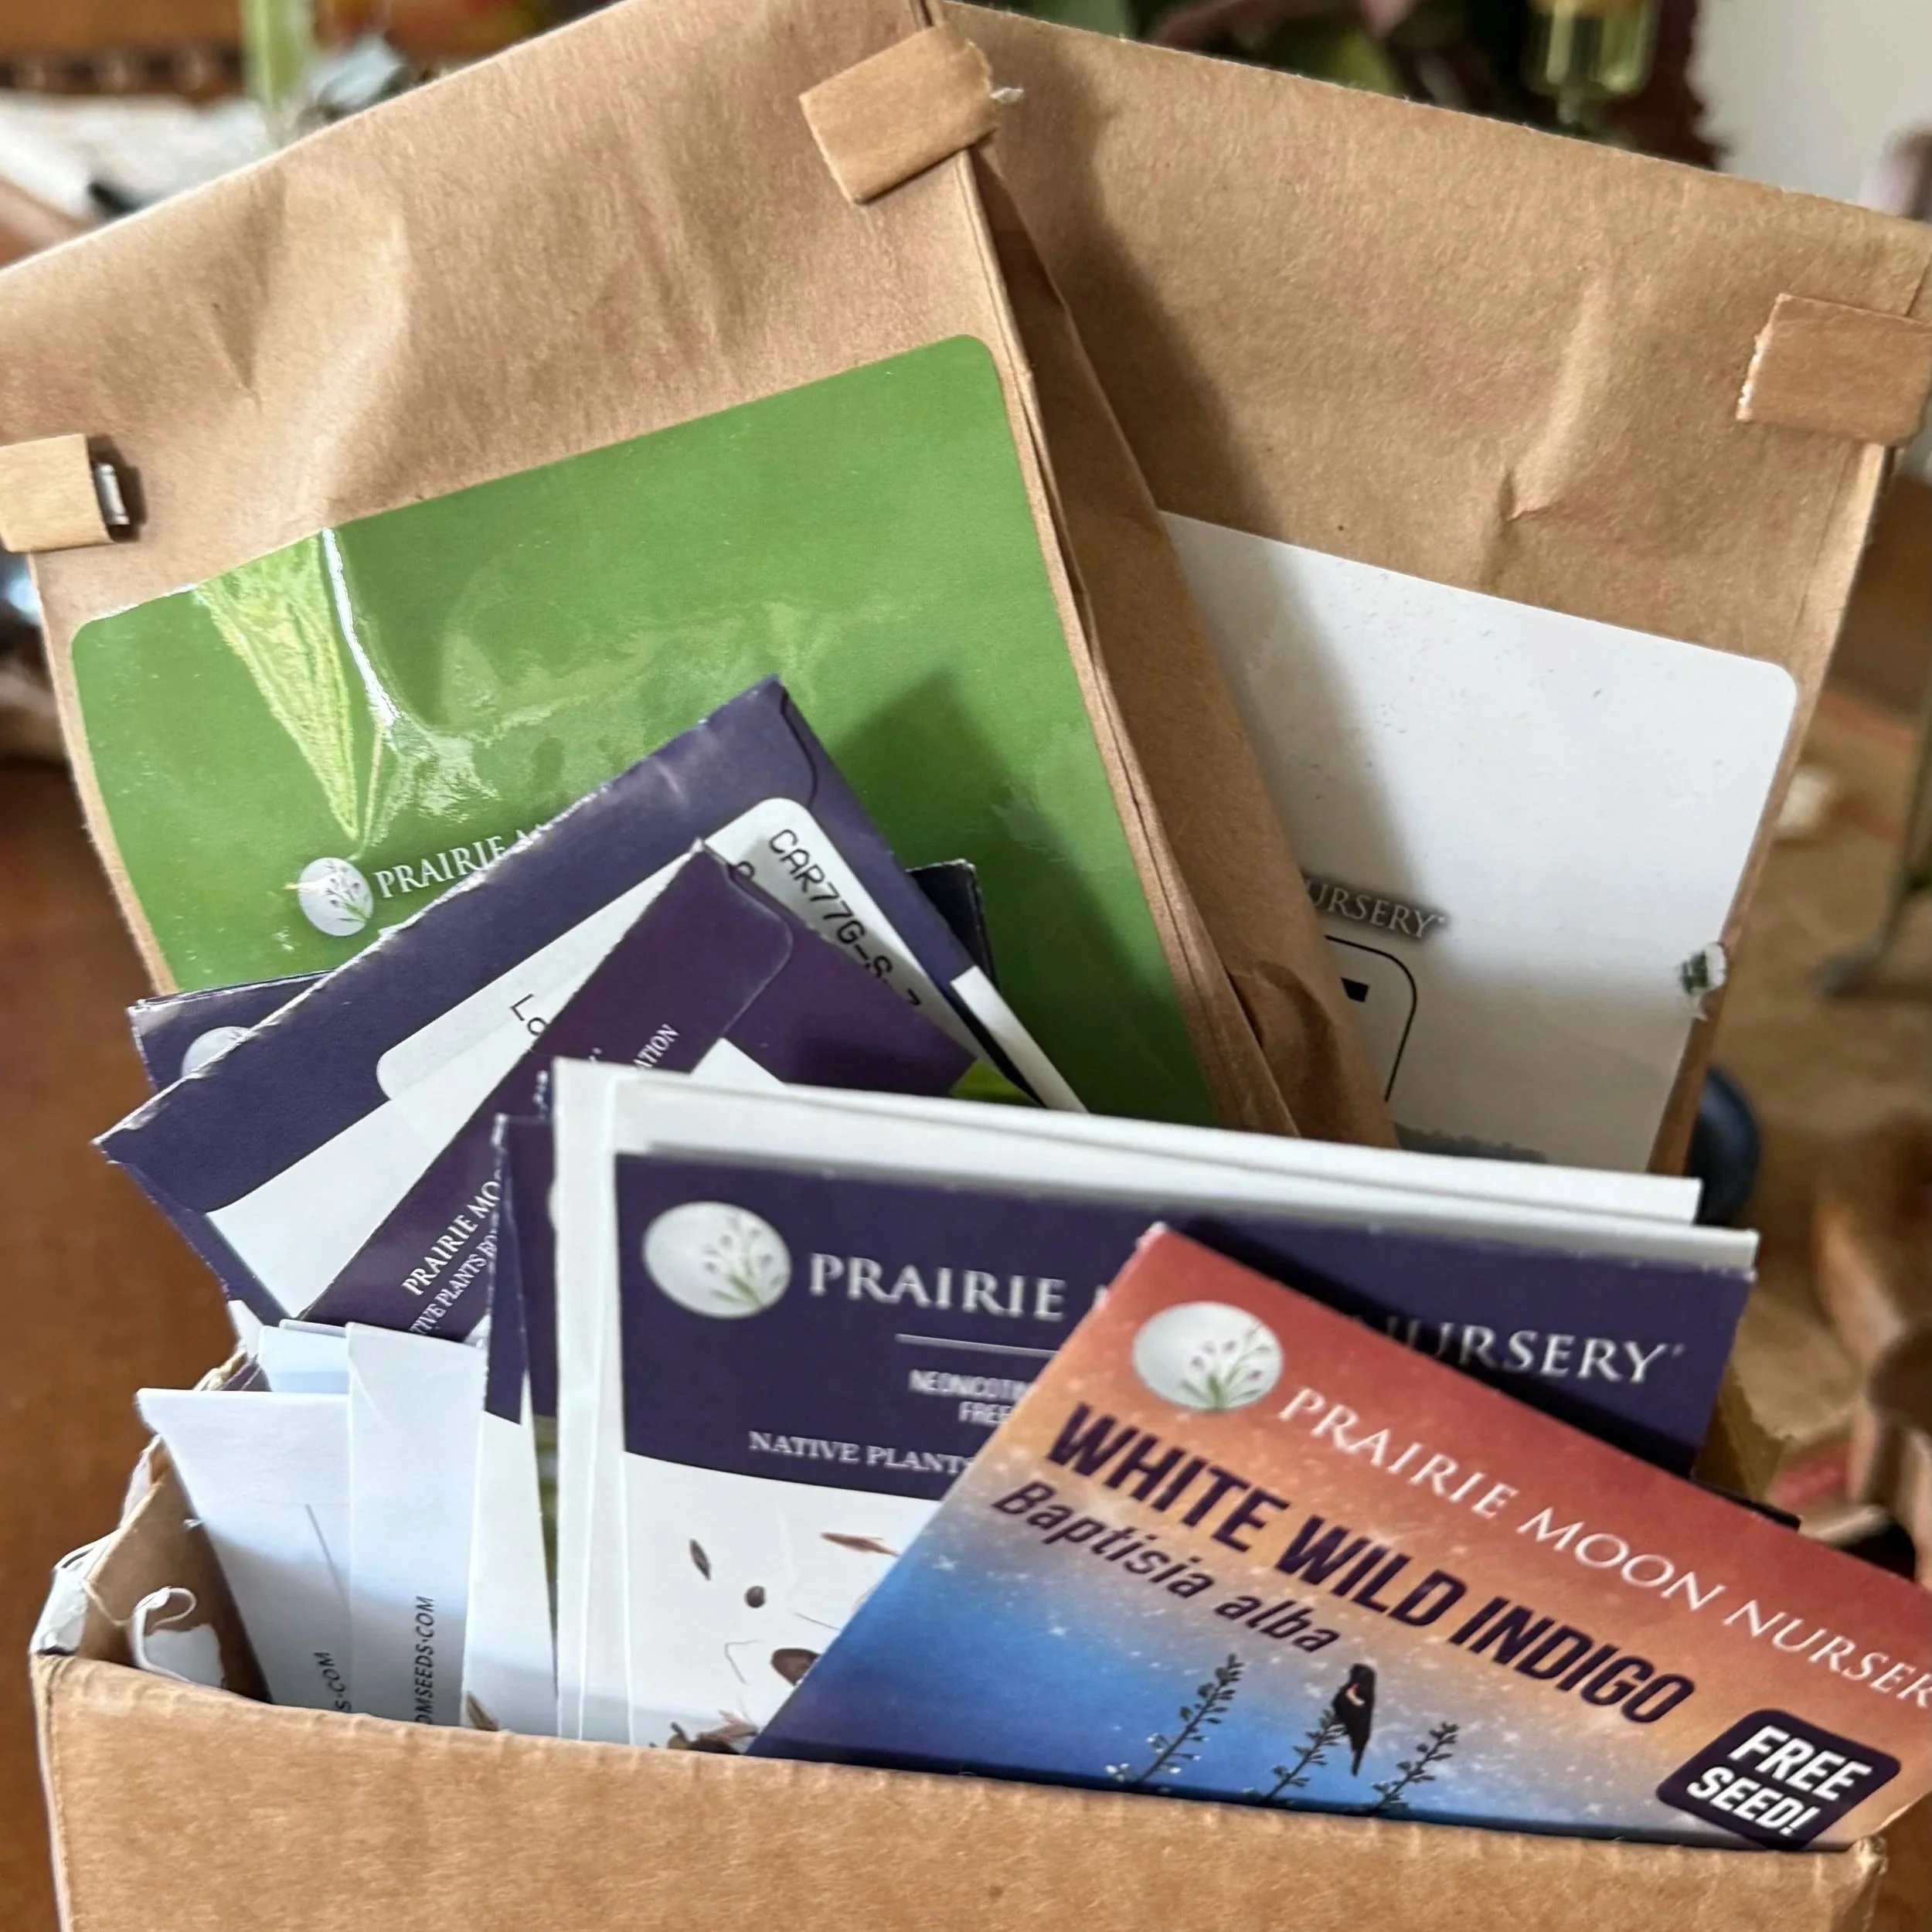
I have a box of different seed packets that I will be sowing in the next few weeks, and I’m so excited to get them into the ground.
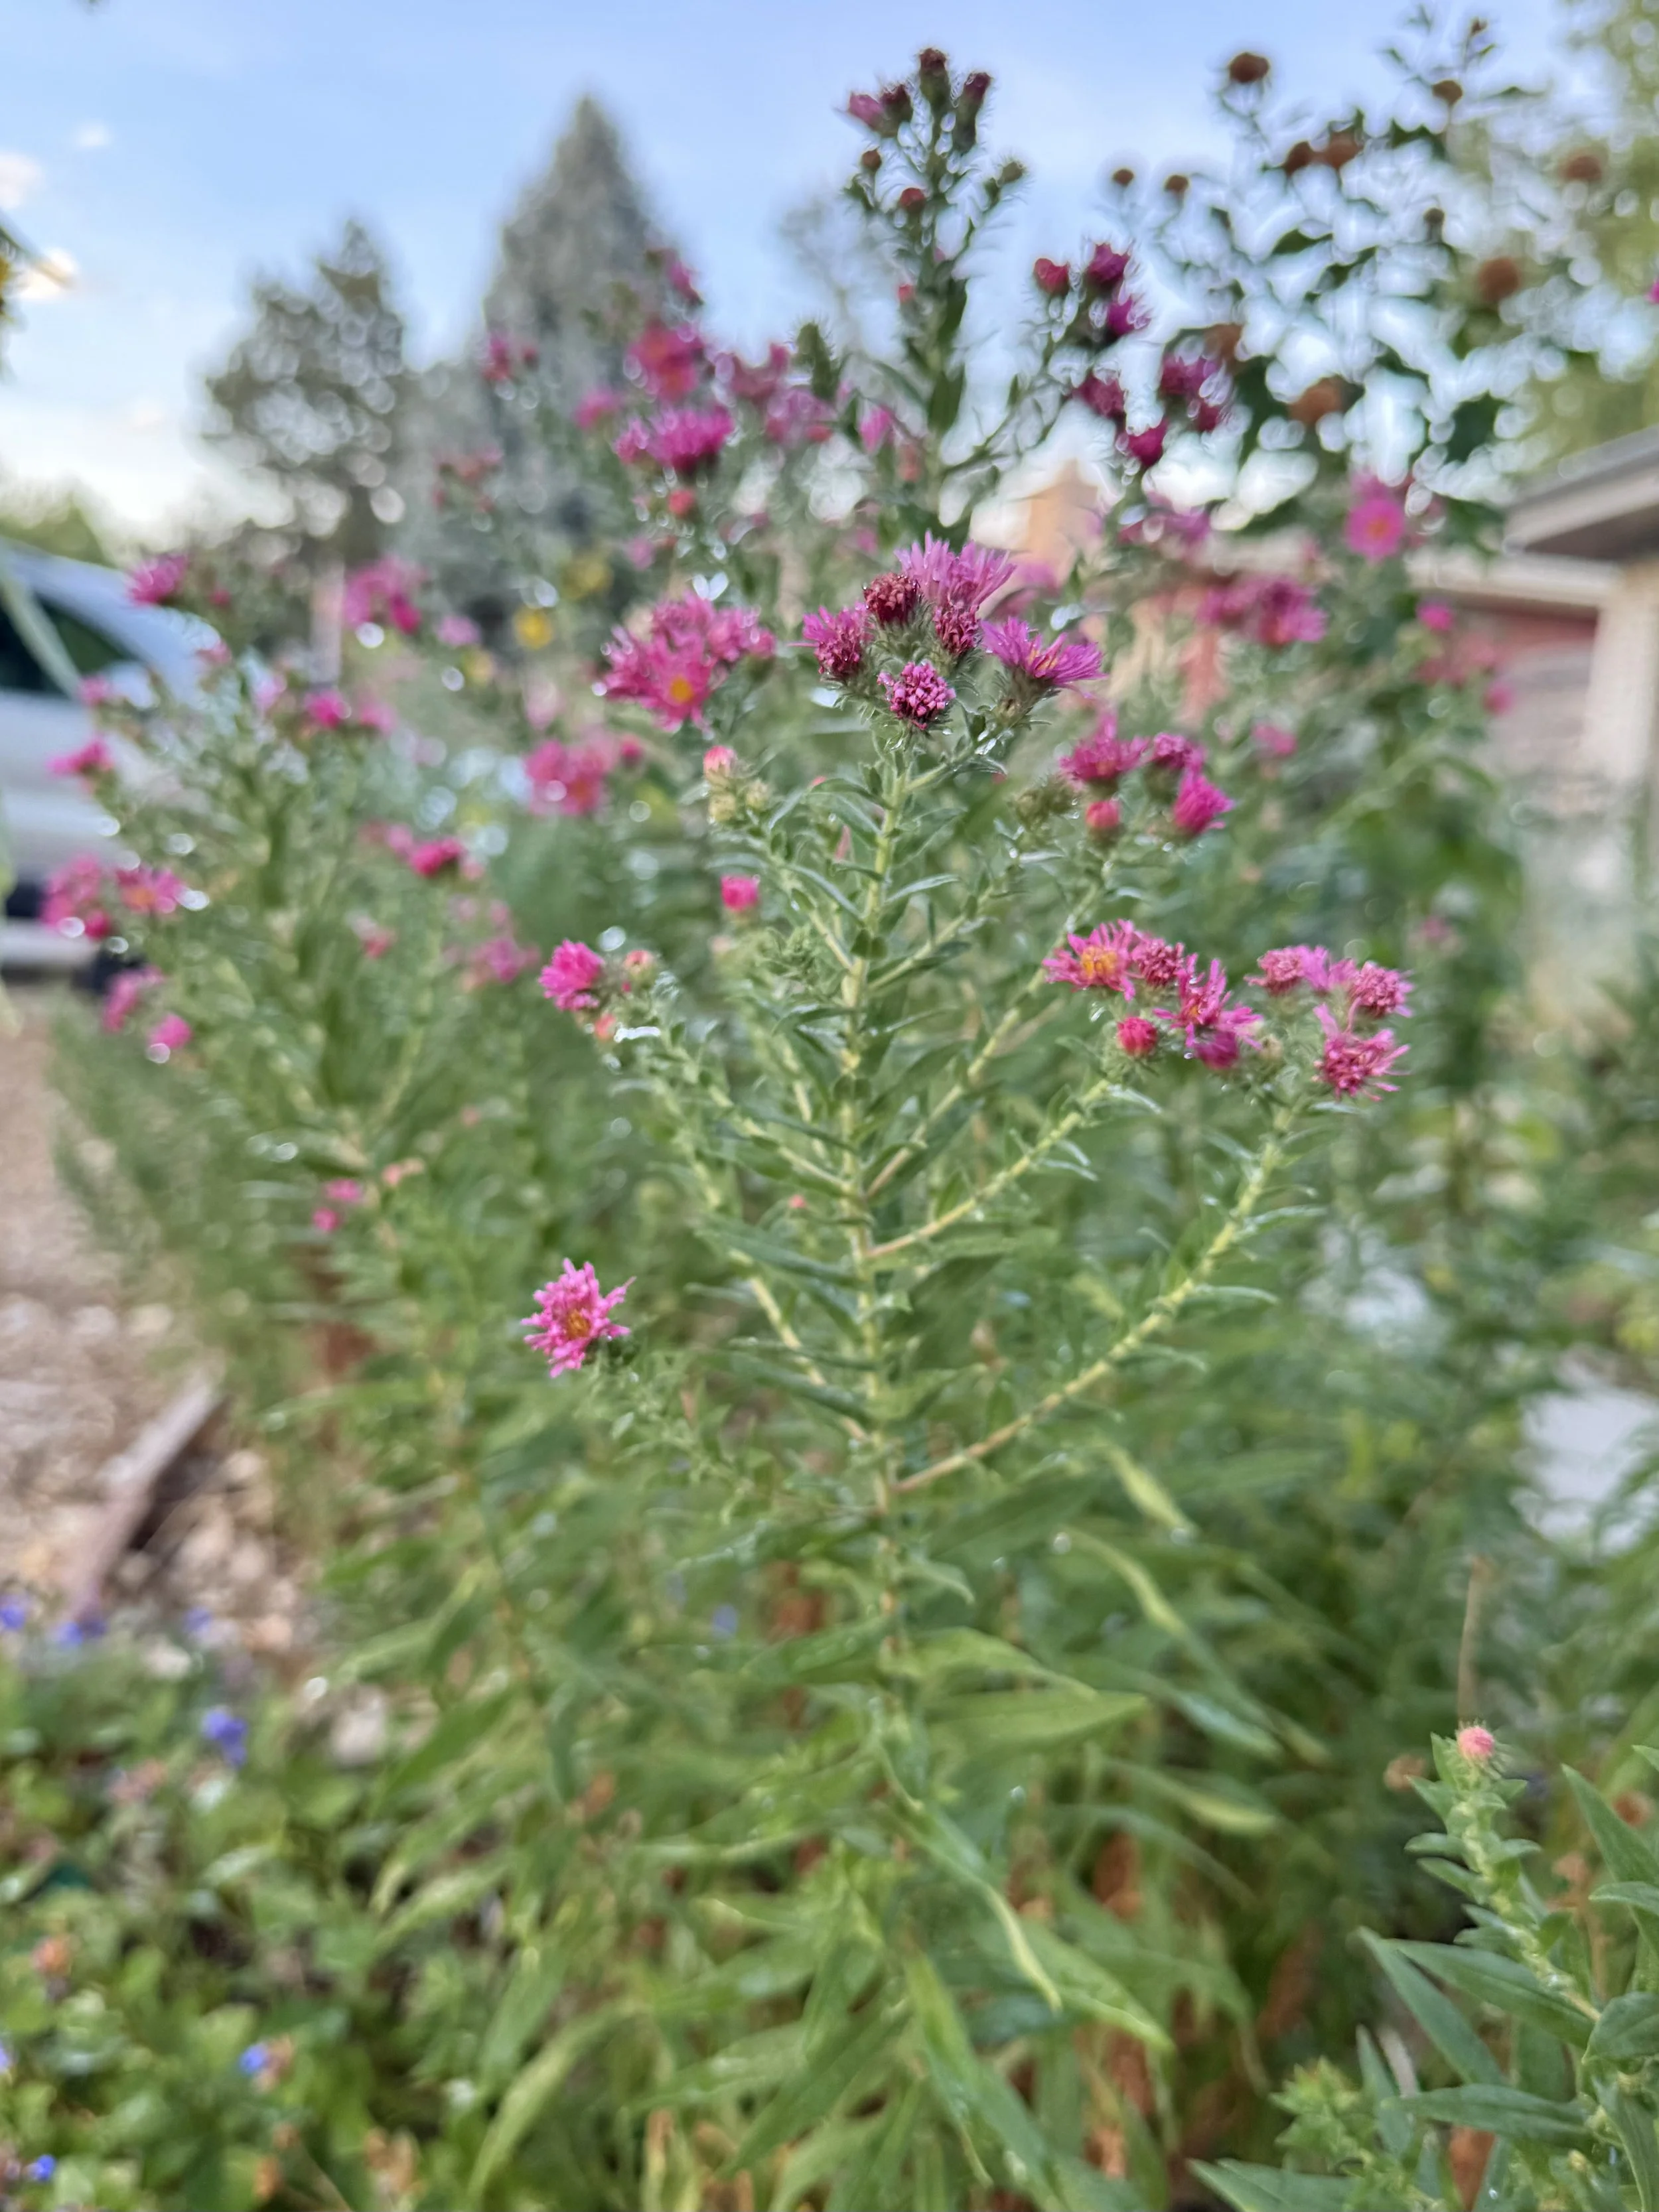
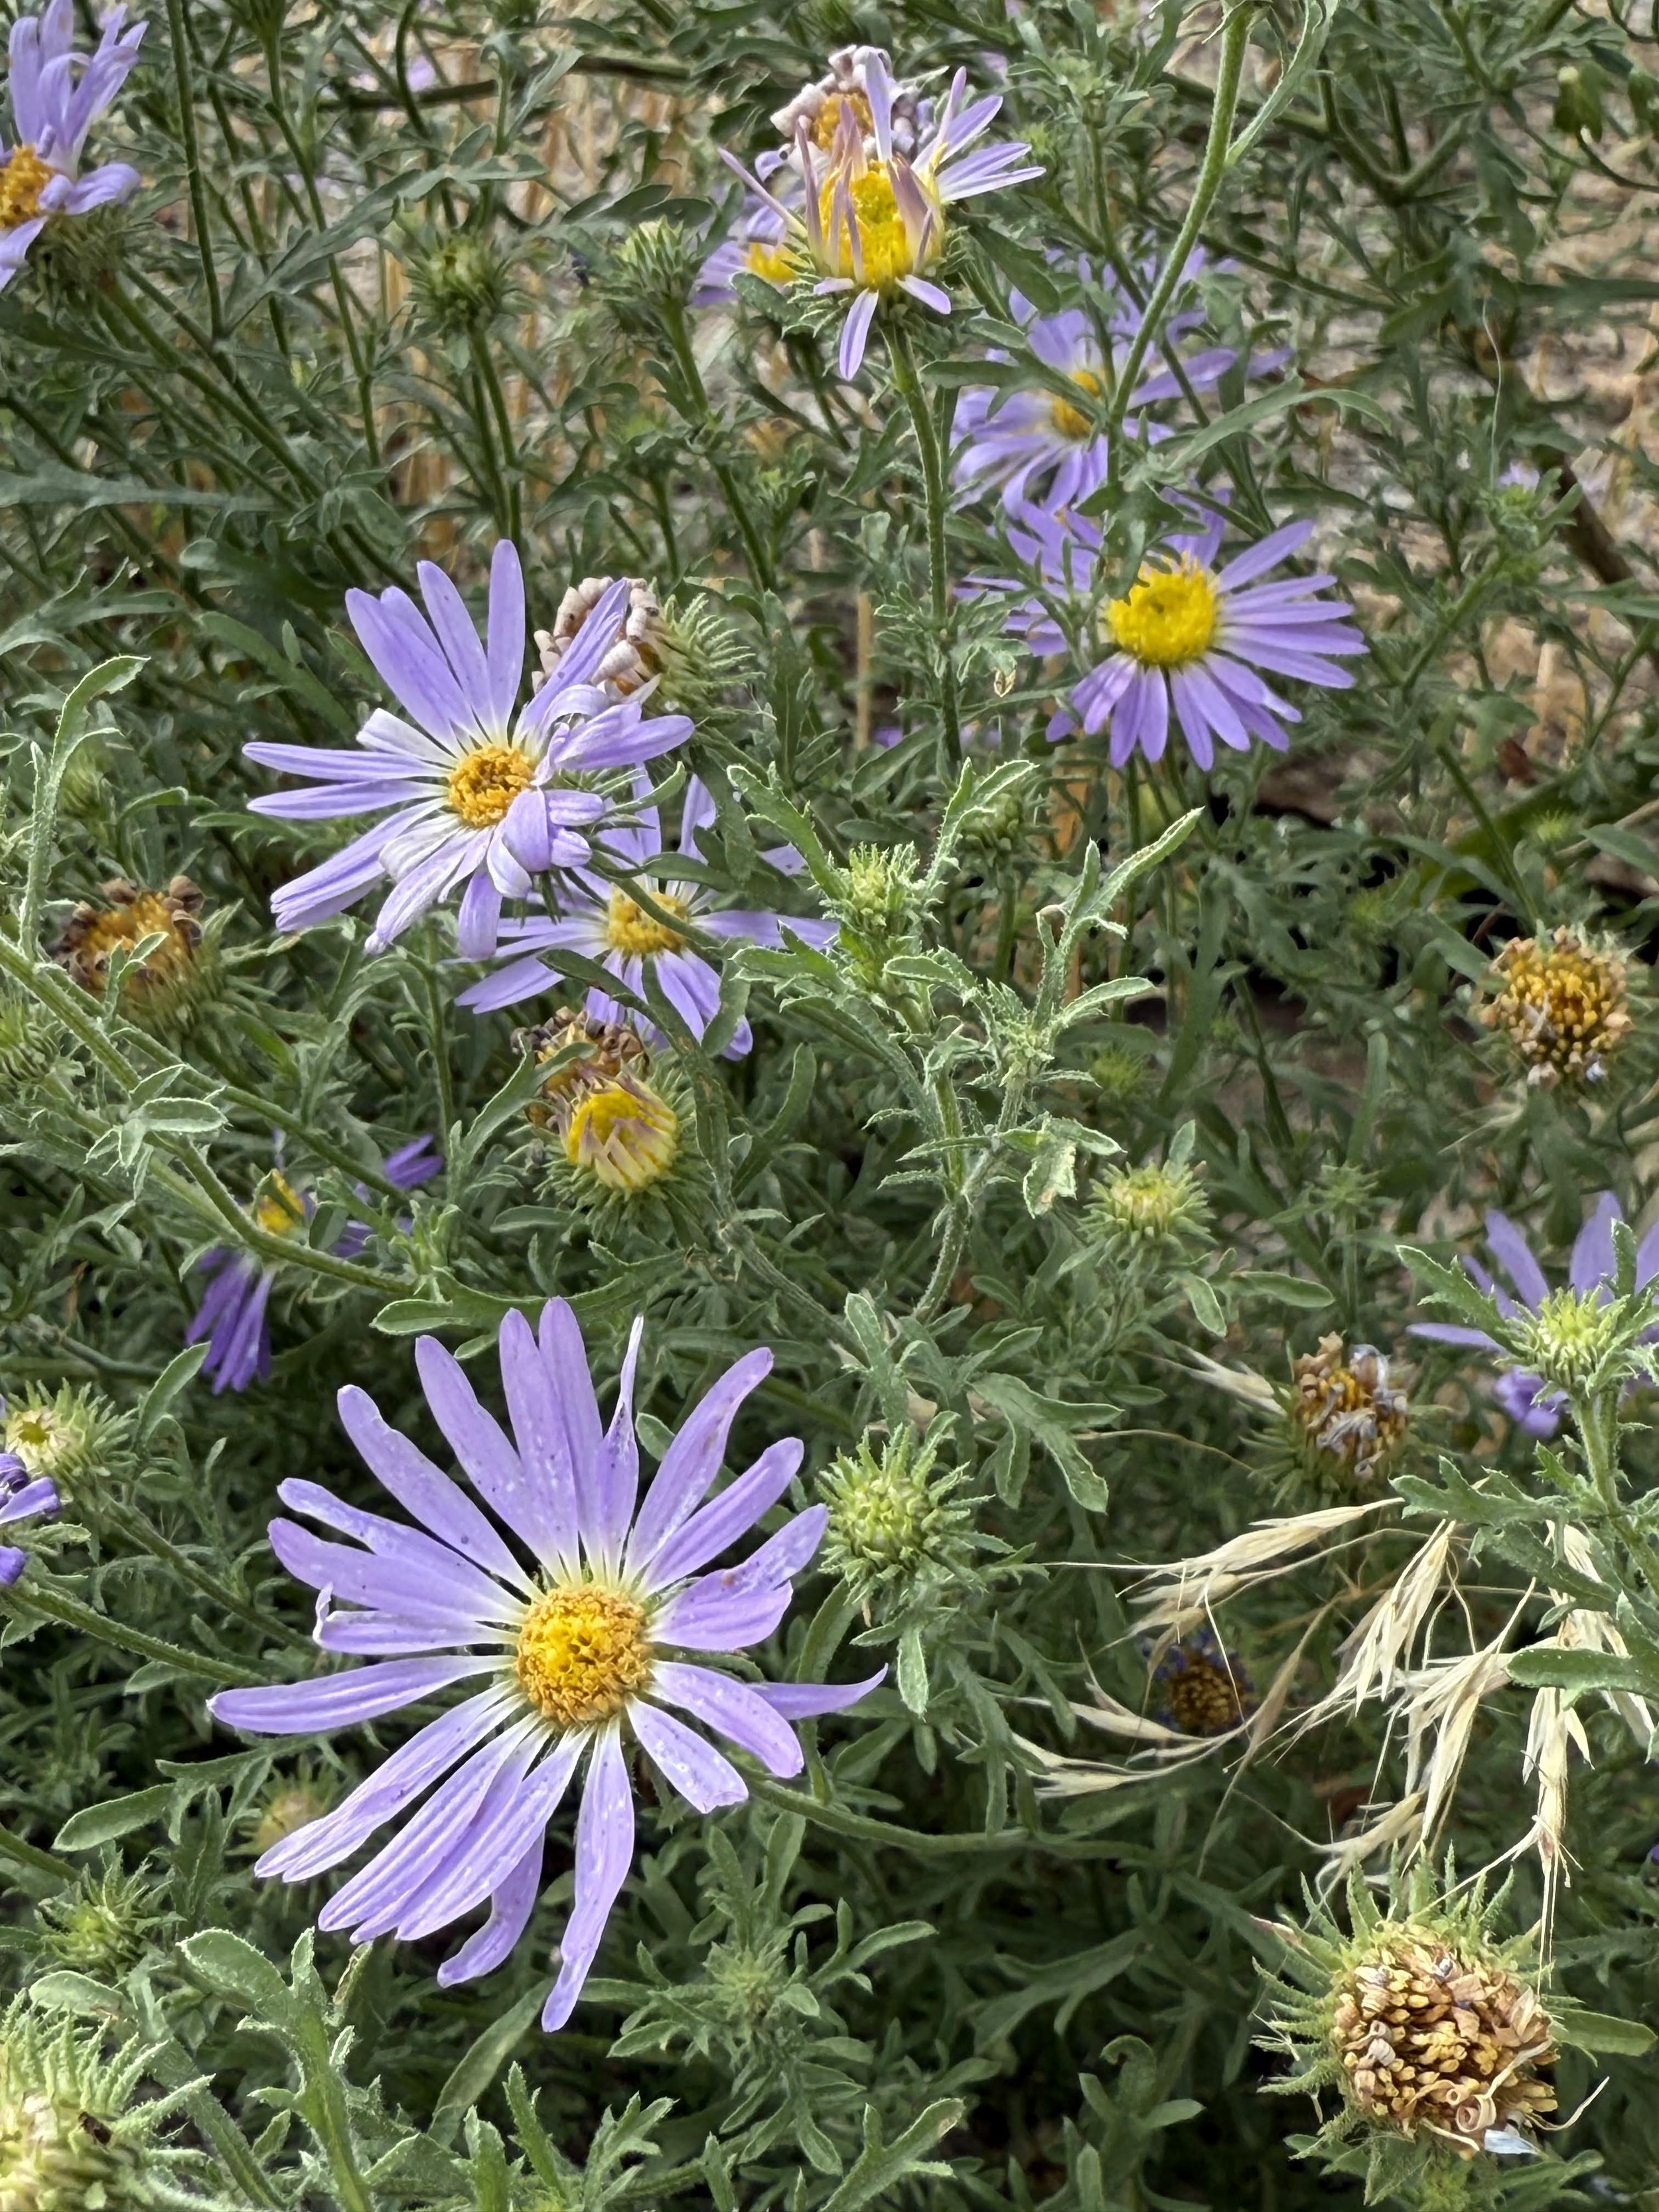
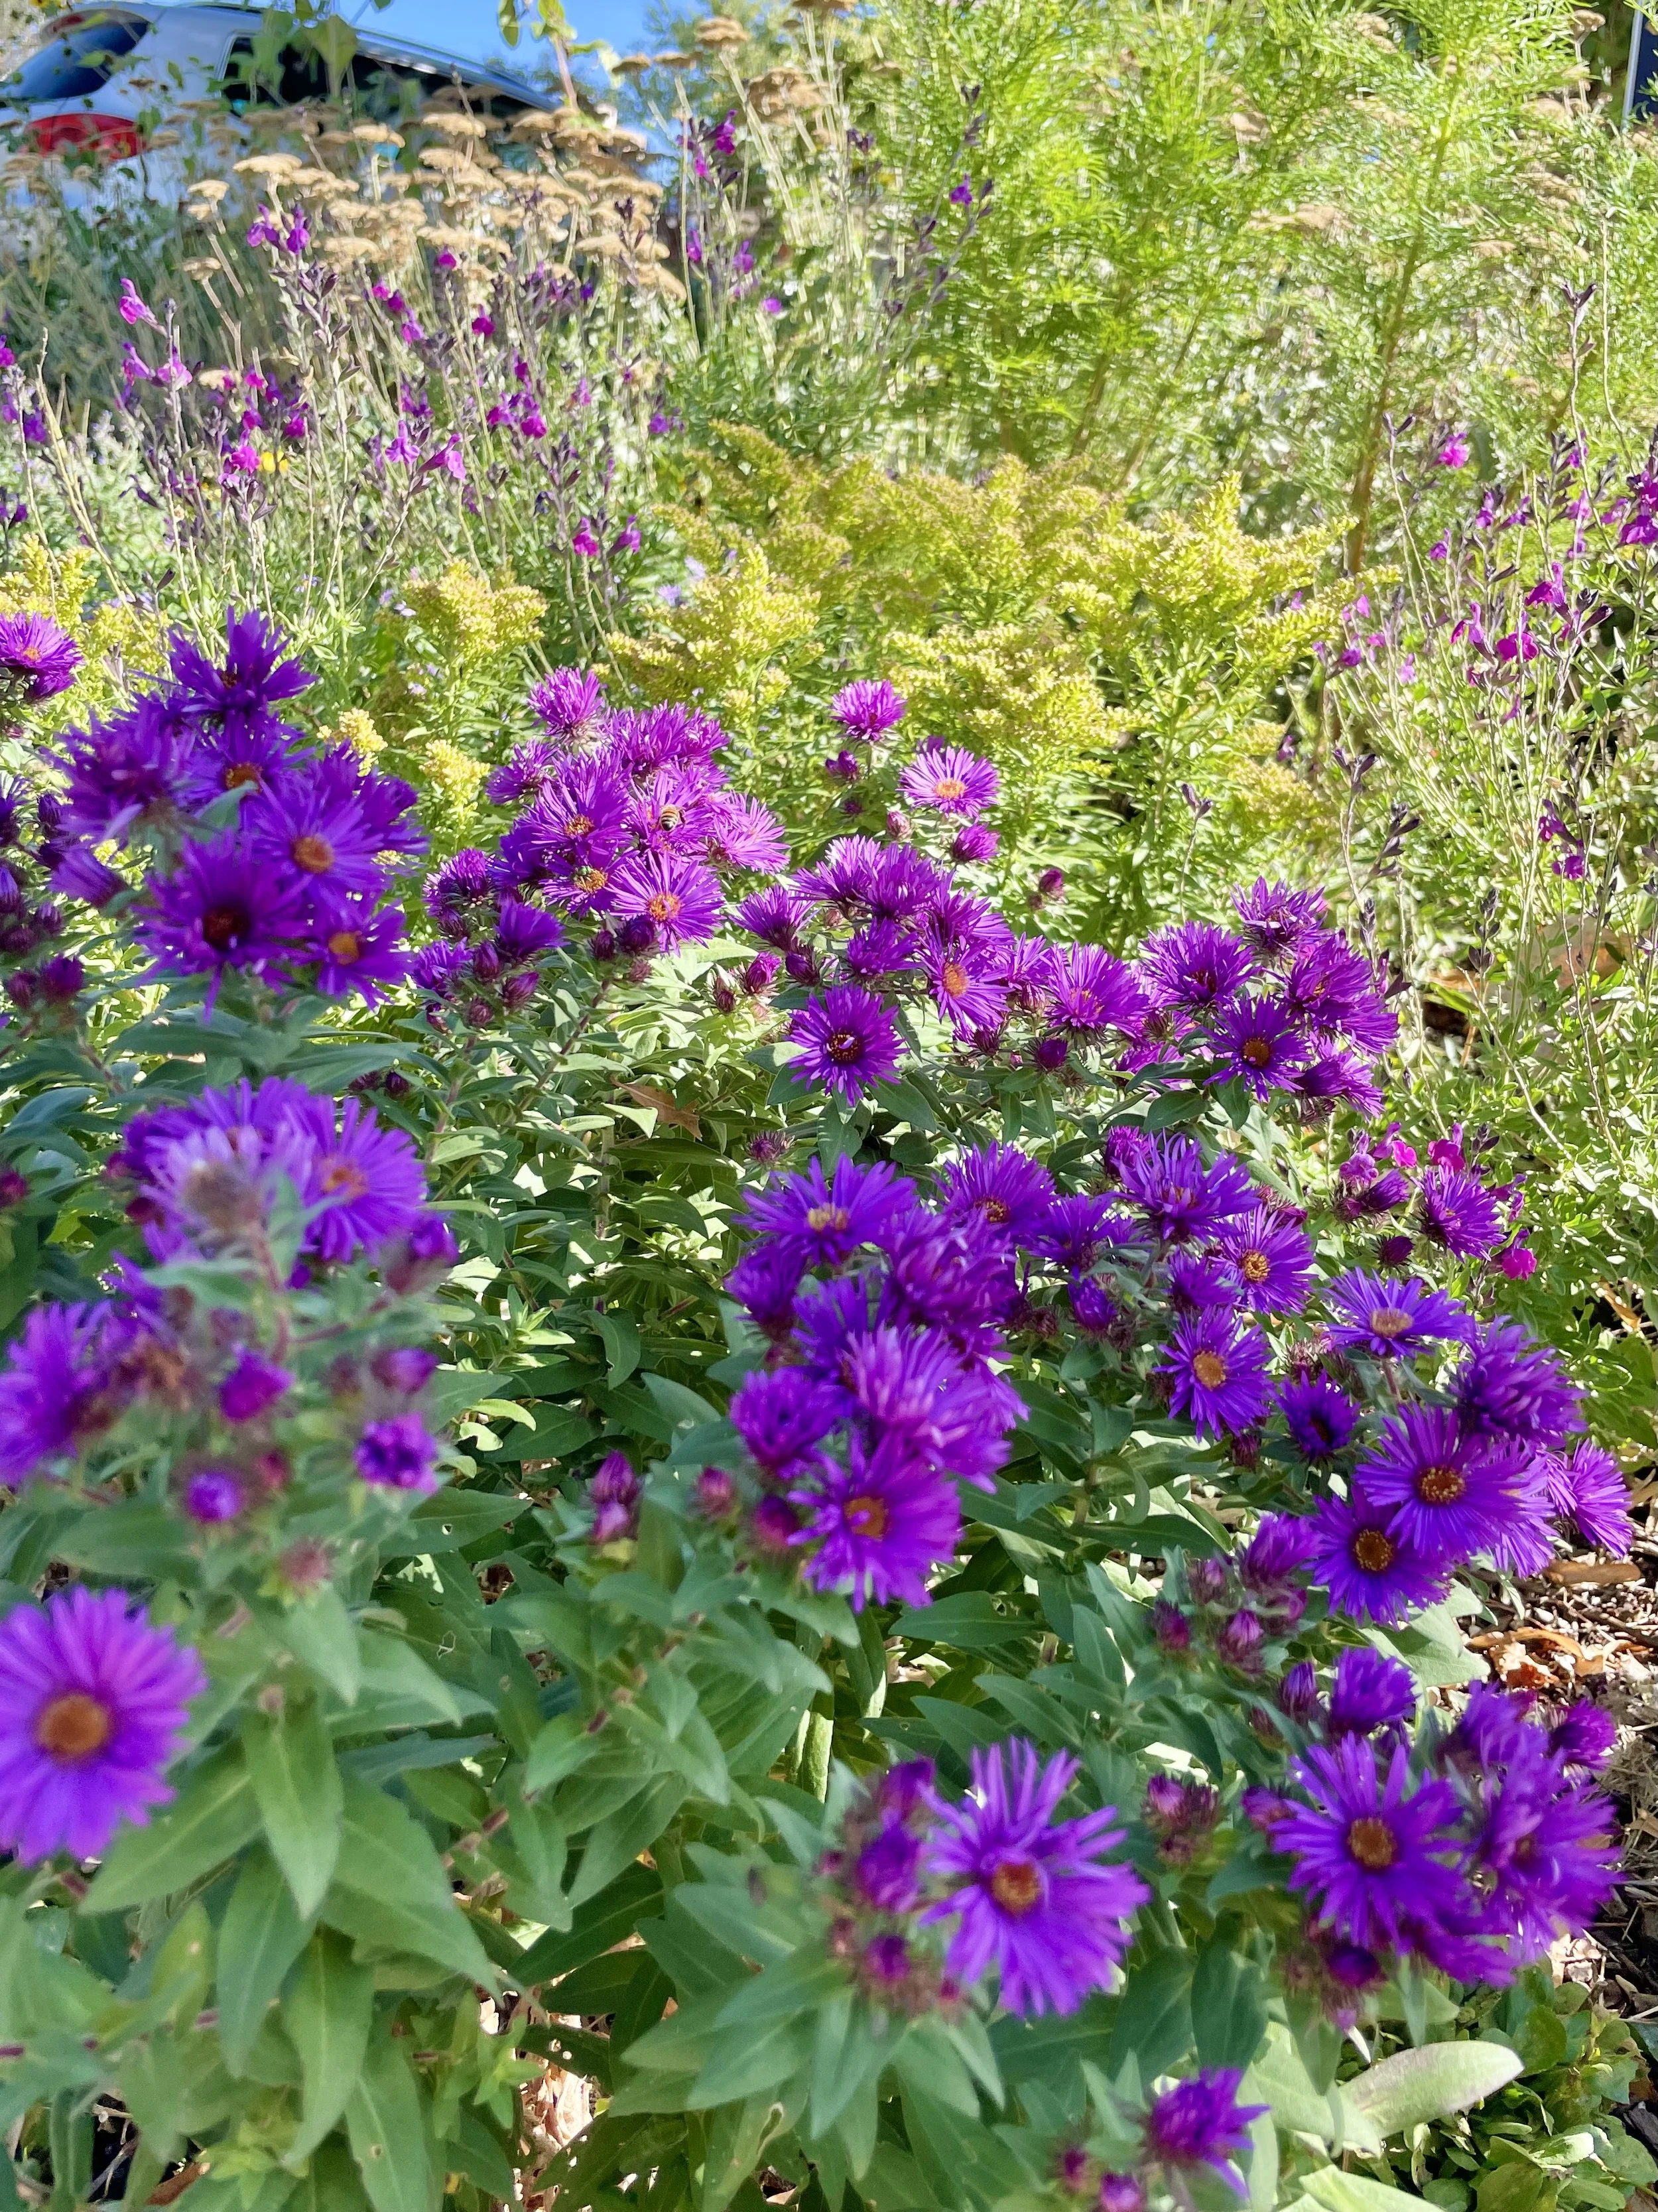
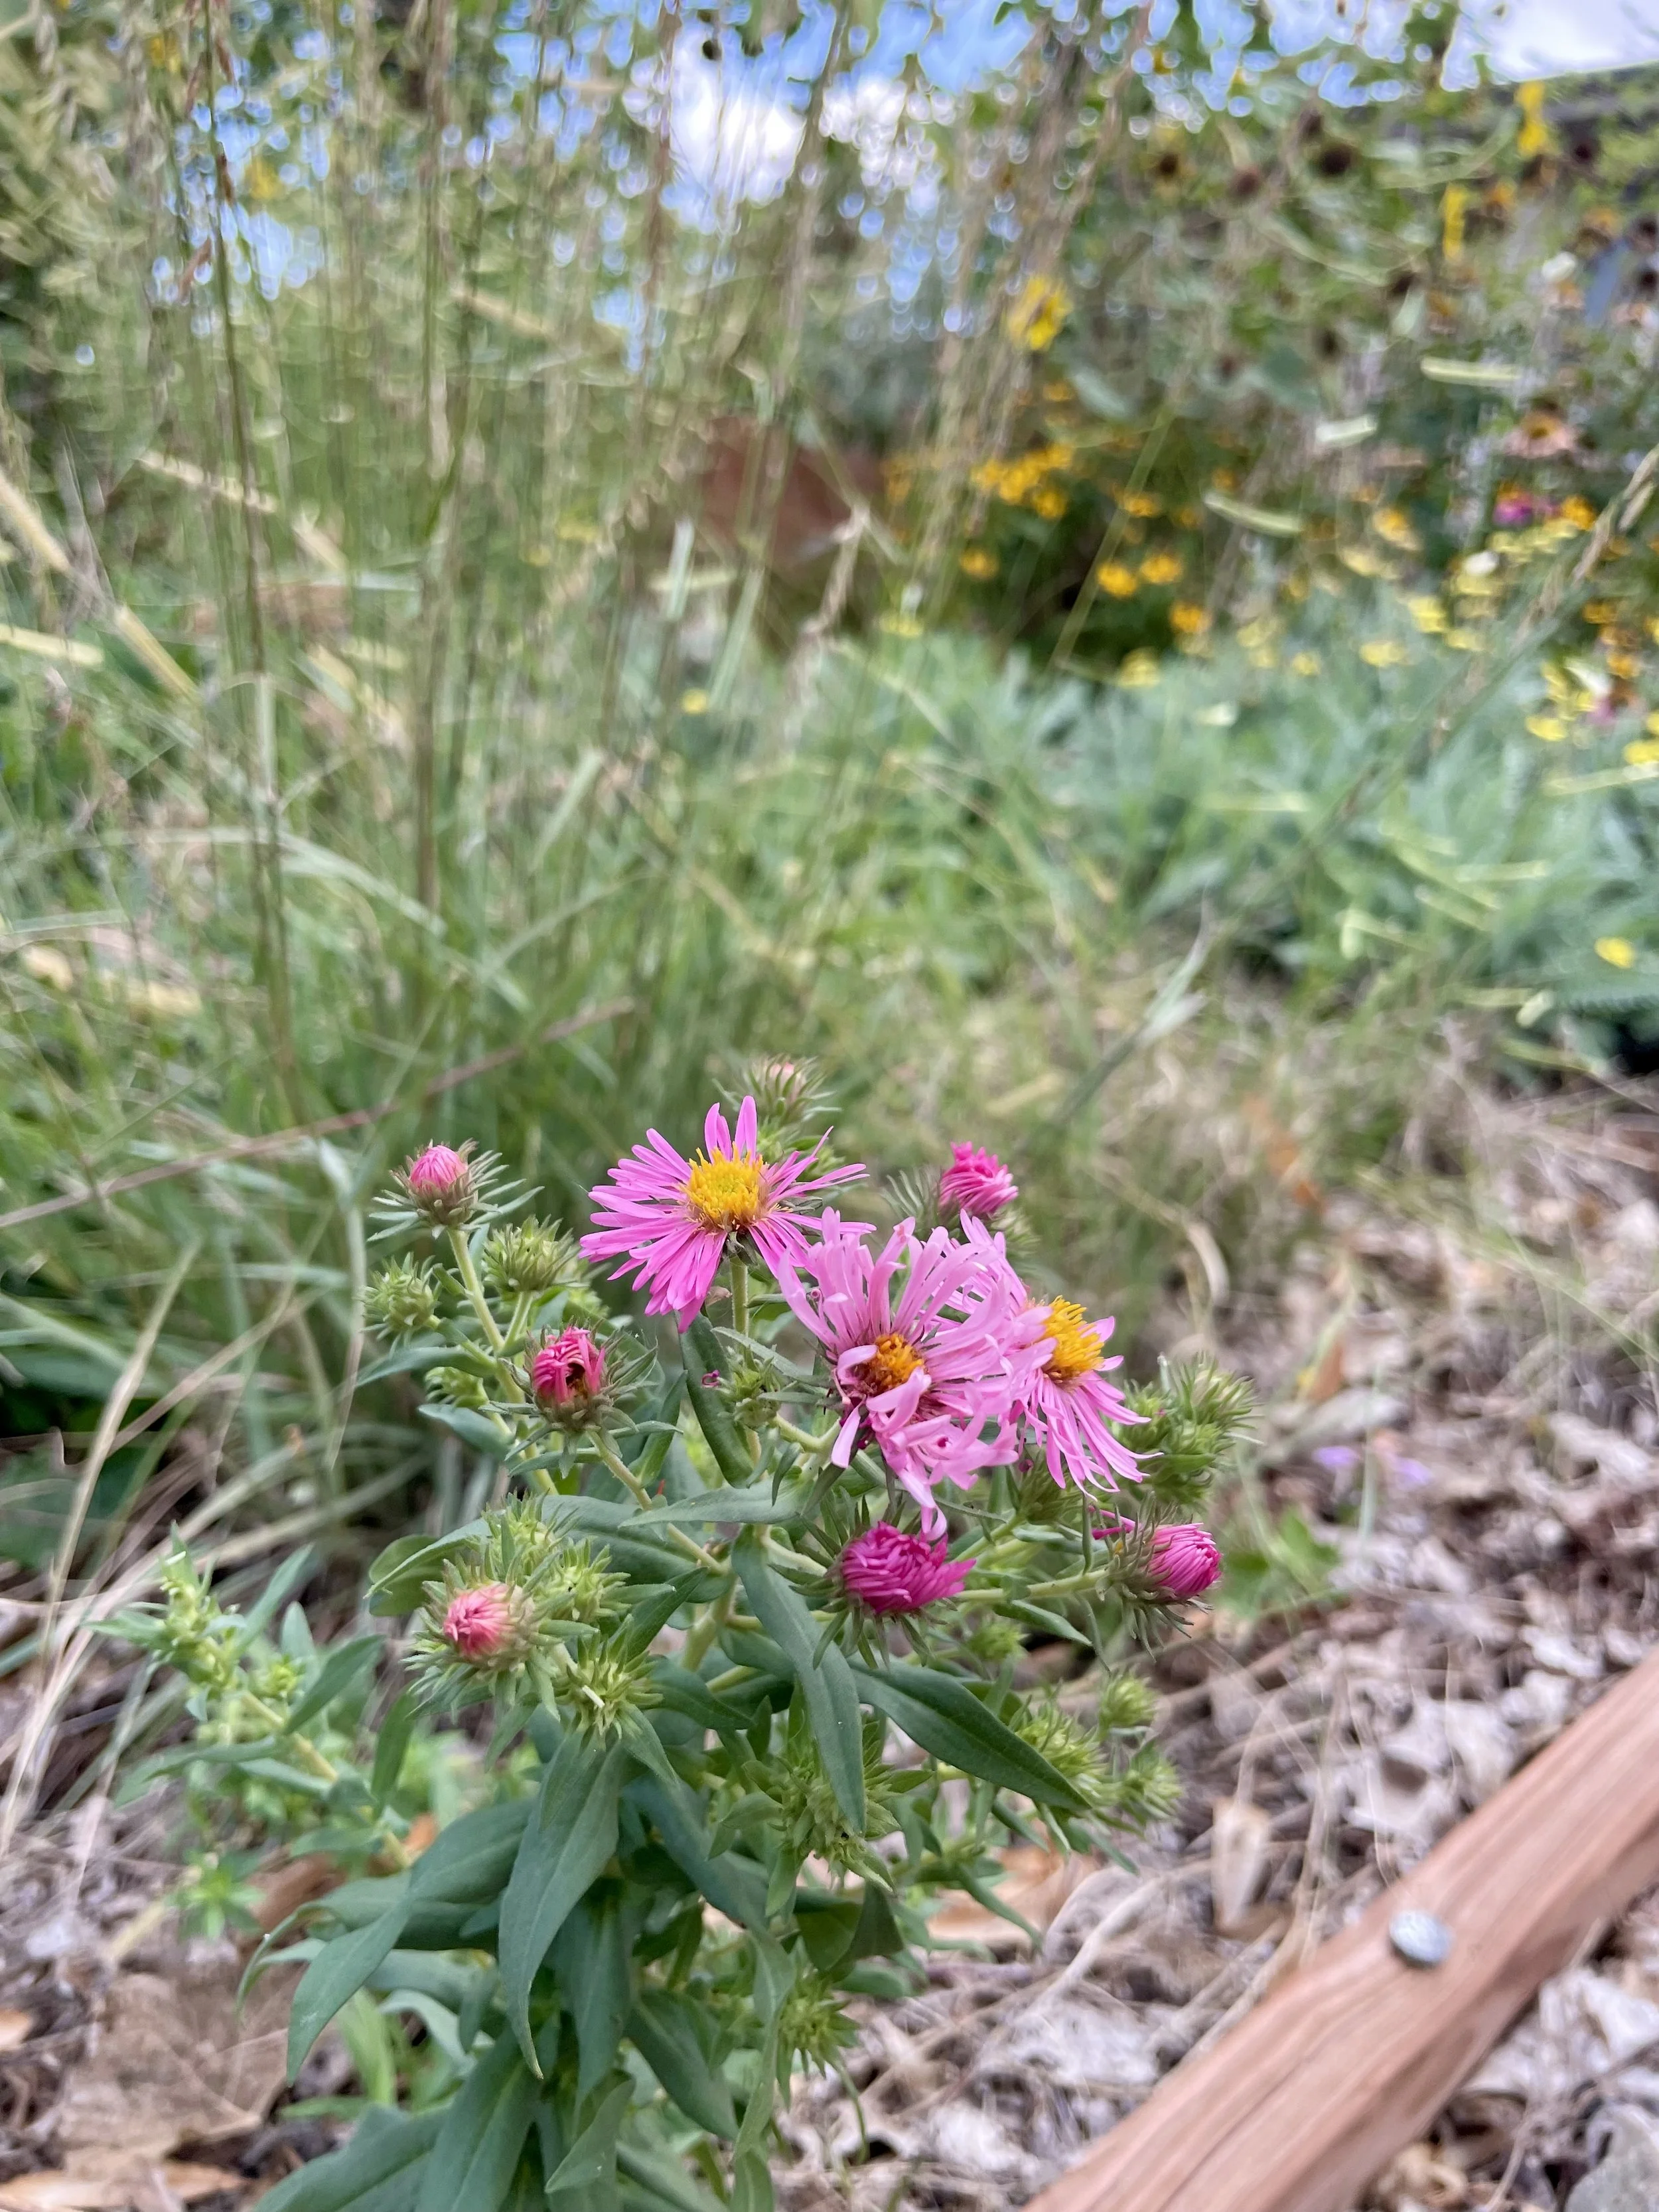
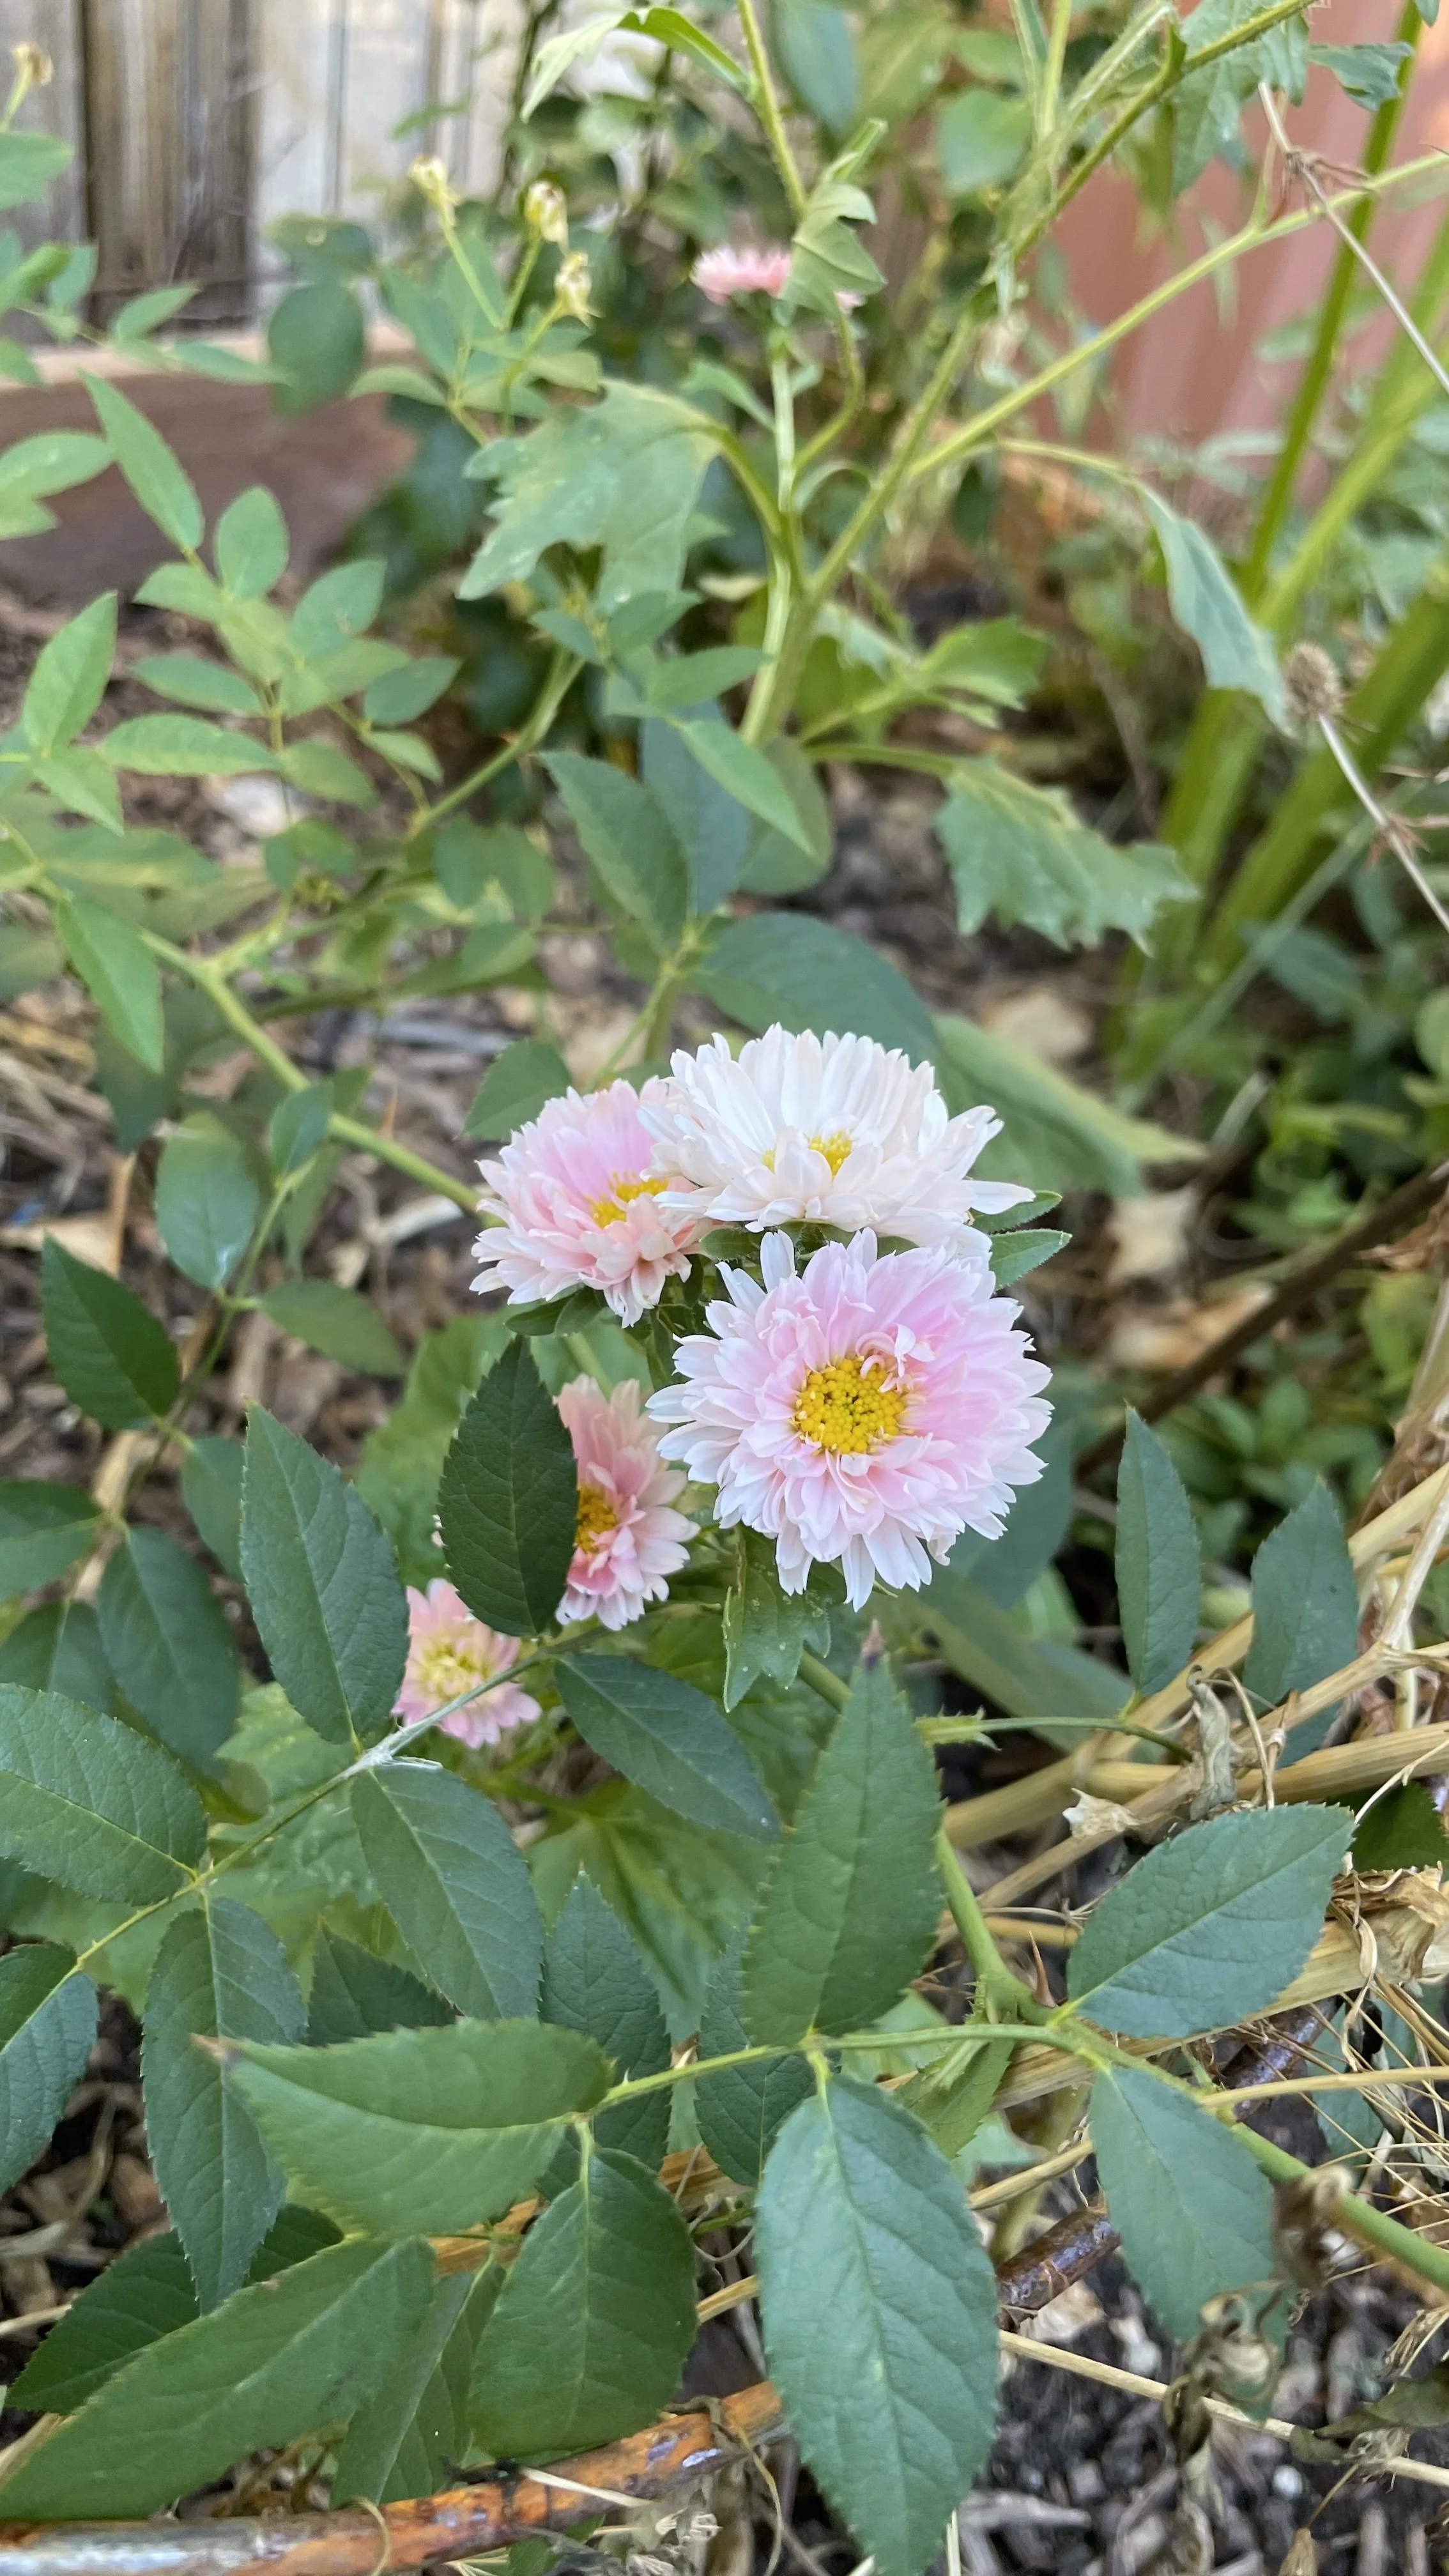
I know how important Asters are for bees preparing for hibernation and for butterflies as well. That nectar and pollen in September and October – even November is so important. So I am going all in on multiple Aster varieties:
Symphyotrichum laeve | Smooth Blue Aster
Symphyotrichum lanceolatum | Panicled Aster
Symphyotrichum praealtum | Willow Aster
Symphyotrichum ericoides | Heath Aster
Symphyotrichum novae-angliae | New England Aster
Symphyotrichum turbinellum | Prairie Aster
Additionally, I used to have wild violets that grew in the area where the Wildlife Garden is now. They disappeared when we established the Wildlife Garden – too much disturbance, I’m sure – and I would like to have some again. So I am planting two varieties:
Viola pedatifida | Prairie Violet
Viola sororia | Common Blue Violet
I also ordered two native seed mixes to spread in the Wildlife Garden. I did this last year and had almost zero germination. But we had such a warm and dry winter that I suspect those seeds didn’t stand a chance. They may still be there, however, and some may appear if we have a wet winter this year. And I’m scattering a few more seeds as well. These mixes boost the biodiversity of the Wildlife Garden while also mixing in some annuals and perennials I haven’t grown before.
I think I will scatter the native seed mixes, but I’ll be using the winter sowing method for the Asters and the Violets.

at the close…
This was probably a longer answer than you anticipated, but winter sowing is definitely a thing! And it is pretty important when we are planting native plants and seeds.
Not every native plant needs cold stratification. Check your seed packets. They will give you good instructions for the best results.
If you have questions, don't hesitate to ask!
This post originally appeared on my Substack. Subscribe to my Substack, and all of this gardening goodness will appear in your email inbox weekly!
Happy Gardening!
Angela
Subscribe now so you never miss a thing!