Gardening Checklist for the Second Week of March, 2025
Here in Colorado I am bracing for a big storm coming Thurs/Fri which will bring high winds. I love the weather here, for the most part, but I find those days of howling winds to be unsettling, and they leave me with serious cabin fever. Some of that is anxiety from the Marshall Fire (have you considered firewise gardening in your plans?), but it's also just the roaring winds and decided unpleasantness. Evidently the Ides of March will roar like a lion – how's that for mixing up all of the March Madness in one pot of gold.
With that in mind, here is your Weekly Gardening Checklist for the Second Week of March:

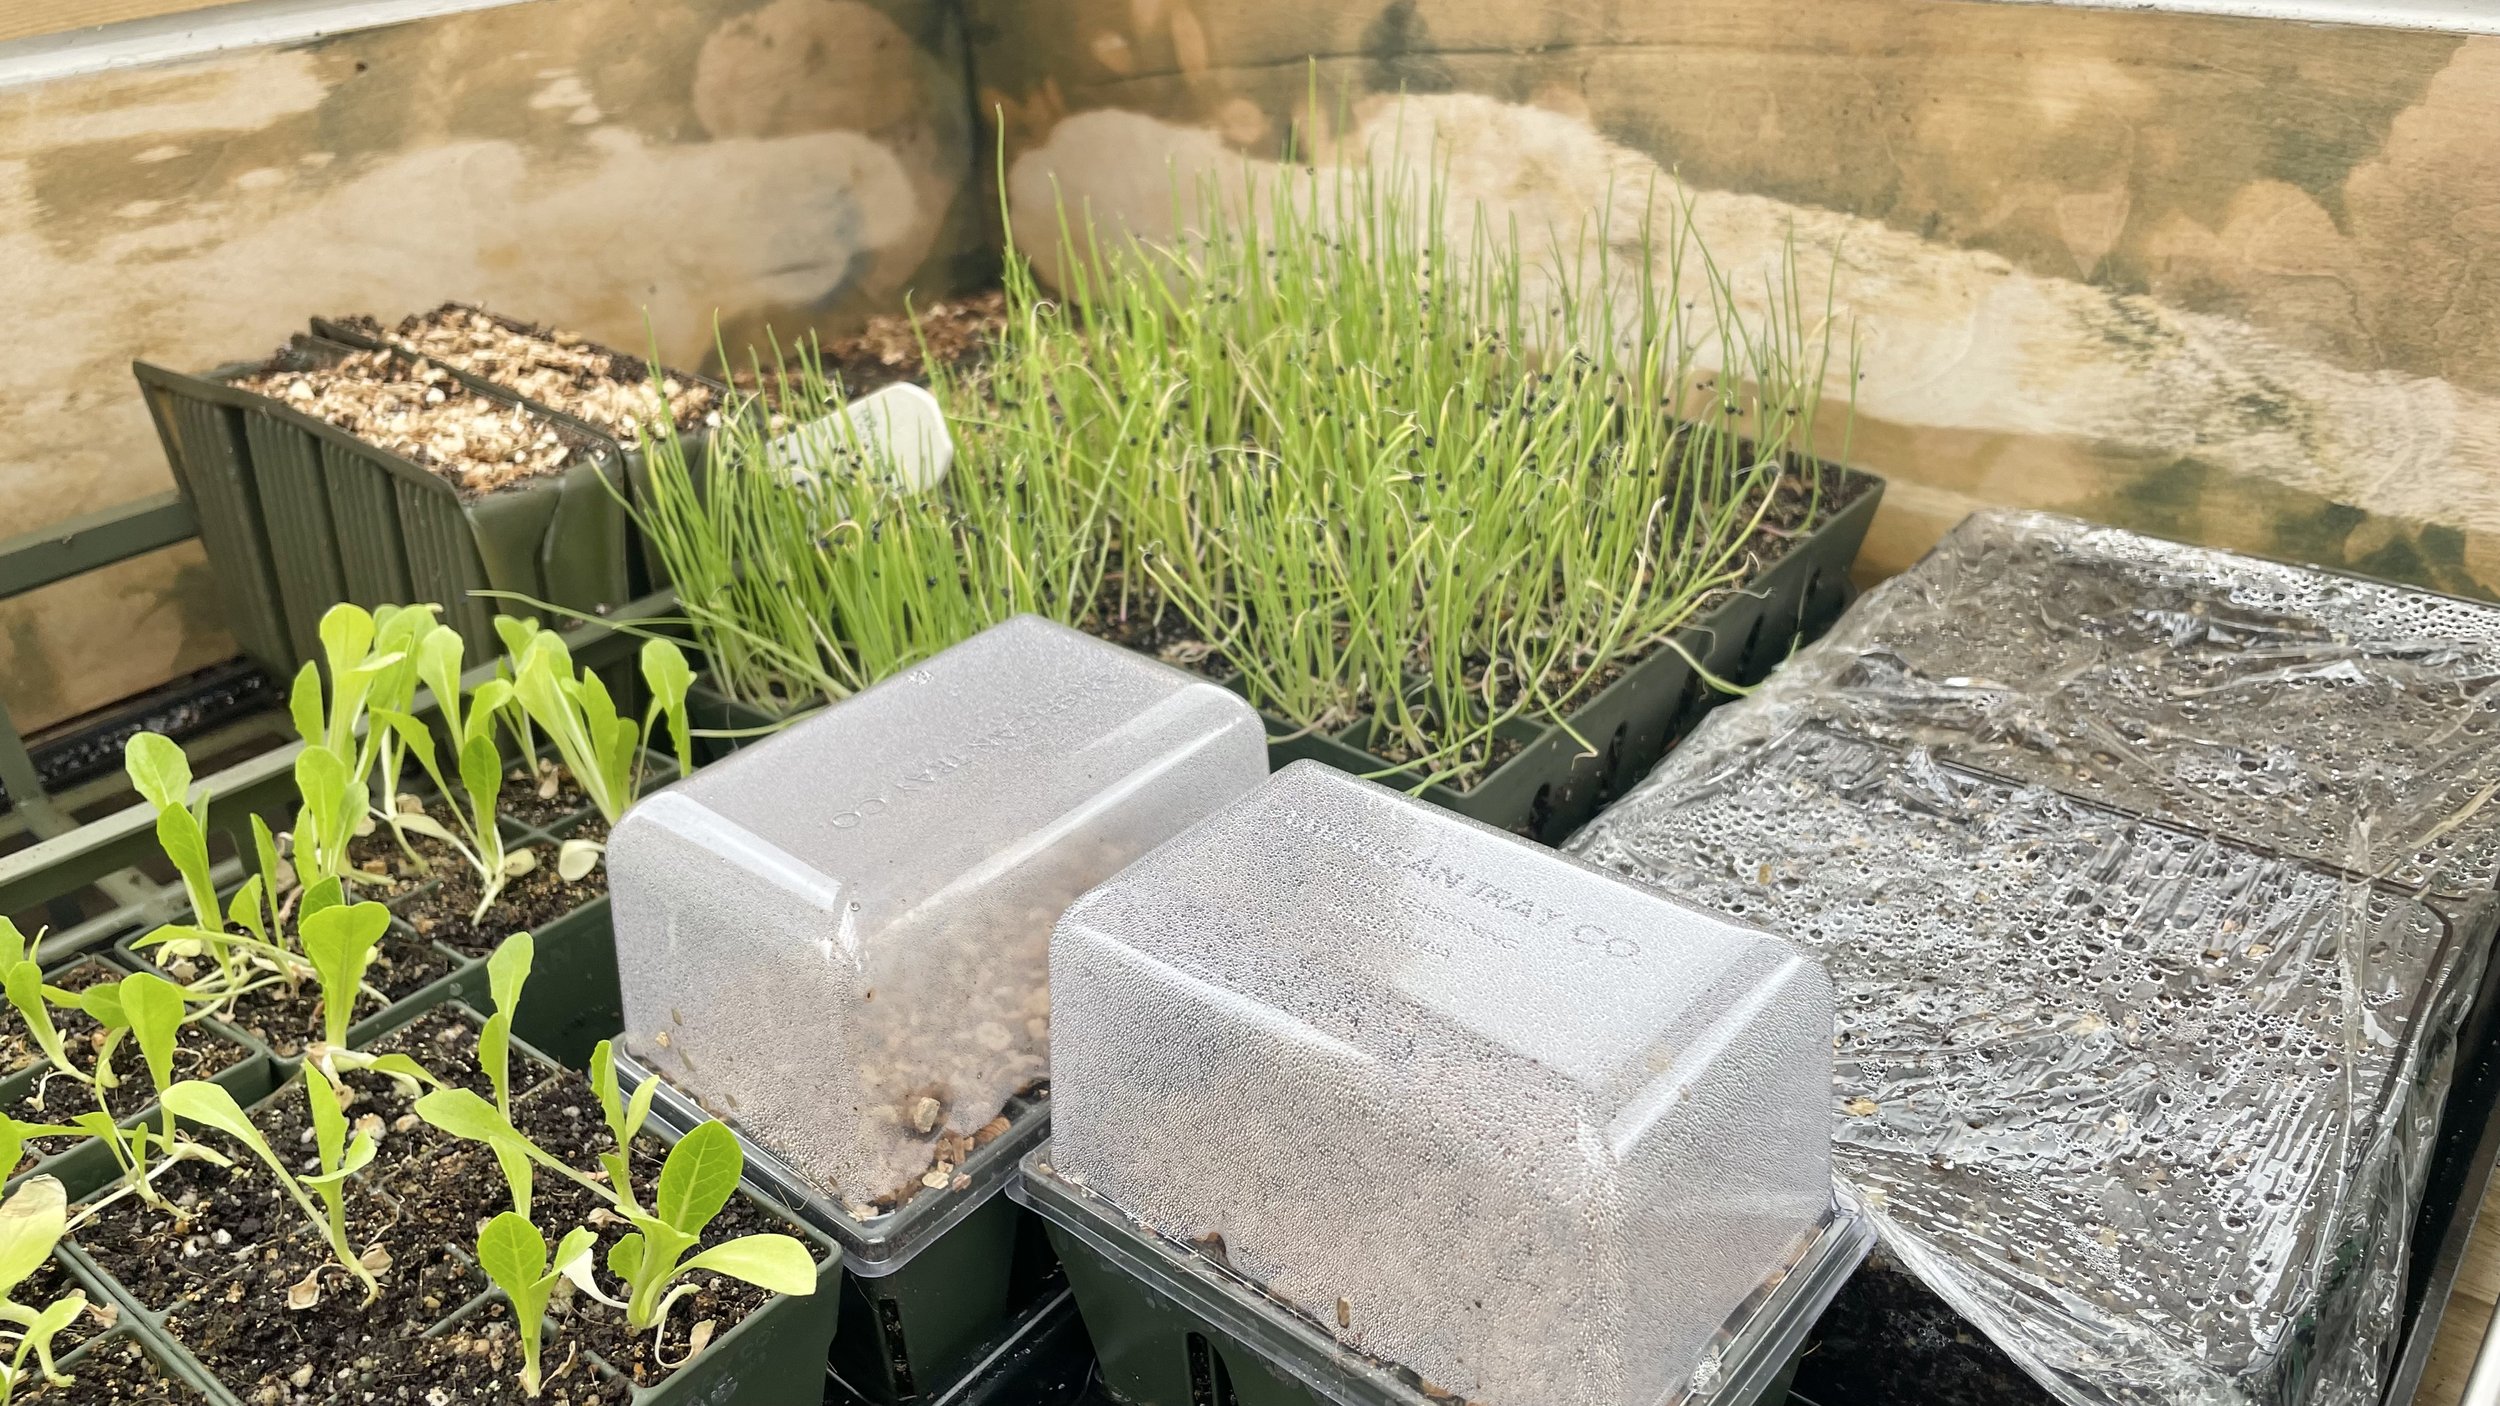
Romaine Lettuces in seed trays in my greenhouse.

Spinach can be grown just like cut and come again lettuce varieties. I start it in the same way at the same time — often in the same bed.
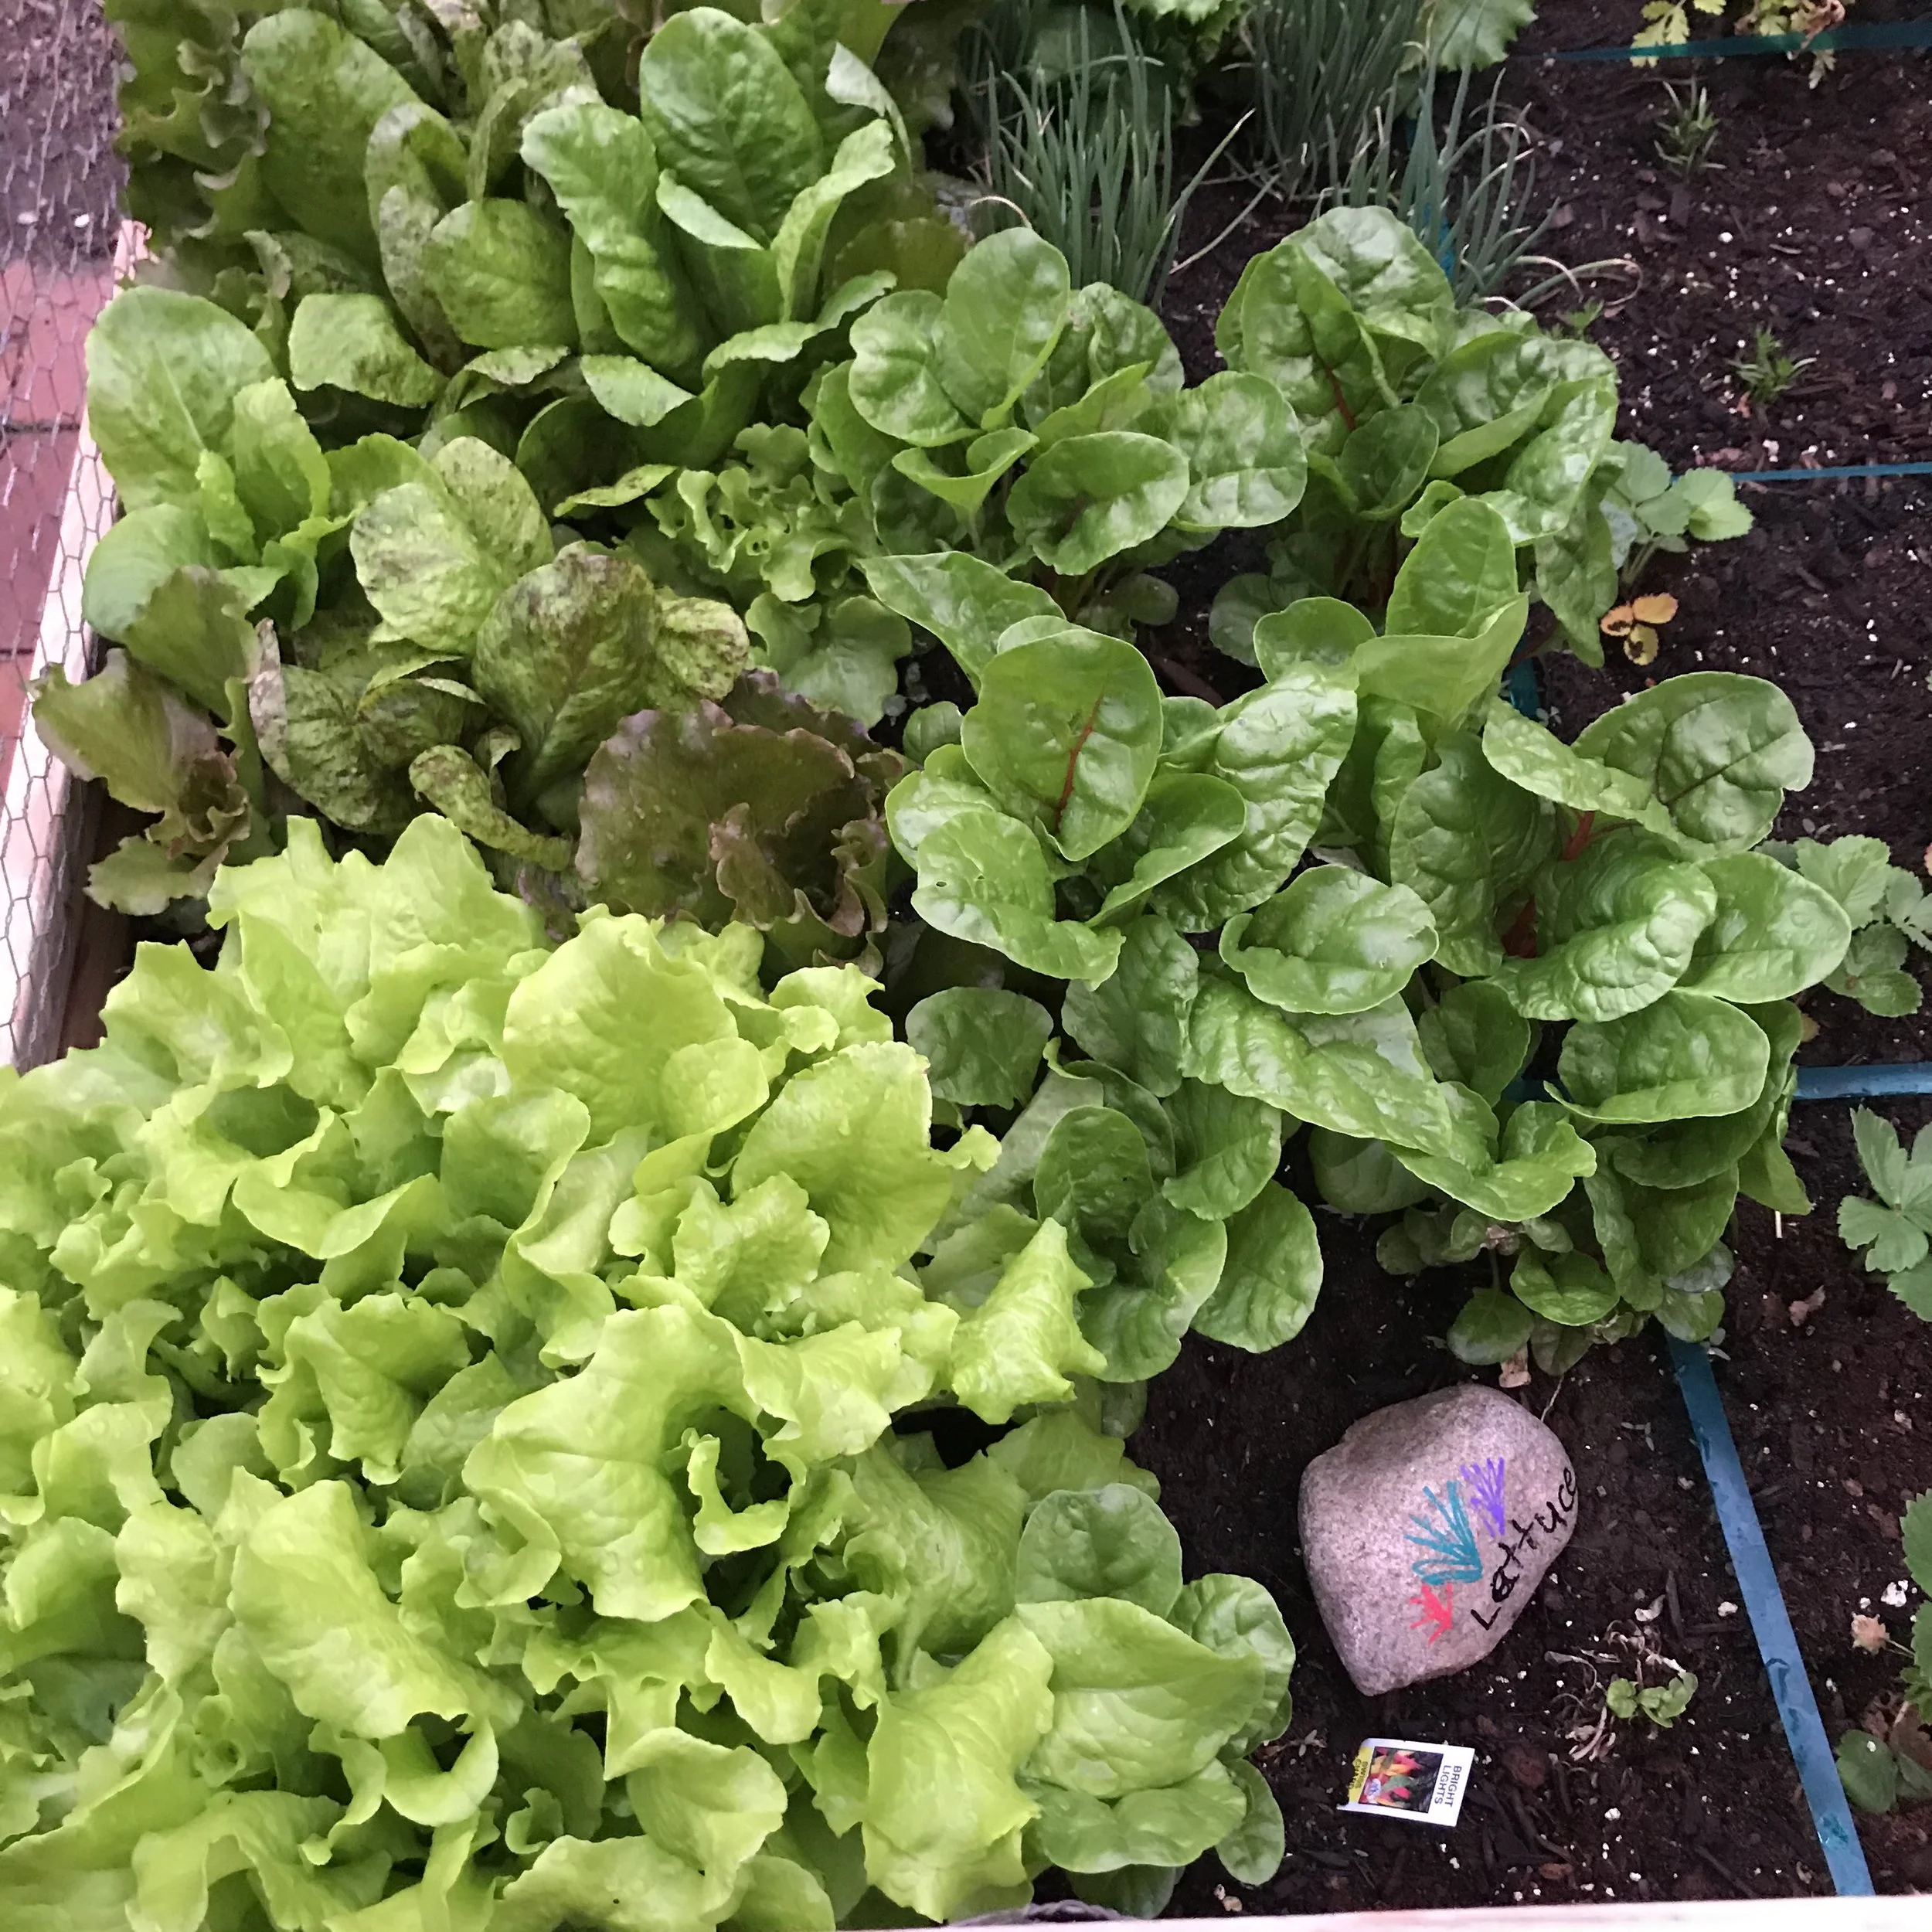
Direct Sow Lettuces
or Start Seeds Inside
If you are within 3-4 weeks to your last frost date, you can direct sow lettuces outside. Just keep some frost cloth handy in case you have a cold night. If you have longer to go, like me, it's probably best to start them inside or under a season extender. Either way, growing lettuce is really easy, and it's a gratifying beginner veggie.
Cut & Come Again Varieties and Mixes
If this is your first time growing lettuce, consider starting with what's called a "cut and come again" variety. This means you won't get a big head of lettuce like you would see at the grocery store, but you'll get lots of little plants that you can harvest from as you need the leaves, and they will regrow several times (the "come again" part). However, these lettuces are harder to transplant, so wait until you can direct sow them where they will stay.
These varieties can be grown in between other plants without worry because they varieties are shallow-rooted and won't compete. So you can fill in spaces in your veggie patch with lettuces as desired.
Tips for Cut-and-Come-Again Varieties
Put down 1-2" of compost before sowing for water retention and nutrition as these plants have such shallow roots.
Sprinkle the seeds evenly across the surface of a bed, a large pot, or your veggie plot.
I cover the seeds with a single layer of burlap which helps to hold in the moisture until they germinate. Once you have germination, remove the burlap.
Water well and keep watered at least once per day until you see true leaves. If it is windy or really sunny, you may need to water twice per day until they are established.
Once the leaves look big enough, start harvesting. Just cut the leaves you need and leave the rest of the plant. I try not to take more than ⅓ of any single plant at a time.
A nice-sized patch of lettuce will last a few months before bolting if it is well-watered and harvested frequently. Once the lettuces stop producing, just cover with another 2" of compost (don't dig them up), and plant something else – or start new seeds.
Head Lettuces
I find it easiest to start head lettuces like Romaine inside in seed trays which I then transplant into the garden once they are 4" tall or so. Certainly they can be started in situ, but I have better success in seed trays.
Tips for Head Lettuces
Start them early! Most head lettuces will start to bolt (flower and produce seed) when it gets hot, and that makes them very bitter.
Place 2-3 seeds in each cell and lightly cover with vermiculite. Vermiculite holds moisture on the surface of the seed tray and helps the seeds germinate.
Bottom water your seed trays to keep from washing the seed away.
Lettuces generally don't need heat mats or lights to germinate – unless you are working in a dark, cold room. A sunny windowsill should be just fine.
Lettuces need moisture, so keep the soil moist but not soggy.
When the lettuce is 3-5" tall or you have passed your last frost date, plant them out into the garden. Follow the sowing spacing defined on the seed packets (usually 6-8" apart). When harvesting, I generally remove the outermost leaves, and then shake the heads upside down to shake out any small creatures who may be inside.
It's hard to go wrong with home-grown lettuce, and this is a fabulous crop to get kids thinking about gardening – and eating salads, too!
My favorite lettuces to grow
Start Onions from Seed
Home-grown onions have a little magic to them! They have a richer, deeper flavor than the standards at the grocery store, and there is just something enchanting about being able to harvest and store your own onions. I love them, and they are very easy to grow.
I start my onions inside as a way to control moisture and growing conditions – getting them off to a good start. It also allows me to start them earlier to maximize the growing season. But you can direct sow them, too.
Sowing Tips for Onions:
Use a good peat-free seed starting mix and fill your seed trays quite full.
You can broadcast-sow onions in a shallow pan, a raspberry container, a seed tray – anything that has some drainage and is at least 2" deep. I like to use raspberry and other fruit containers.
Sow the seeds evenly. If you are using seed trays with cells, put 3 seeds per cell. Otherwise, just cast the seeds on the surfaces and cover with vermiculite.
Onions need heat to germinate, so a seed mat can be very helpful. But once they have germinated, remove them from the heat.
I grow mine on until the soil temperature outside is about 60-65℉. Then I plant them out. And I follow Rekha Mistry's advice – planting my onions in bunches of 3 plants. This gives me onions that are smaller on average, so I can use a whole onion instead of half an onion here and half there. It reduces waste when I am cooking!
My Favorite Onions to Grow:

Make a Plan
to Replace Some Grass
Now is the time to start thinking about replacing some of your grass. If you have a big grassy lawn, consider: is there a part of the lawn which I could replace with plants that are beneficial for wildlife? I know this is a loaded question for many people. Afterall, the big green lawn is a symbol of status (even subconsciously) and of pride. There are many people who take great pride in mowing and cutting, fertilizing and feeding and weeding a large grassy expanse with precision.
But here's the thing: the grassy lawns of North America do not support wildlife at all. They are monocultures. And all of those chemicals and fertilizers are not helping either.
So, is there a better way?
I think so. And I am going to have much more on this subject over the course of the coming few weeks.
But I am challenging you now to consider: is there a place where you can plant for wildlife rather than lawn?
I am a mom. We have dogs. We do have grassy areas in our yard! Don't get me wrong. And later this week, I'll tell you more about those areas and how we have changed them of late.
But I have worked to shrink those areas to the bare minimum over the last 7 years. And I have replaced grass with a wide range of plants that beckon and welcome wildlife with nectar, pollen, shelter, and habitat.
Like I said: there is more to come on this topic, but start thinking… do we need ALL of this lawn, or can we use a part of it in another way?
For some inspiration, check out my Wildlife Garden.

And that is your Weekly Gardening Checklist!
Sign up for my Substack to get the Weekly Gardening Checklist and lots more in your email every week: