DIY Rose Trellis
How to Build a Cheap and Easy Rose Trellis
for Climbing & Rambling Roses
If you’ve got a climbing or rambling rose that’s outgrown its support—or maybe you’re not even sure what type of rose you have—you’re in the right place. In this guide, I’ll walk you through a simple, budget-friendly way to build a rose trellis that supports healthy growth, protects against weather, and encourages more blooms throughout the season.
Whether you're a beginner or a seasoned gardener, this method is easy to follow and incredibly effective. Let’s dig in!
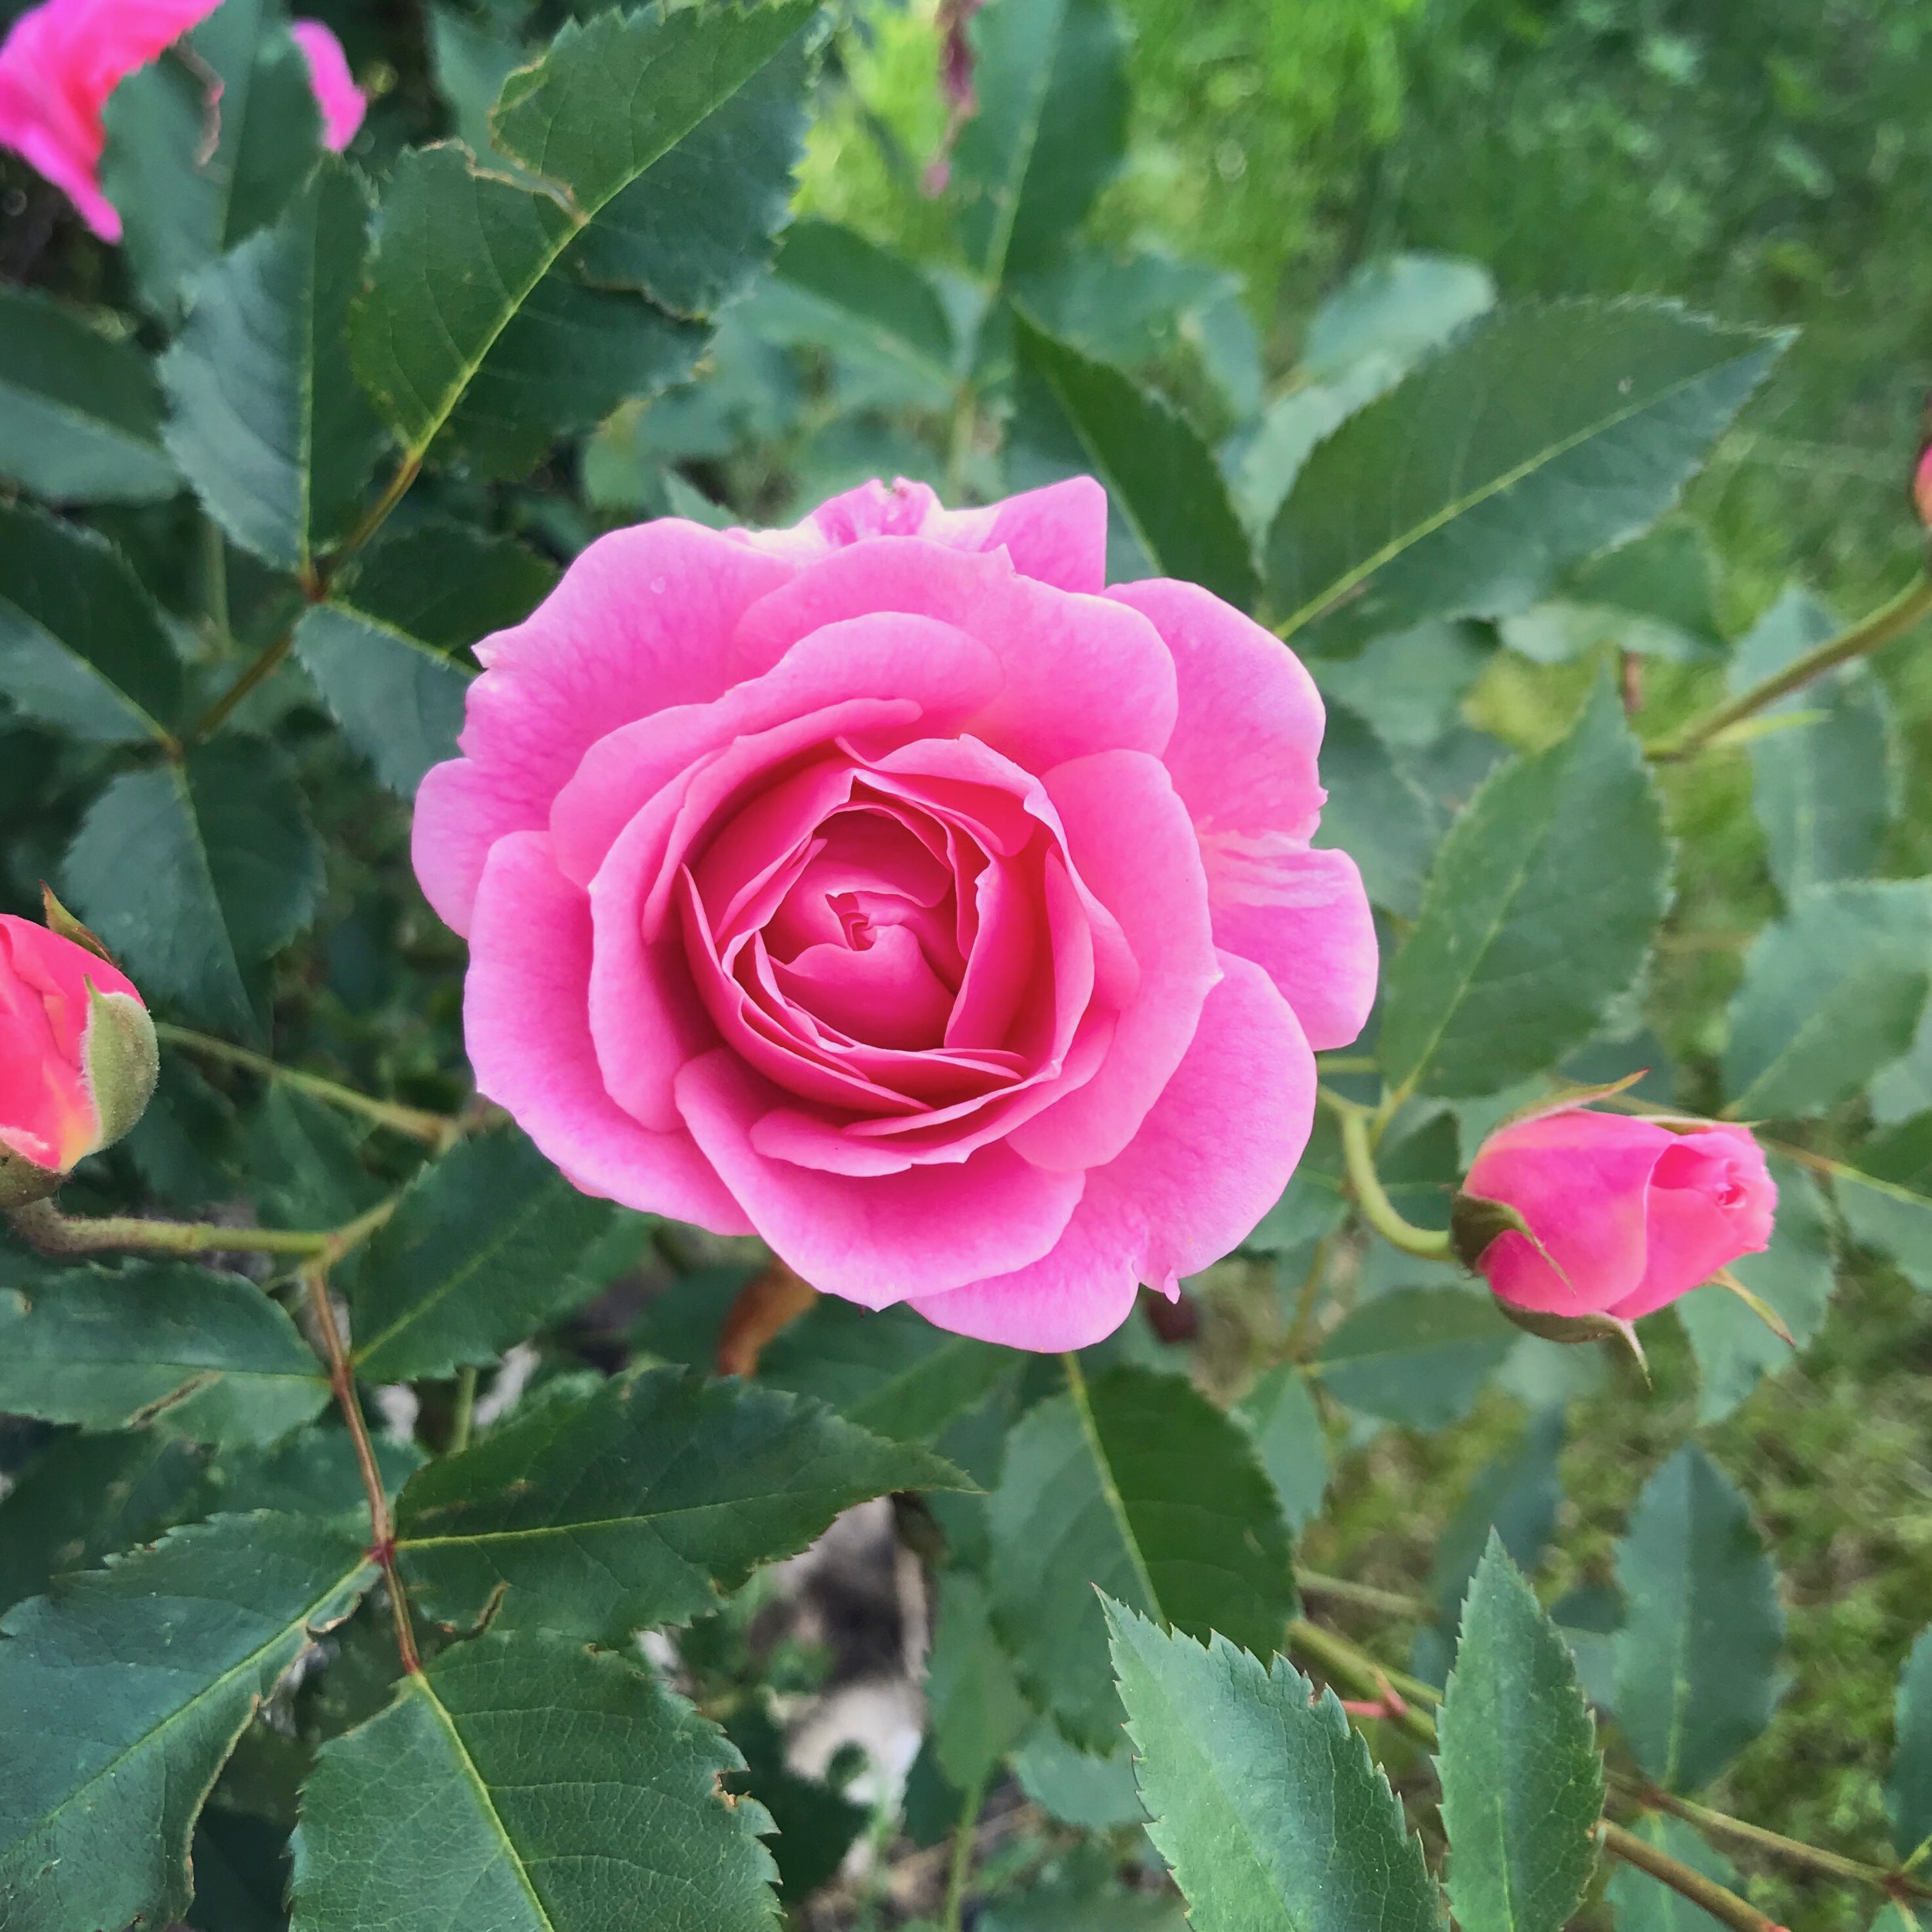
When I was at my mother’s house recently, I noticed that her poor climbing rose had outgrown its trellis. So I headed to Lowe’s for a few supplies, and within a few hours the rose was much happier — trellised against the wall of her shed with plenty of room to grow.
Making this type of trellis is simple, inexpensive, and the trellis becomes invisible as the rose grows — so you enjoy the beauty of the plant at its fullest.
So, let’s make a rose trellis!

Climber or Rambler?
Does It Matter?
First, a quick note on rose types:
Ramblers typically bloom once per year in a big burst and have clusters of smaller flowers.
Climbers bloom in multiple flushes throughout the season, often with larger, single flowers.
Whichever you have, the method I’ll show you works beautifully for both. The key is giving your rose the structure and support it needs to thrive.
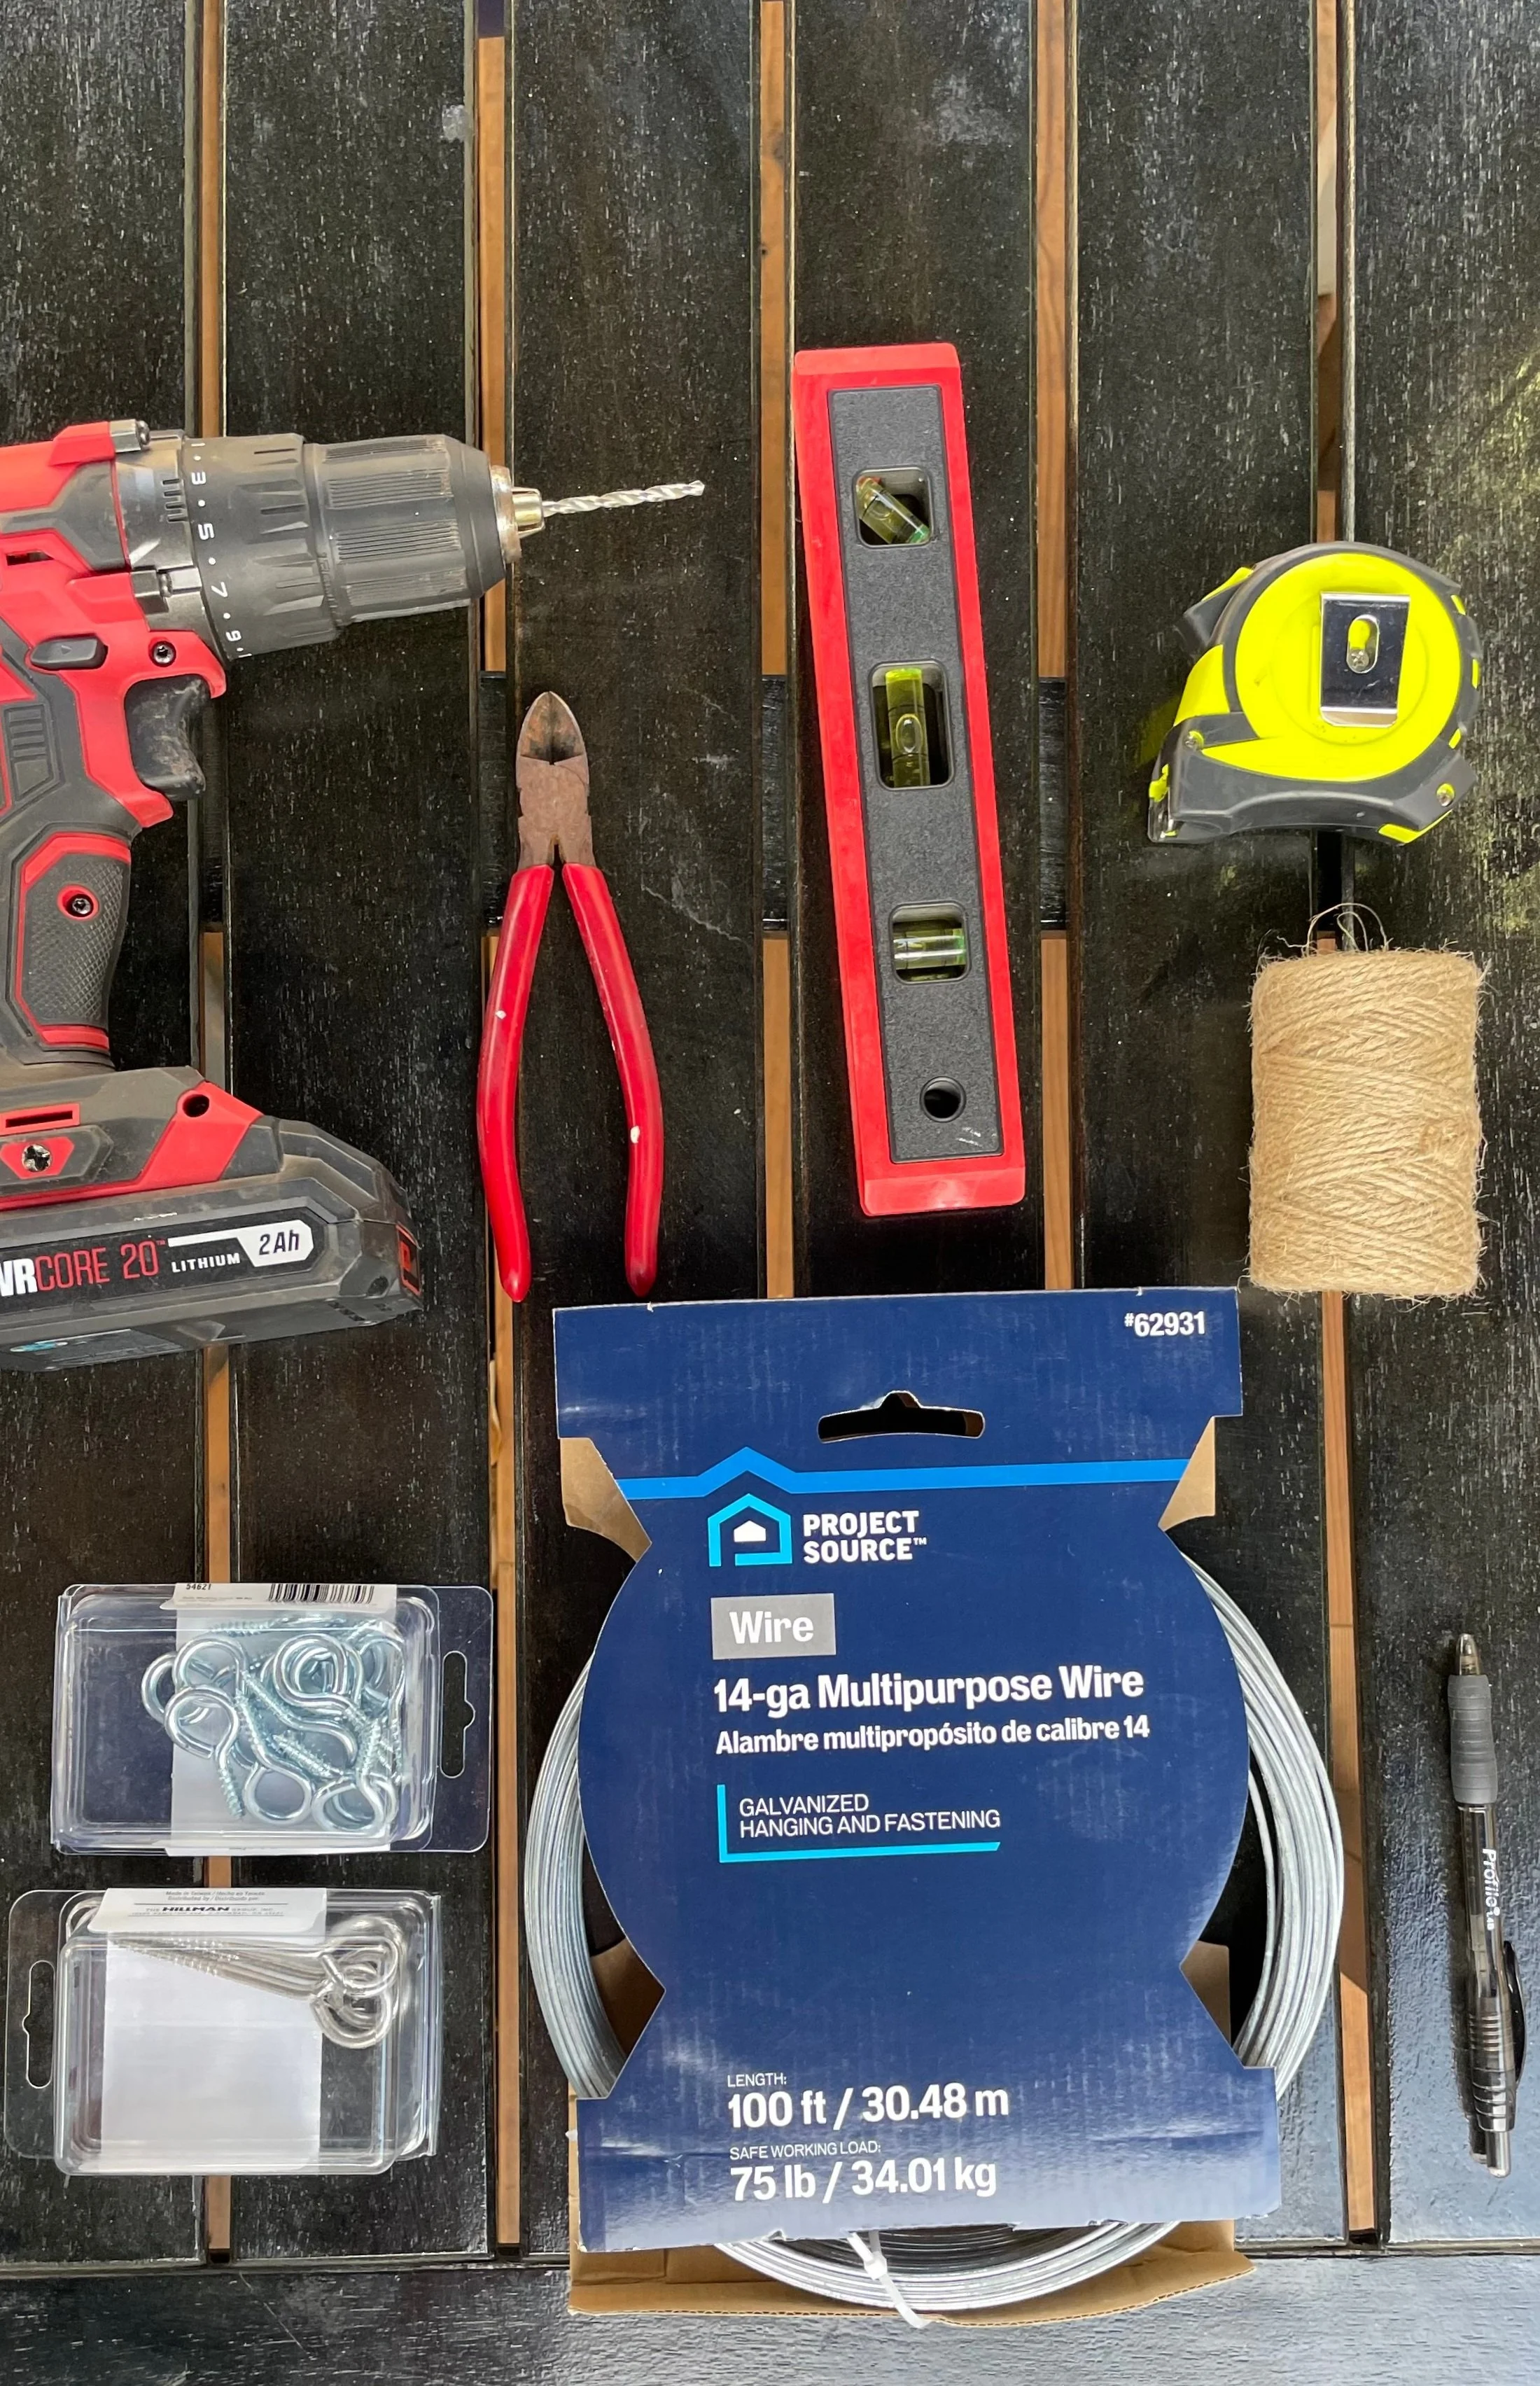
Tools & Materials You'll Need
You probably already have most of what you need:
Drill
Wire cutters
Level
Measuring tape
Eye hooks (I used both 3-inch and shorter ones—choose based on your wall space)
14-gauge galvanized wire (100 feet should be plenty)
Jute twine (avoid plastic—it can damage the canes)
Pen or marker
Optional: Turnbuckles for easier wire tightening (not essential if you're on a budget)
Click the link below to go to my Lowe’s Storefront where you’ll find everything you need for this project!
Video Tutorial
Check out this video that shows you how to make this easy DIY rose trellis.

Step-by-Step: Building the Trellis
1. Assess Your Rose
At my mom’s garden, she had a rose that had clearly outgrown its small, ground-level trellis. With strong, healthy canes ready to climb, it was time for a support upgrade.
2. Install Eye Hooks
I installed a series of eye hooks into the studs of the shed wall— plus above and around the window to help straighten and support the wires.
Spacing tip: Use visual elements like window edges for even spacing. Mine were roughly 11.5 inches apart.
3. Run the Wire
Cut the wire to length, thread it through the eye hooks, and twist the ends to secure. Pull the wire taut for a snug fit. Keep in mind that wire stretches over time, so you can always untwist and tighten later.
💡 Pro tip: Use a turnbuckle if you want a super-tight finish and easy adjustments.
4. Tie In the Canes
Remove any diseased, dead, or crossing branches. I removed an old trellis and chose two strong canes to guide across the shed, one on either side of the window.
Using jute twine, gently tie the main canes and side branches to the wire. Aim for horizontal placement—horizontal branches produce more blooms than vertical ones!
🌹 “Vertical canes grow; horizontal canes bloom.”
Be sure your ties are supportive but not tight. Think of it like a comfy sports bra for your rose—not a corset!
5. Adjust and Train As Needed
Some branches may need a little encouragement. Tie short branches loosely in the right direction; they’ll grow into it. You can always retie or shift them as they lengthen.

Got Questions?
Feel free to contact me —I'm always happy to help fellow gardeners! And if this guide helped you out, don’t forget to subscribe to my Substack and my YouTube channels to stay tuned for more garden-friendly DIYs.
🌿 Happy gardening! 🌹
This entire project took about three hours—and the transformation was immediate. The rose looked cleaner, healthier, and more ready to bloom.
Expect the wires to loosen slightly in the summer heat—just untwist and re-tighten.
Monitor new growth and continue training canes outward and upward.
Keep using jute twine for new ties and avoid anything that could damage the canes.
By mid-summer, this rose will be full of flowers and beautifully covering the shed, while staying protected from wind and weather.