How to Overwinter Dahlias
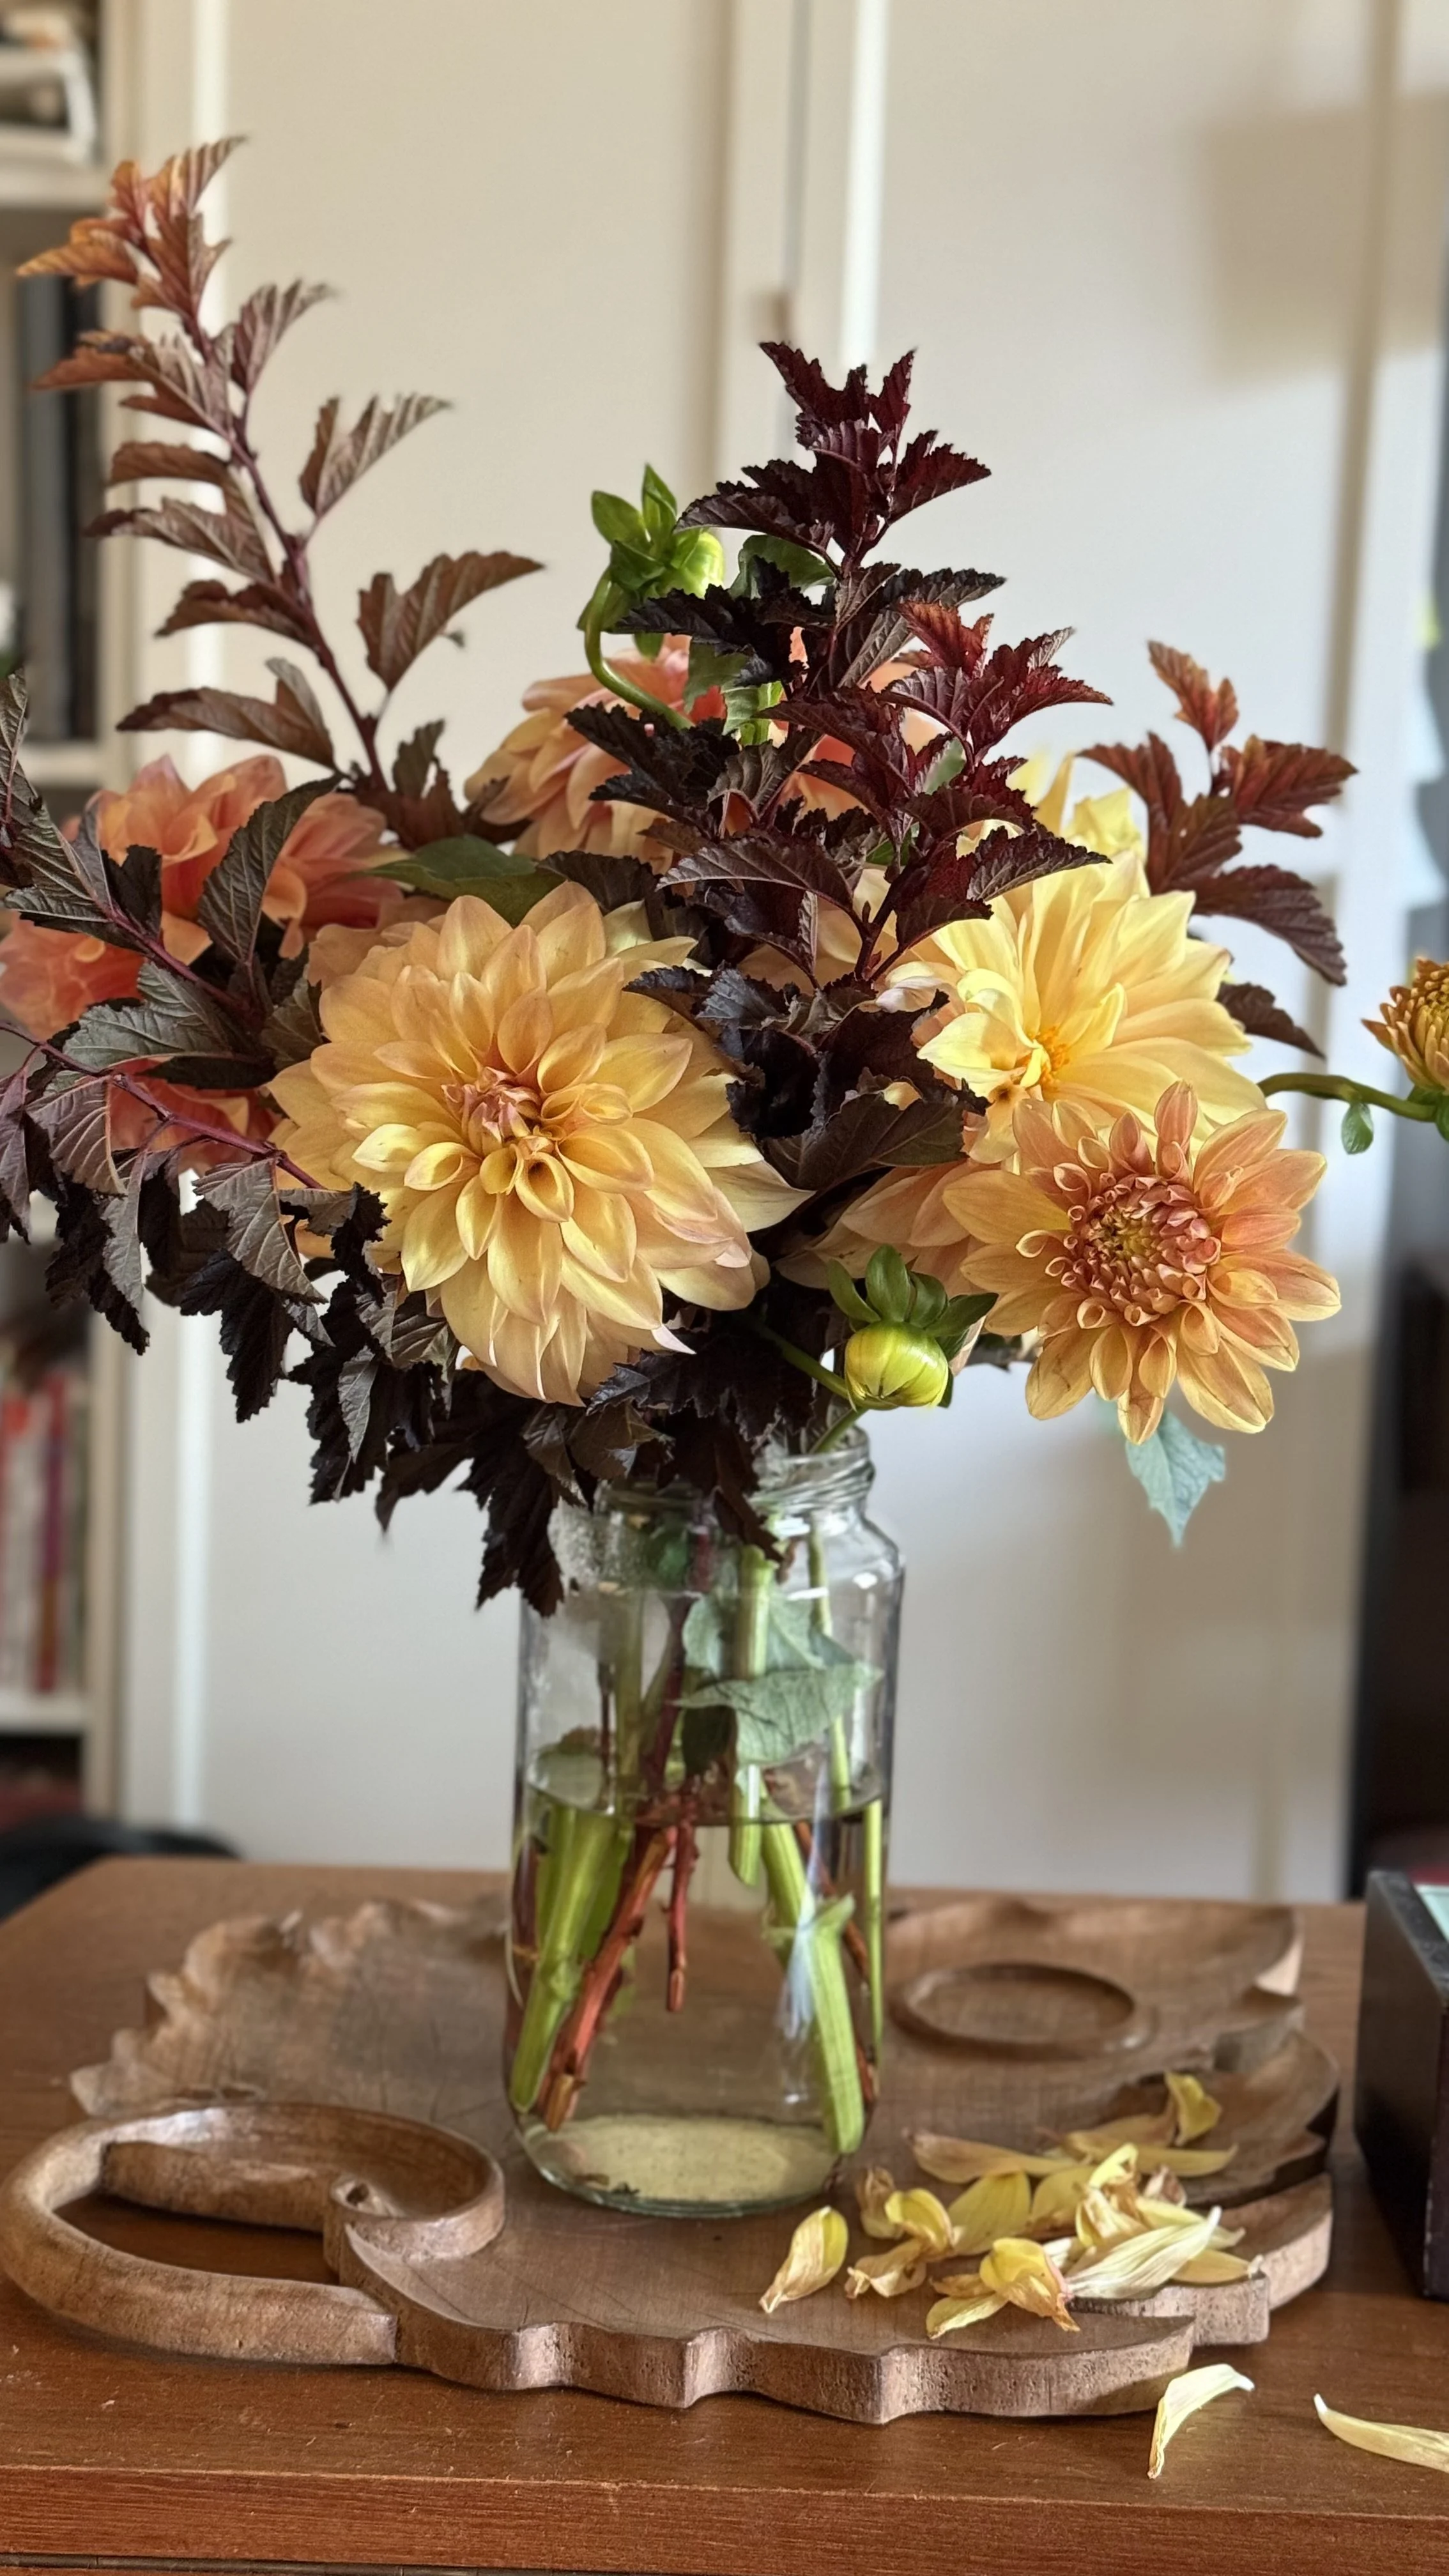
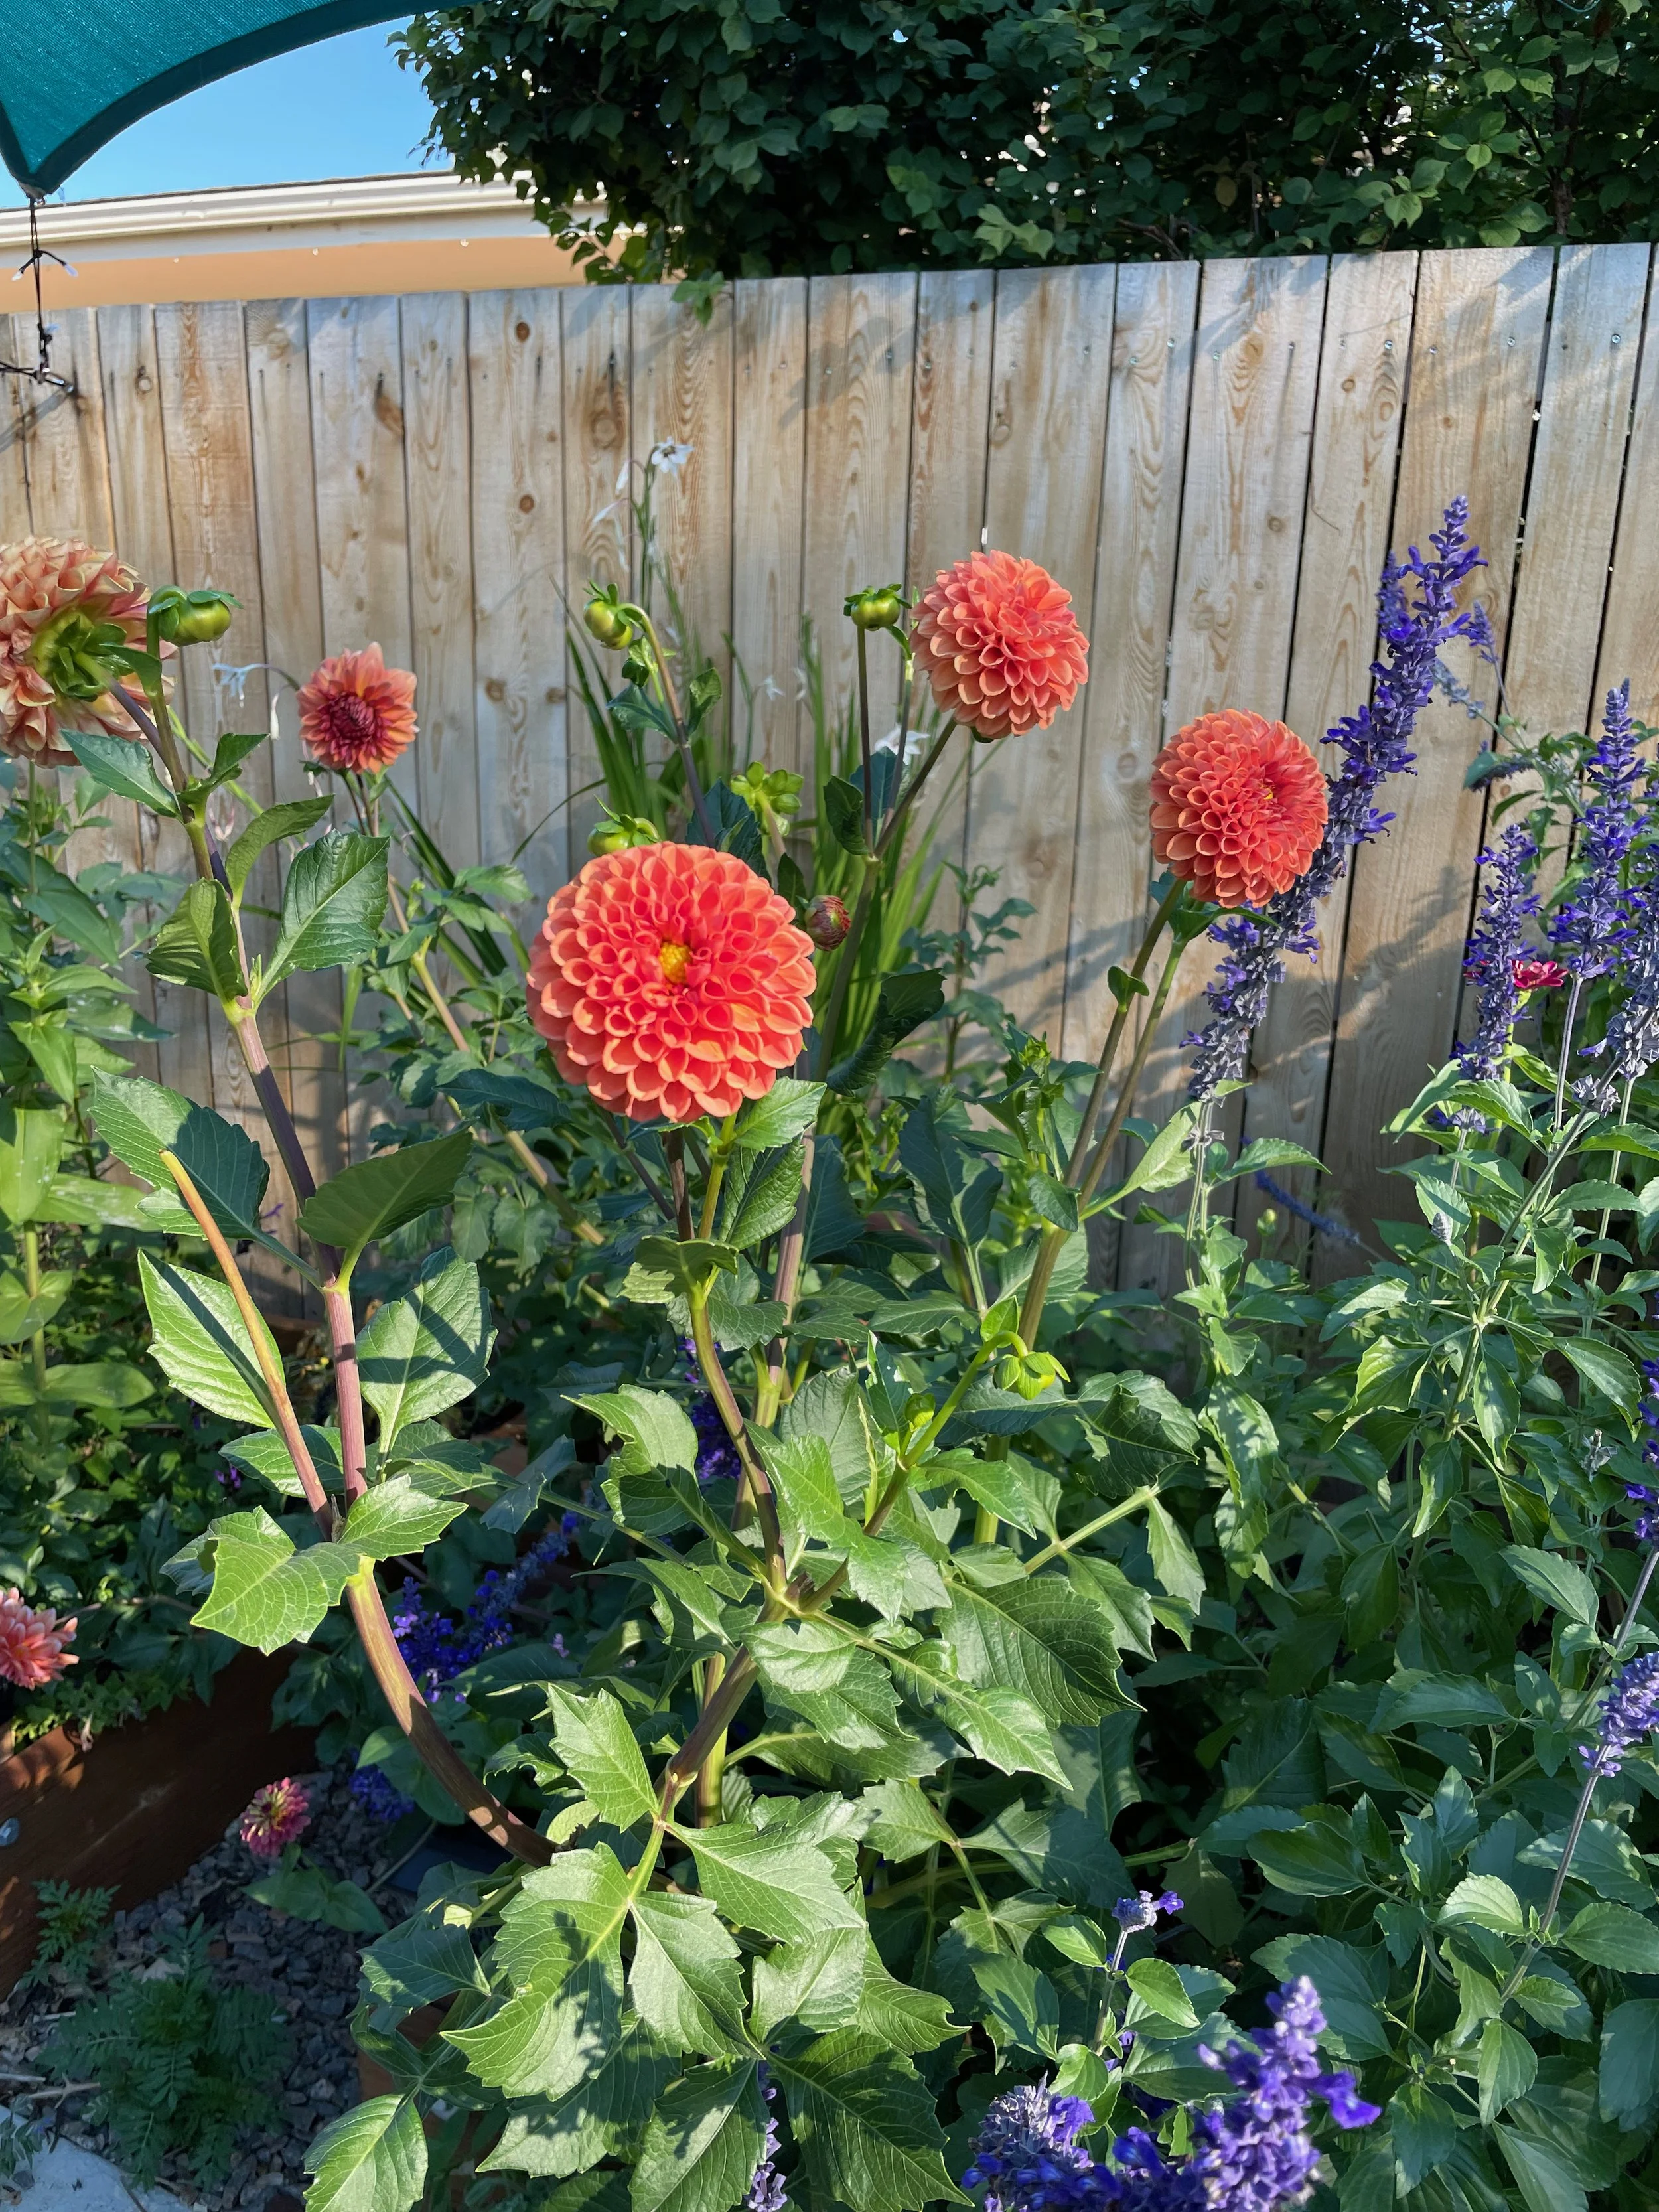
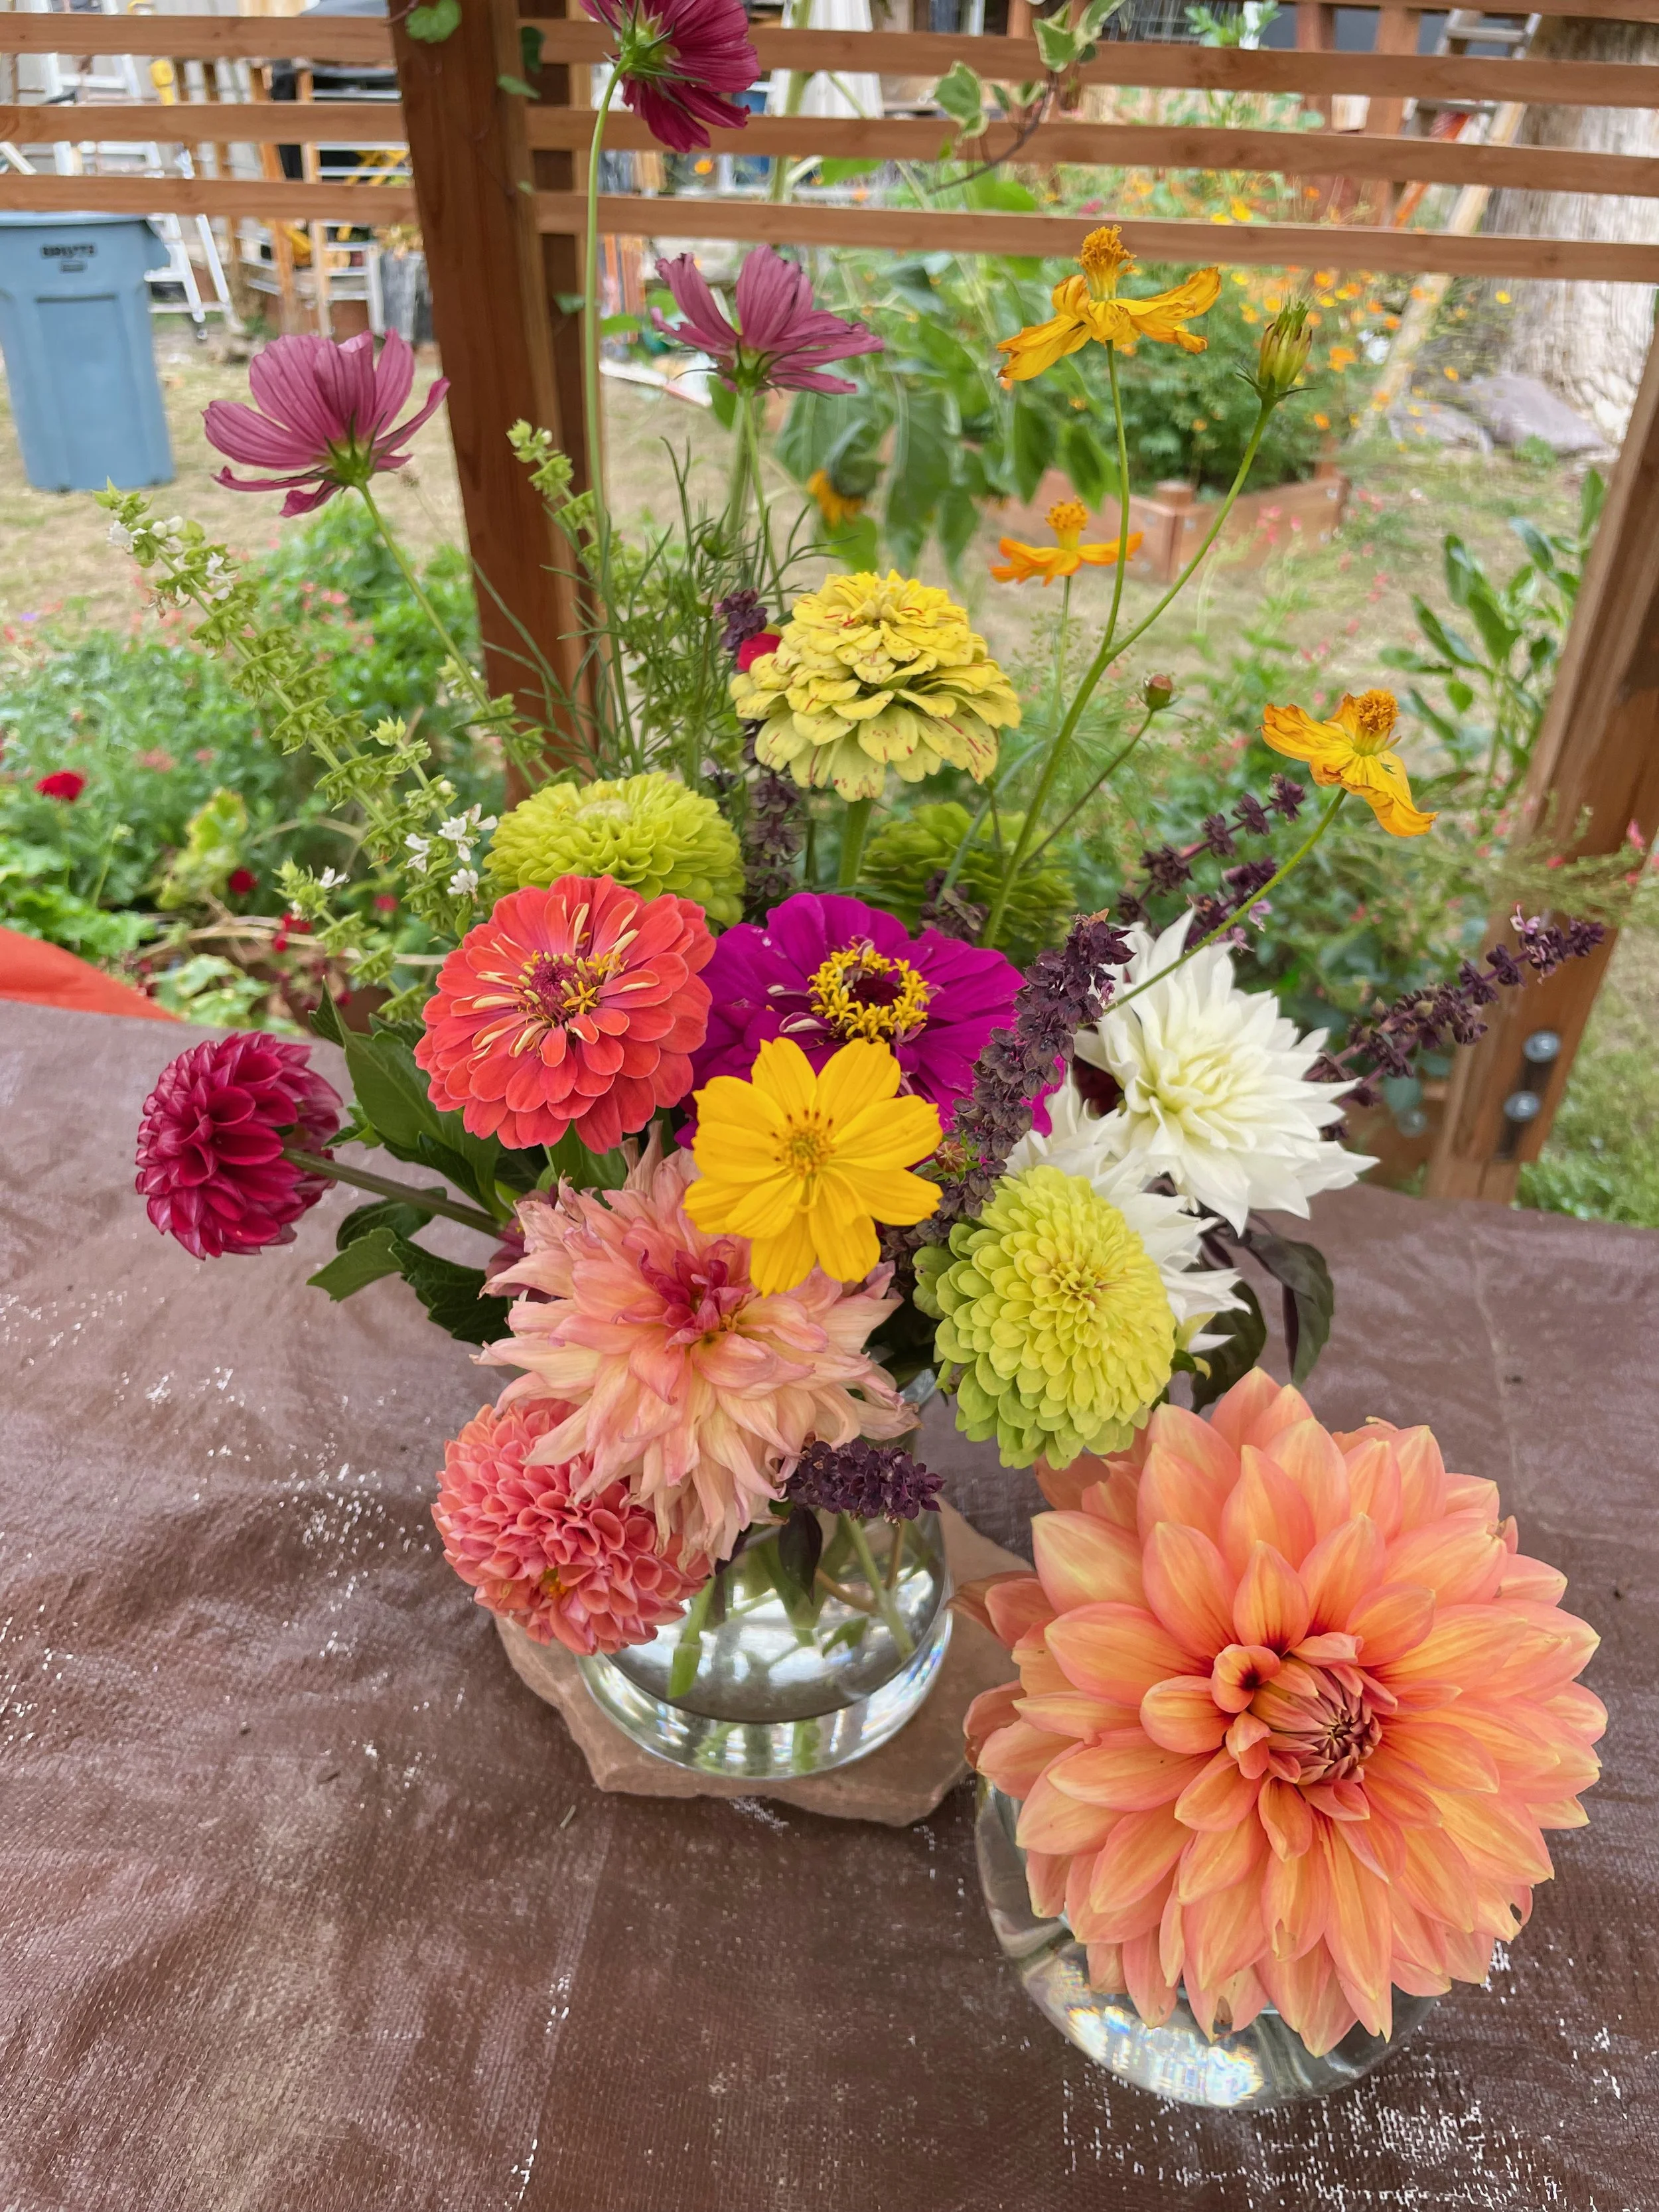
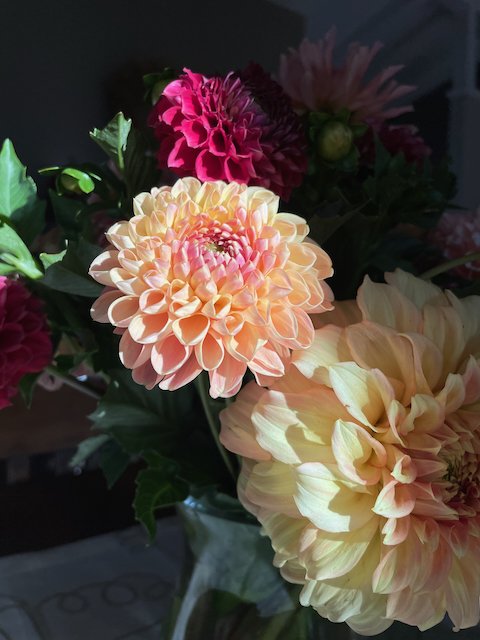
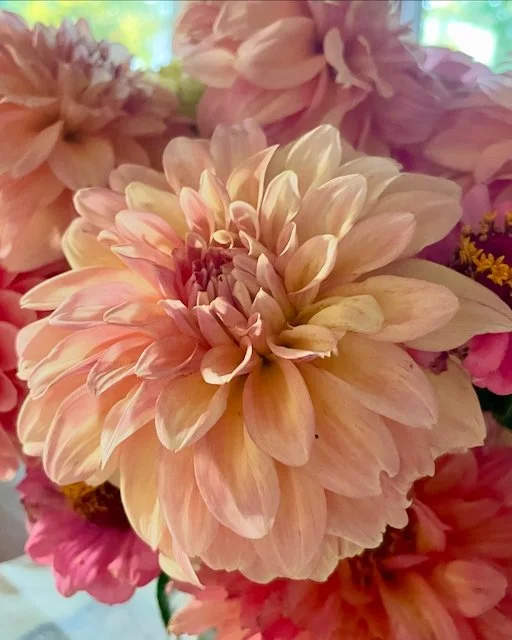
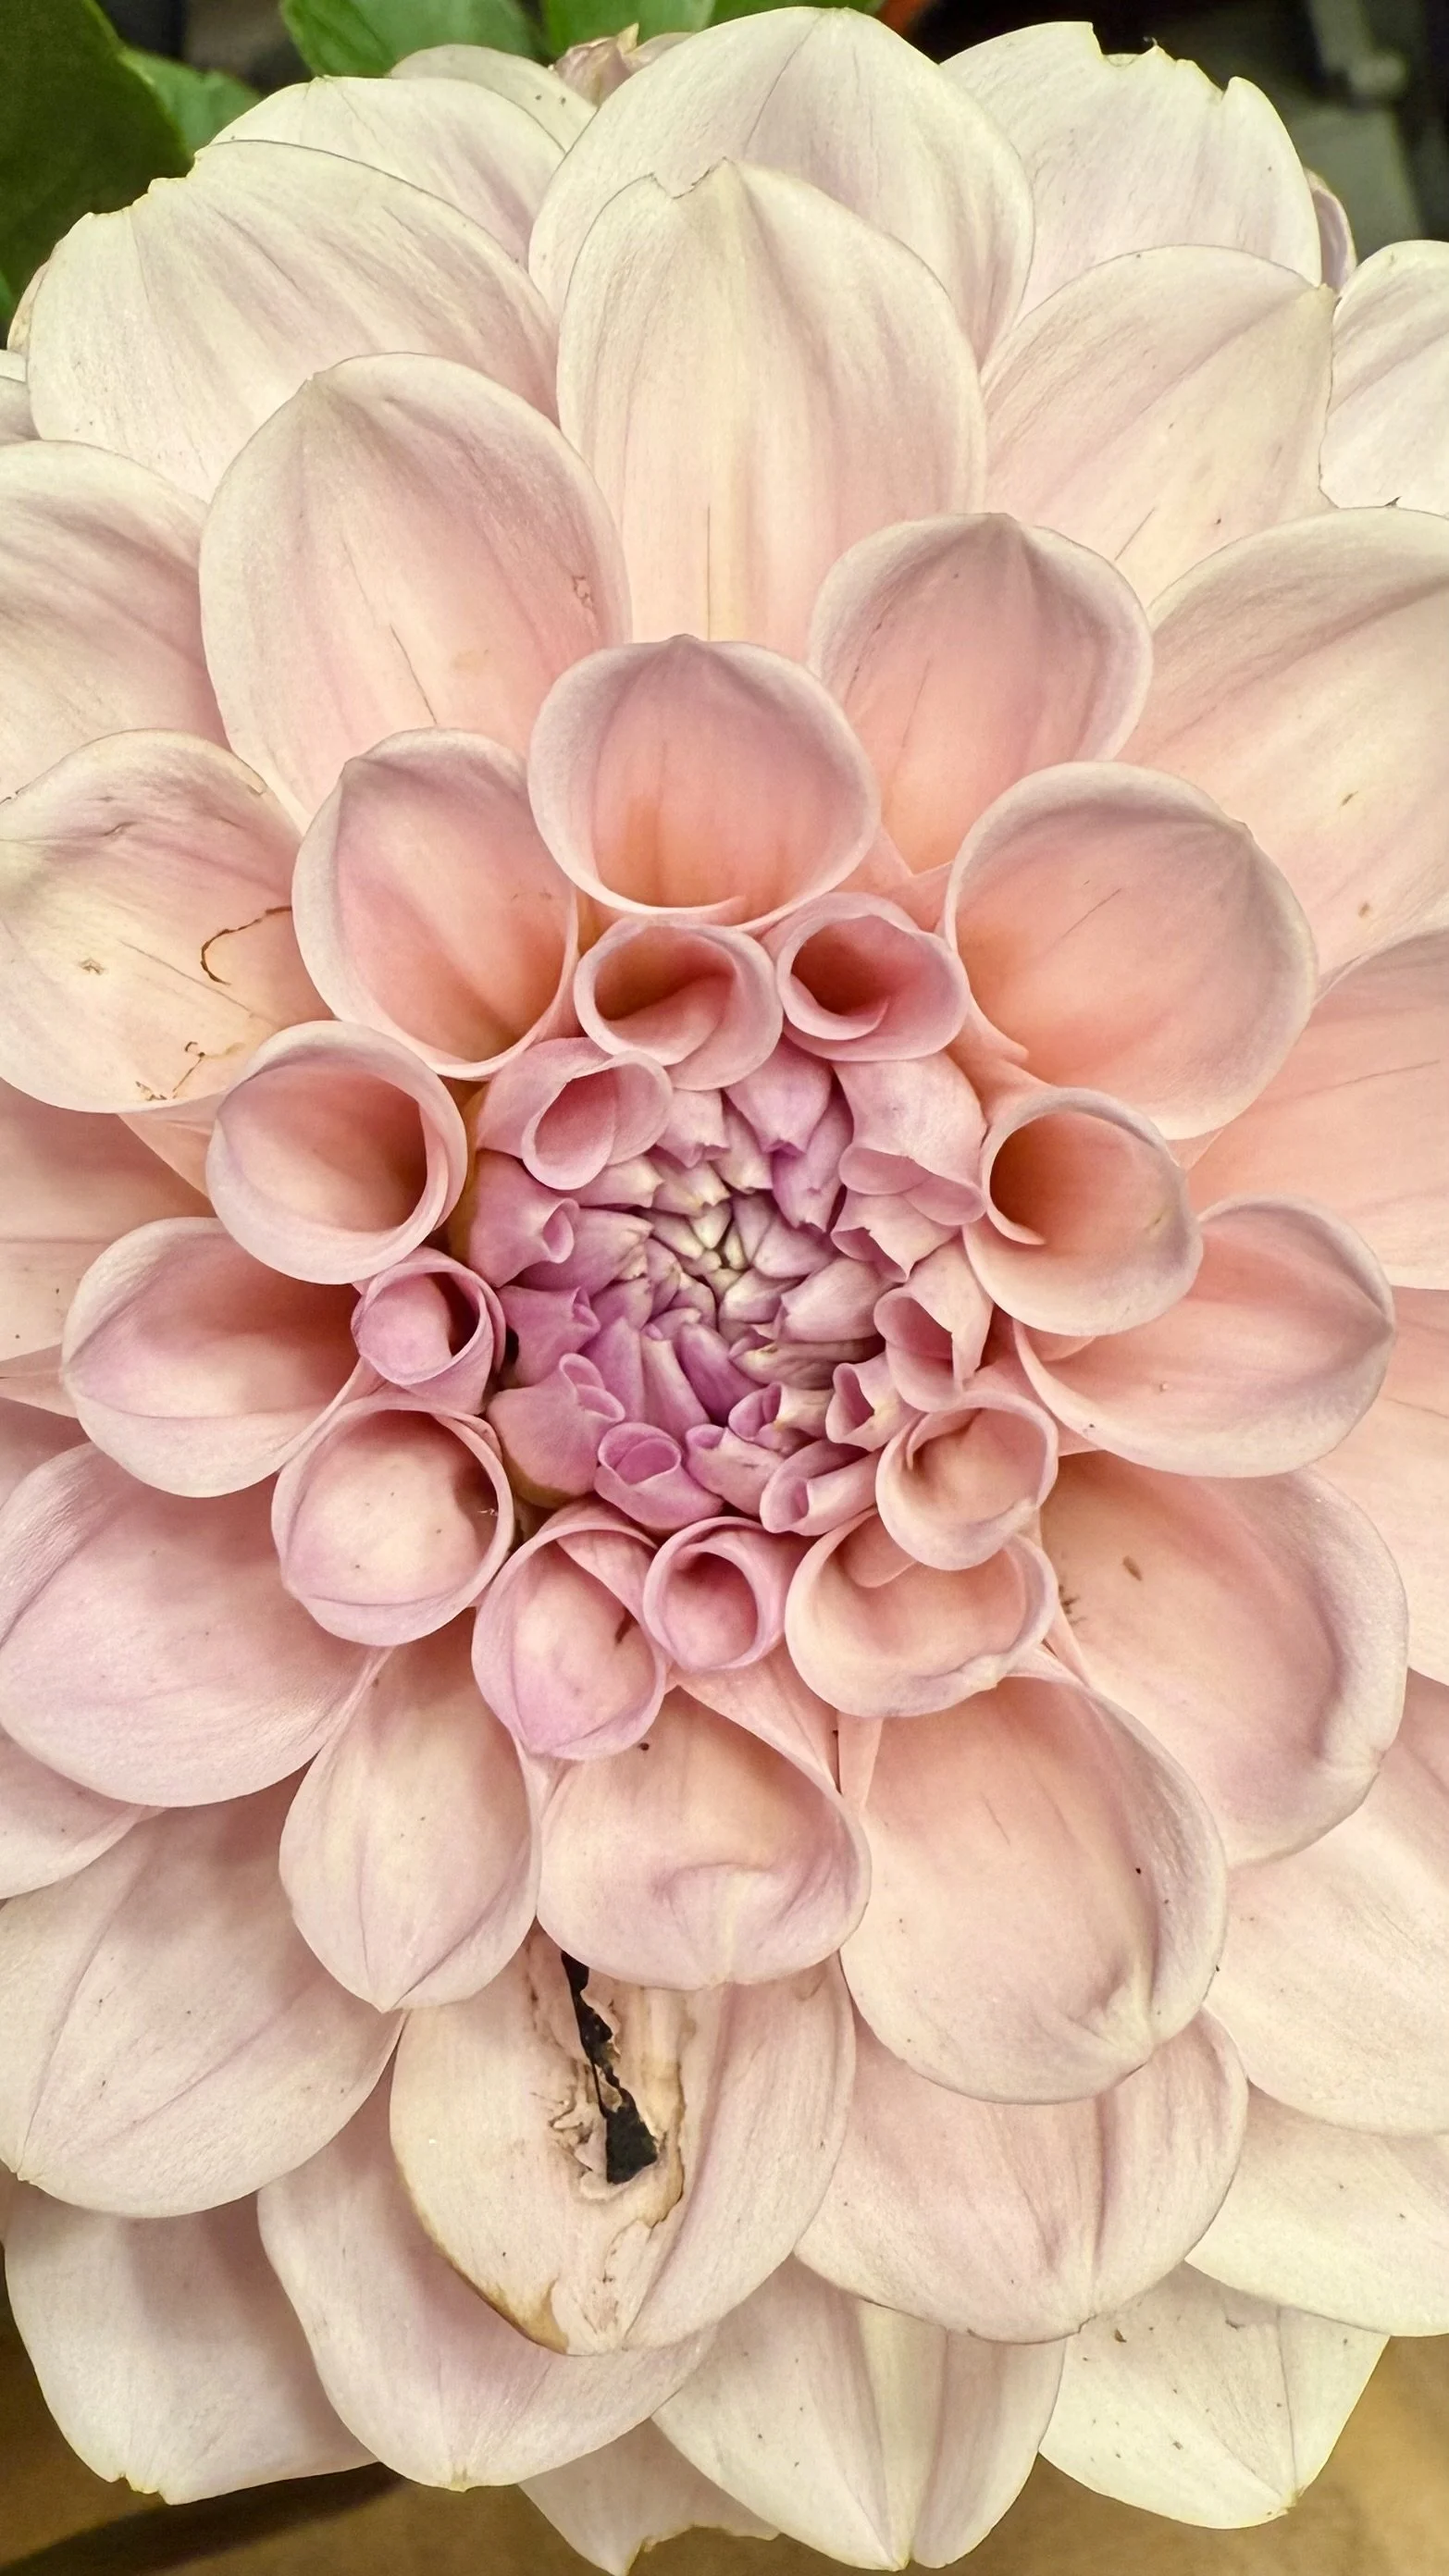
I grow a lot of dahlias. I just love their beautiful flowers, their color combinations, and their lushness in the fall. Plus they make gorgeous cut flowers for bouquets – one of my great joys in life. But because I live in a place with winter, growing dahlias also means learning to overwinter them. And that means a lot of work. However, I have learned a lot in the last few years about dahlias – and I have successfully overwintered them in the ground for the first time!
So, let's talk about dahlias: how to dig them up and store them for the winter AND how to overwinter them in the ground, too.
For those of you who live in warmer climates, overwintering dahlias is a breeze. You can cut them back, leave them in the ground – maybe apply a little extra compost over the tubers – and carry on until spring. But for those of us who live in climates where we get cold and snow, overwintering dahlias can be a labor-intensive project. It's a lot of work in the fall preparing the tubers for storage and we have to time everything well in the spring to get good blooms before the frost comes again.
Why Do We Have to Overwinter Dahlia Tubers?
Dahlias are plants in the genus Dahlia – a group of 40 or so plants in the Asteracea family. Native to the mountain regions of Mexico and Central America, they have been bred and cultivated for hundreds of years into a range of highly decorative and beautifully blooming plants.
Dahlias are not reliably hardy in cold climates. They grow from tubers – large, fleshy root structures that hold lots of water and look a bit like potatoes (which are also tubers). Incidentally, dahlia tubers are also edible, and their tubers are part of indigenous cuisines.
Because of their high water content, dahlia tubers can be killed by freezing soil or by rot under poor storage conditions. In regions colder than USDA Zones 8|9, gardeners typically lift the tubers in the fall and store them indoors until spring. In milder climates (Zones 8+), some growers leave tubers in the ground with heavy mulch, but that carries risk especially if you have fluctuating freeze-thaw cycles.
Since dahlias aren't inexpensive plants, overwintering the tubers allows you to preserve the same cultivars year to year, rather than re-buying. Plus it is always more environmentally-responsible to preserve a perennial plant rather than treating them as annuals year to year.
But to succeed in preserving your dahlia tubers, you must maintain the tubers in a dormant, disease-free, cool-but-not-freezing state with minimal moisture fluctuations. Easier said than done.

Digging & Storing vs. Overwintering in the Ground
For those of us in zones below Zones 8|9, the standard of care is to dig up and store our tubers for the winter. And I'm going to provide you with instructions on how to do this. BUT I have also experimented with overwintering mine in the ground here in Zone 5|6, and I have instructions for how to do that as well.
Overwintering in the ground is a gamble – BUT I have had better success with it than I ever thought I would. And I had better flowers the following year, as well. So let's look at both methods, andyou can decide what works well in your garden.
How to Dig & Store Dahlia Tubers
When to Dig Your Tubers
Choosing the right time to lift your tubers is critical.
Before the frost comes, mark or remove any tubers that you want to discard. Flowers you don't like. Plants you need to move. Or plants showing signs of disease. Once the foliage is blackened, it's hard to identify individual plants, so this is an important step before a hard frost comes.
Wait until after the first hard frost (or until frost has blackened the foliage). This signals that the plants have gone dormant. If you don't get frost, lift them by mid-November.
Once frost has killed the foliage, wait a week for the tubers to cure in the soil before digging them up. However, don’t wait so long that the ground is frozen or saturated.
Before you begin, remove or move those plants that you marked earlier. If the tubers are diseased, put them in the trash. Otherwise they can go into the compost.
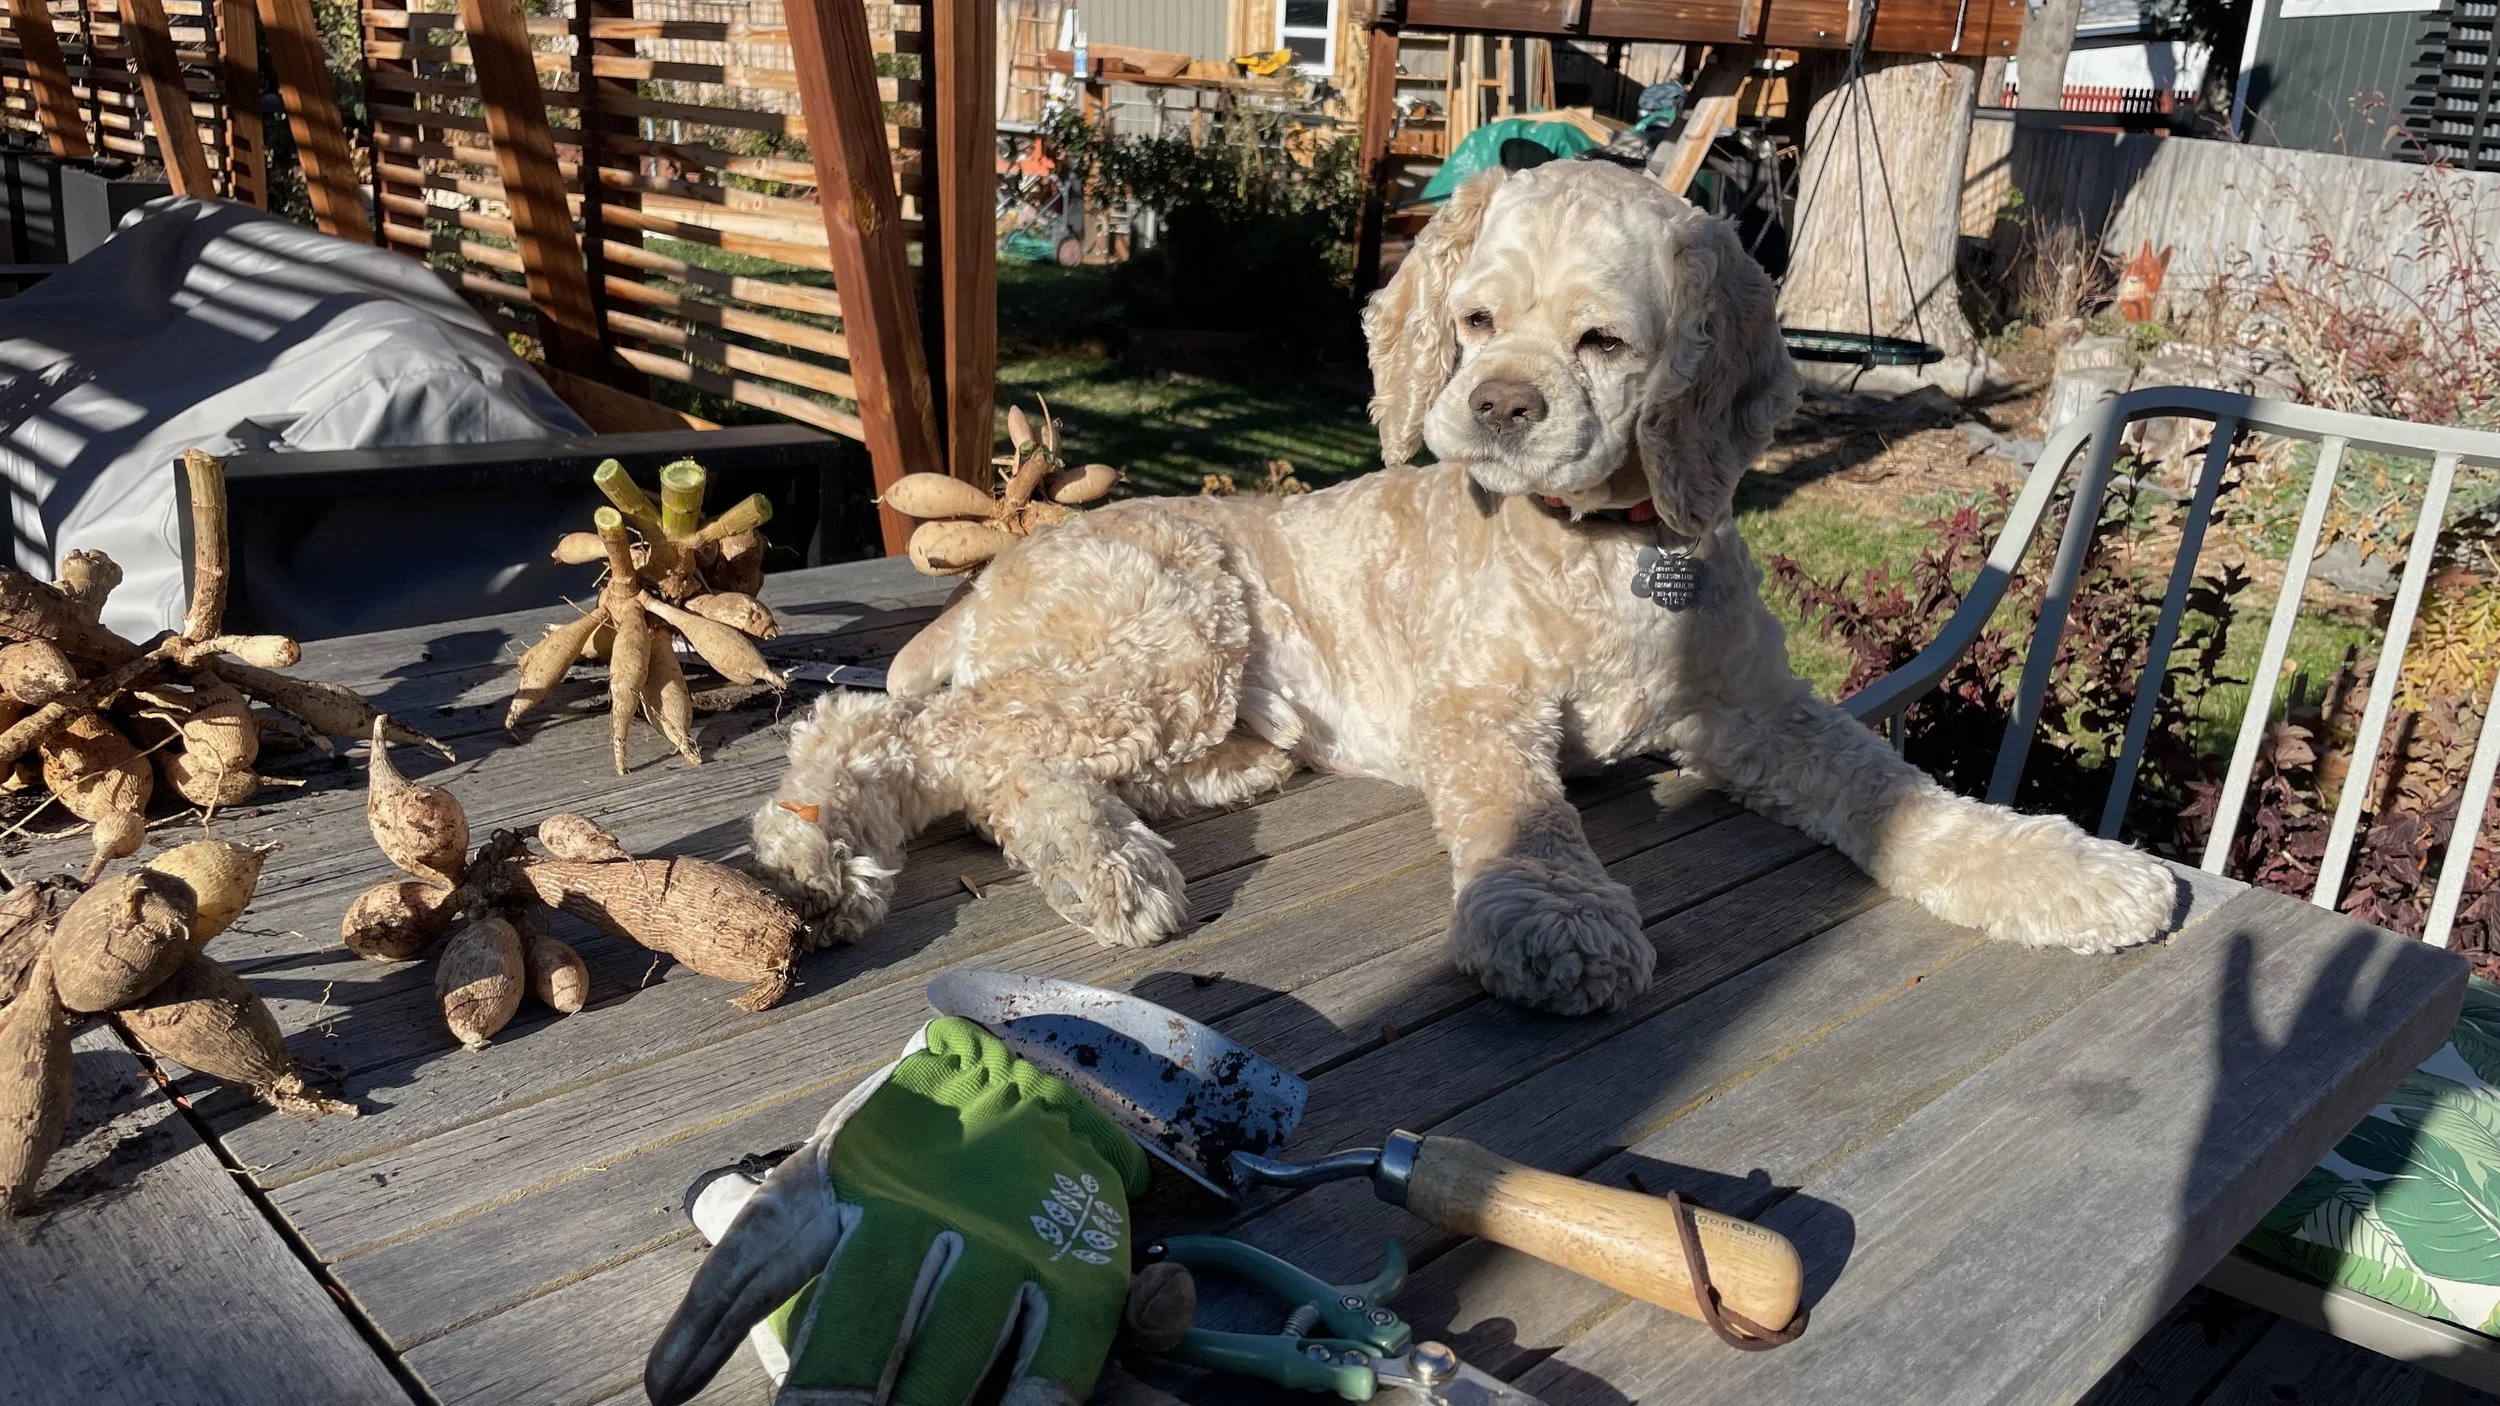
Dig carefully with a fork or shovel, starting some distance from the crown to avoid piercing the tubers.
Loosen the surrounding soil and lift the entire clump intact.


Winter: Check Your Tubers
Even well-stored tubers require periodic inspection.
Inspect your tubers every month or two. Look for signs of rot (soft, discolored areas), shriveling (too dry), or premature sprouting.
If rot is found, remove the affected tuber —do this before the rot spreads.
If tubers are shriveling (light, wrinkled), lightly mist the packing medium or add a touch more moisture—but only sparingly.
Avoid exposing tubers to light or warmer spots during storage, which may trigger premature sprouting.

Cleaning and Dividing Your Tubers
Once lifted:
Remove excess soil
Gently wash off any remaining soil. Some dirt helps buffer moisture stress, so don’t strip absolutely everything if it risks damaging the tubers.Trim non-viable material
Remove all feeder (fine) roots and any soft or discolored portions.
Examine the crown and interior: if you see brown or soft areas (indicative of rot or disease), remove that tuber.
Divide your Tubers
I divide my tubers in the fall so that I'm not storing more than is needed. But you could also wait to do this in the spring. Just be sure you leave an eye on each tuber when you divide them. I also usually discard my "mother tubers" – the really big tubers from which all of the others spring. But that's personal preference.Label your Tubers
Use an indelible pencil, marker, or tag to record the name of the variety or at least the color. I always write on the tuber itself with a Sharpie. But you can also put a tag next to the tuber and wrap them together.Dry / cure period (pre-storage)
After cleaning and cutting, let tubers dry or cure in a cool, shaded, well-ventilated space for 24–36 hours. I leave mine out on a table outside for a day or two unless it is going to rain or freeze.
Drying helps heal wounds, reduce surface moisture (minimizing fungal risk), and prepare the tuber for storage.
Storing Your Tubers
The ideal storage environment mimics a root cellar: cool, dark, fairly humid, but well ventilated. But most home gardeners don't have this luxury. So prepare yourself for losing some of your tubers. I do every year. However, losing a few is different from losing them all!
Where to Store Your Tubers
Ideally, store tubers between 40–50 °F (4–10 °C) . If you have a basement or a crawlspace, that might be the ideal place to store them.
Temperatures above 55 °F (13 °C) might encourage premature sprouting
Freezing temperatures will kill the tubers. Even slight freezing is risky. So if it is particularly cold for a few days, you might check the temperature in your crawl space and move them out while it is really cold.
The ideal conditions are cool and dark and protected from frost. Anything beyond that is a bonus!
How to Store Your Tubers
Use a cardboard box (or several).
Fill it with vermiculite, wood shavings, or sawdust.
Wrap each tuber in newspaper.
Layer your tubers in the box so that they aren't touching each other and are well padded with the vermiculite, wood shavings, or sawdust.
The Plastic Wrap Method
Because I live in a very dry climate in Colorado, I use the plastic wrap method instead of newspaper: I wrap each tuber in plastic wrap (eg. Saran wrap) and then place them in a box filled with saw dust. This has worked very well for me, but if you are in a very humid climate, it might be more problematic.
This has been tested with losses of only 3–6 % in some trials according to the The American Dahlia Society. However, that method is somewhat controversial because if it goes wrong – it goes very wrong – and you end up with rotten tubers.
Spring: Waking & Planting Out
When spring approaches:
Move your tubers (still in their storage medium) to a warmer location (ideally dark, at room temperature) to encourage eye development for a week or two.
You can also lightly mist or moisten the medium (if needed) before bringing them out.
As shoots and eyes begin to form, you can pot them up or plant them out once danger of frost has passed and the soil warms (often ~60 °F or more).
This all sounds good, but here's what I actually do (Zone 5|6):
Last week of March: move tubers out of storage into a warmer part of the greenhouse
First week of April: pot up tubers into relatively large pots of good compost. Water once.
Only water potted tubers when they are truly sprouting.
Mid-late May: plant out potted dahlias into the landscape or into containers
You can adjust the schedule depending on your Last Frost Date and what kind of storage space you have. I have a greenhouse which allows me to start earlier, but you can start them in a sunny window or another warm spot if you have it.
Simplified Instructions for Moderate Climates
Here’s a simplified workflow you can adapt to your local conditions:
After the first frost has blackened foliage, wait a few days, then cut stems back to 4–6 inches.
After a week, carefully dig tuber clumps, lift intact, and shake or gently brush off loose soil.
Wash off remaining soil, examine tubers, and trim away damaged or diseased portions.
Label each tuber and divide as desired.
Cure the tubers 24–36 hours in cool, airy, shaded space (avoid direct sunlight).
Prepare storage containers (boxes or crates lined with newspaper).
Use a packing medium (vermiculite, or wood shavings); nest tubers singly (not touching) between layers of the medium.
Place the containers in a cool, dark, frost-free spot with stable temperature 40–50 °F and moderate humidity.
Inspect monthly: discard rotted tubers, lightly mist medium if too dry.
In early spring, move tubers to a warmer space to “wake” them, and pot or plant after frost risk passes.
How I Overwinter
My Dahlias
Take a peek into my garden to see how I keep my dahlias healthy and happy in the ground all winter in Zone 5|6.
How to Overwinter Dahlias in the Ground
I have dug and stored my tubers for years and years. But a few years ago, a local flower farmer showed how she overwinters her dahlia tubers in the ground over the winter. I decided to try her method knowing I was risking all of my tubers. It wasn't that I didn't trust her advice, I just didn't know if it would work on a small scale. She overwinters hundreds of dahlias in long rows. But I modified her process and it worked!
However, there are a few things to note about why I think this works for me:
Where I Plant My Dahlias:
A few years ago I decided to move all of my dahlias into one area of my garden. Previously, they were scattered in the landscape, but watering them was a persistent challenge as they were often planted with plants that didn't need as much water as a dahlia does. So I decided to treat my dahlias like a flower farm would – putting them all together in one place.
They are also in a very sunny position all year round. This is critical, too. I'm not growing them in part-shade. They are in full sun even on the shortest days of the year which, I suspect, helps to keep the soil warmer.
Dahlia-Only Beds:
While I interplant with a few annuals, I don't have any other perennials planted in my dahlia beds, either. So I am not worried about how any other plants will survive the winter. Just dahlias – like a flower farm.
The goal: keep the tubers insulated from the cold and dry from snow and rain.


How I Overwinter My Tubers in the Ground
Wait until the first frost kills off the foliage above ground.
About 5-7 days later – once all of the foliage is black – cut it back to 3-4" above the ground. Remove all of the dead foliage and compost it.
Add 3 inches of compost over the top of the entire bed.
Fill burlap coffee bags with fallen leaves. Loosely stitch the bags shut with twine
Pile bags of leaves over the entire dahlia bed – at least 2 feet thick.
Cover the entire bed with a plastic drop cloth or sheet of plastic. Add wood or stones to weigh down the plastic and to keep it from blowing away in the winter. Be sure to tuck the sides of the plastic in – or even staple it to the sides of a raised bed if possible.
In the Spring
I pulled up the plastic in mid-April, and the tubers were definitely sprouting and ready to go. I will probably pull it up earlier next year. But keep frost-cloth and other materials on hand to protect in the event of late-spring cold snaps or snow.
My biggest problem, though, was bunnies. They were hungry, and dahlias are delicious early in the spring. So I put wire cloches over each plant for several weeks until they outgrew the cloches. That kept the bunnies out and gave the tubers a better start.
My Results
I only lost one tuber out of 14 planted in the dahlia bed! And I started getting blooms in late-June – far earlier than I have ever gotten dahlias before here in Colorado – even when starting tubers in pots! So I think the risk paid off!
And I have had more flowers than ever before. I suspect that is, at least in part, due to the fact that the tubers weren't disturbed. They could just get to work growing stems and blooming rather than getting established first. Plus, they were never moved from a pot to the bed.
Now, will this work every year? Probably not. I think there will be colder winters with higher losses, but it will take multiple winters of experimentation to learn for sure what works and what doesn't.
at the close…
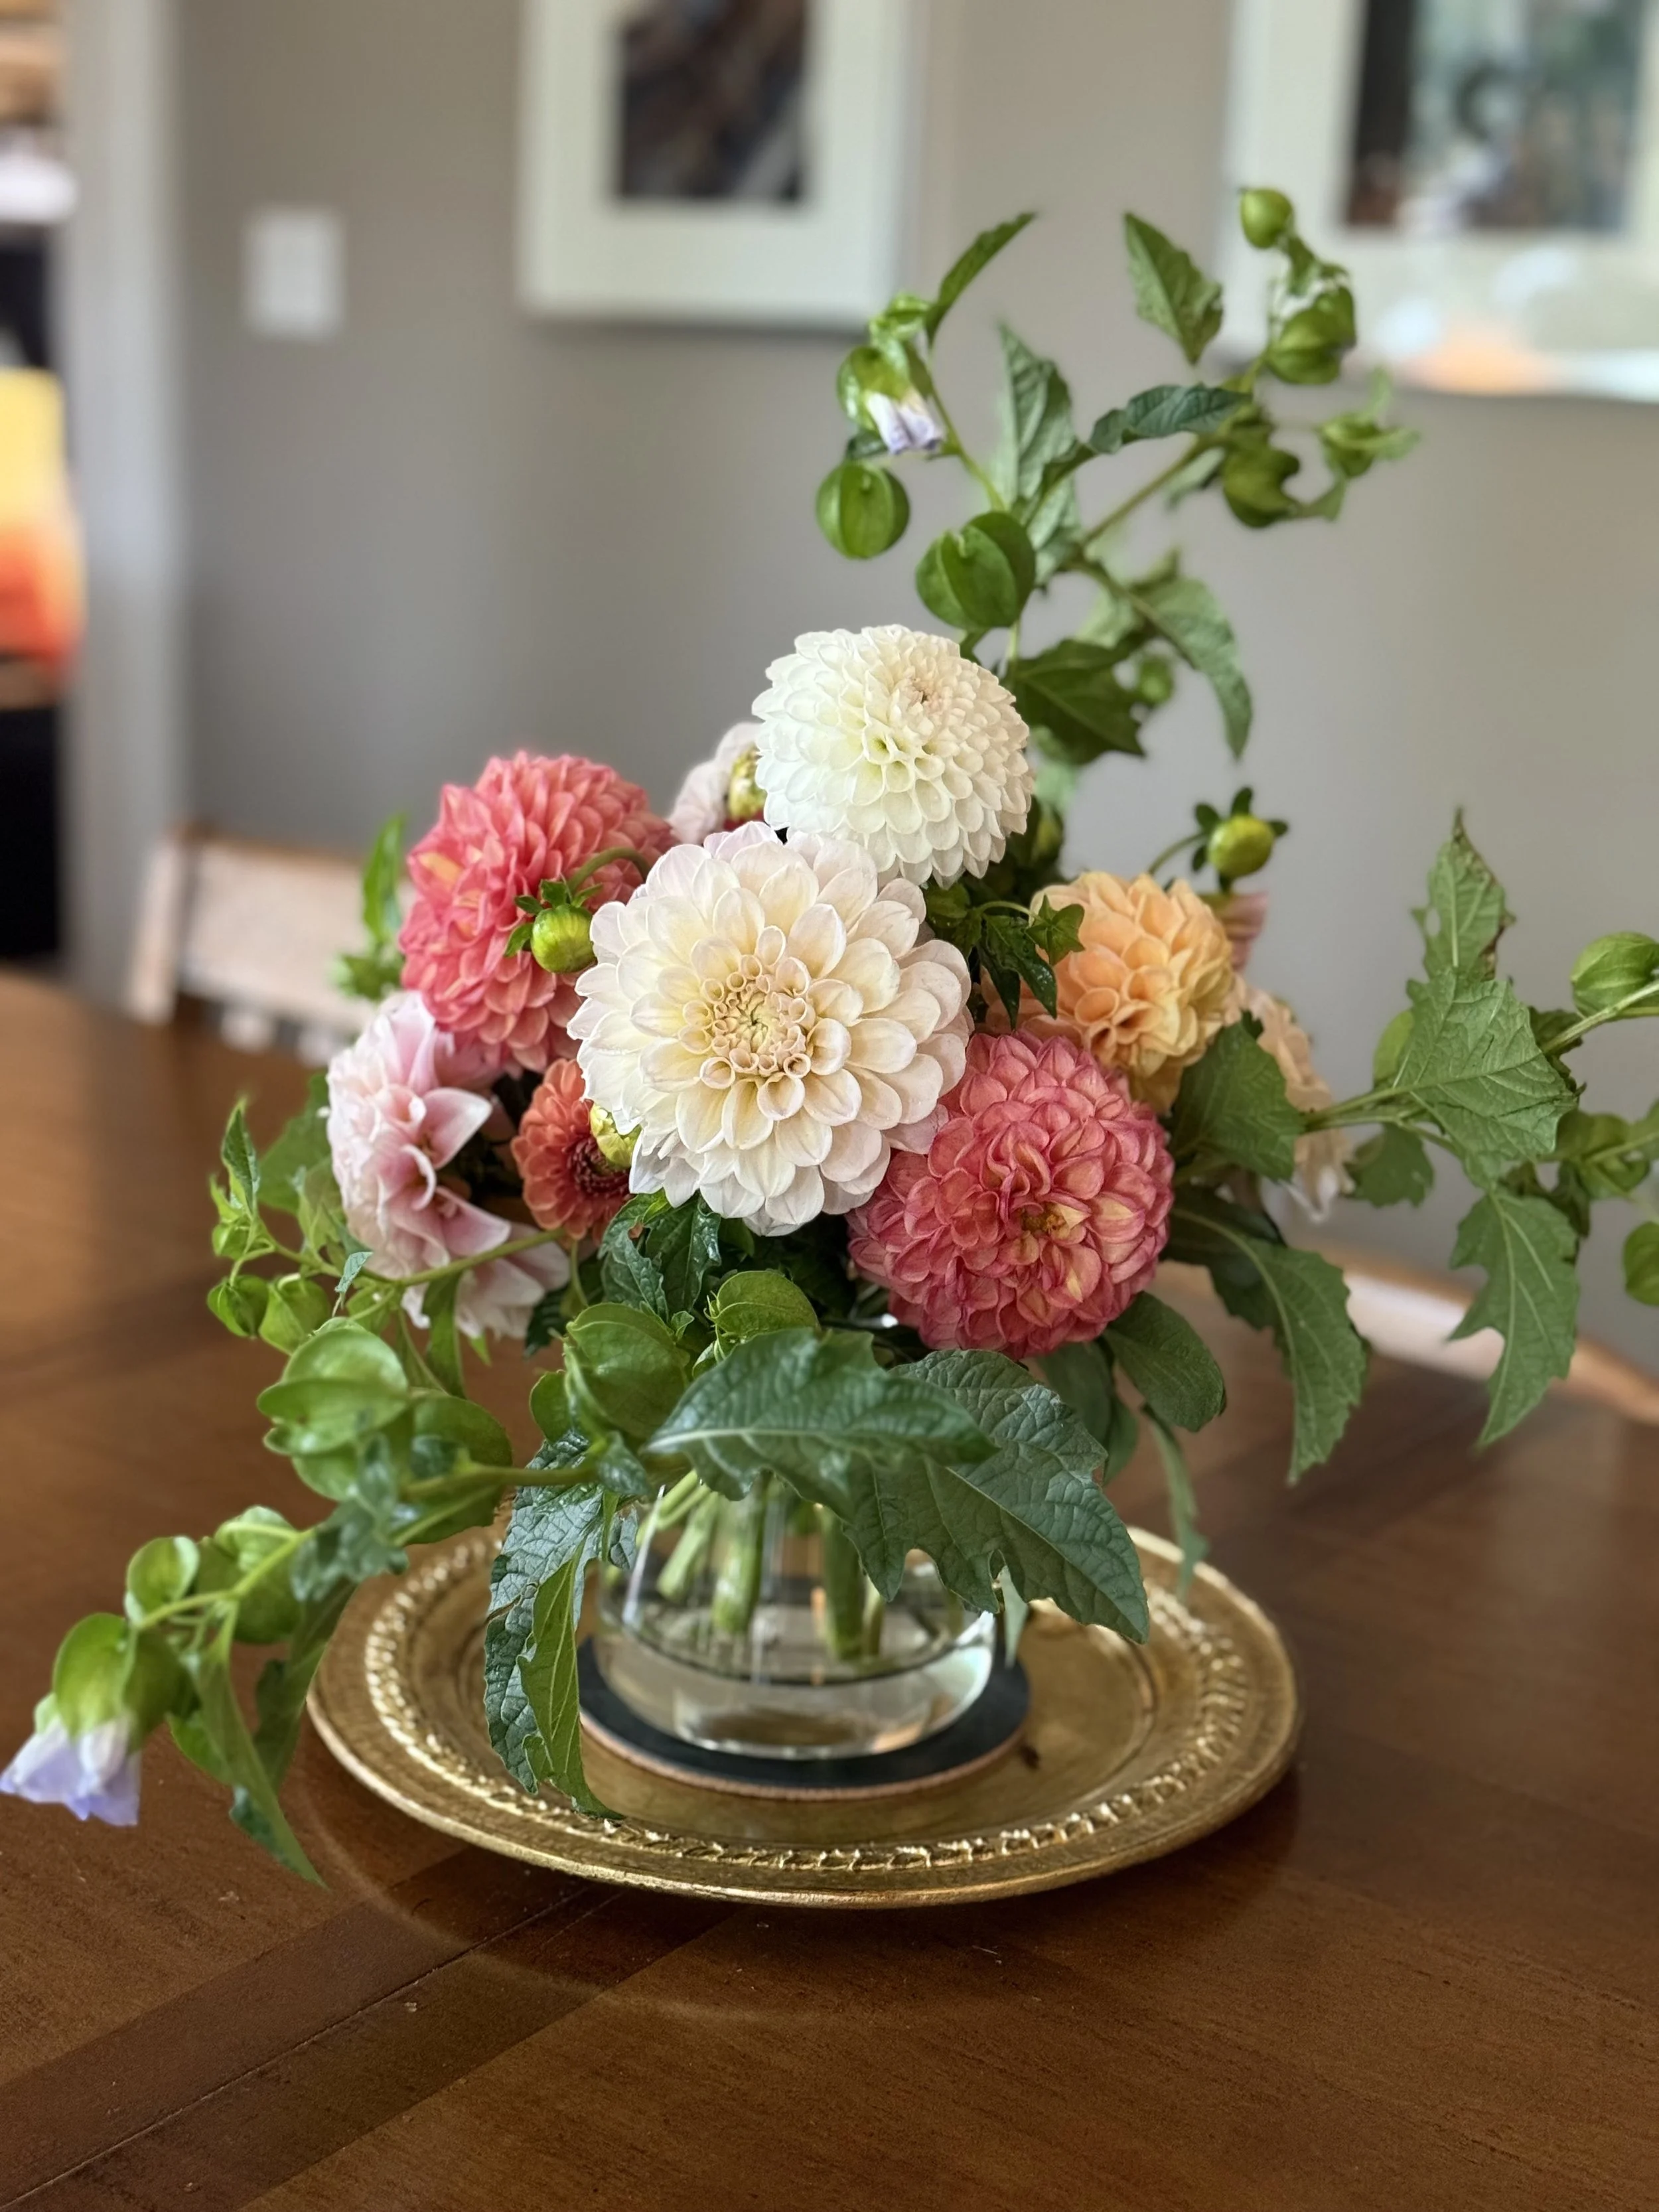
Growing Dahlias is a great pleasure, and while they are a challenge to grow in many climates, they are a joy for me. Much of my garden is for birds and bees and butterflies – but dahlias are for me and my own indulgence. And making that process a little easier is worth it every single time!
If you grow dahlias, I am curious about what works for you. Have you tried overwintering in the ground? Or the plastic wrap method? Different places with different weather and climate conditions make dahlia growing more or less of a challenge. And perhaps that is part of the fun, too! We gardeners are scientists, too – trying it all, and trying to make things work the best we can.
Let me know what works for you! And what struggles you have, too. And Happy Gardening!
Subscribe now so you never miss a thing!