How to Build a Raised Garden Bed
Step-by-Step Instructions for Perfect Planting
Building your own raised garden bed is a simple and rewarding project that will benefit your gardening efforts for years. Raised beds offer better soil conditions, improved drainage, and more control over weeds and pests. If you're ready to build one, follow this detailed, step-by-step guide to creating a raised garden bed that is both functional and attractive. This guide will walk you through the entire process—from gathering materials to planting your first seeds.
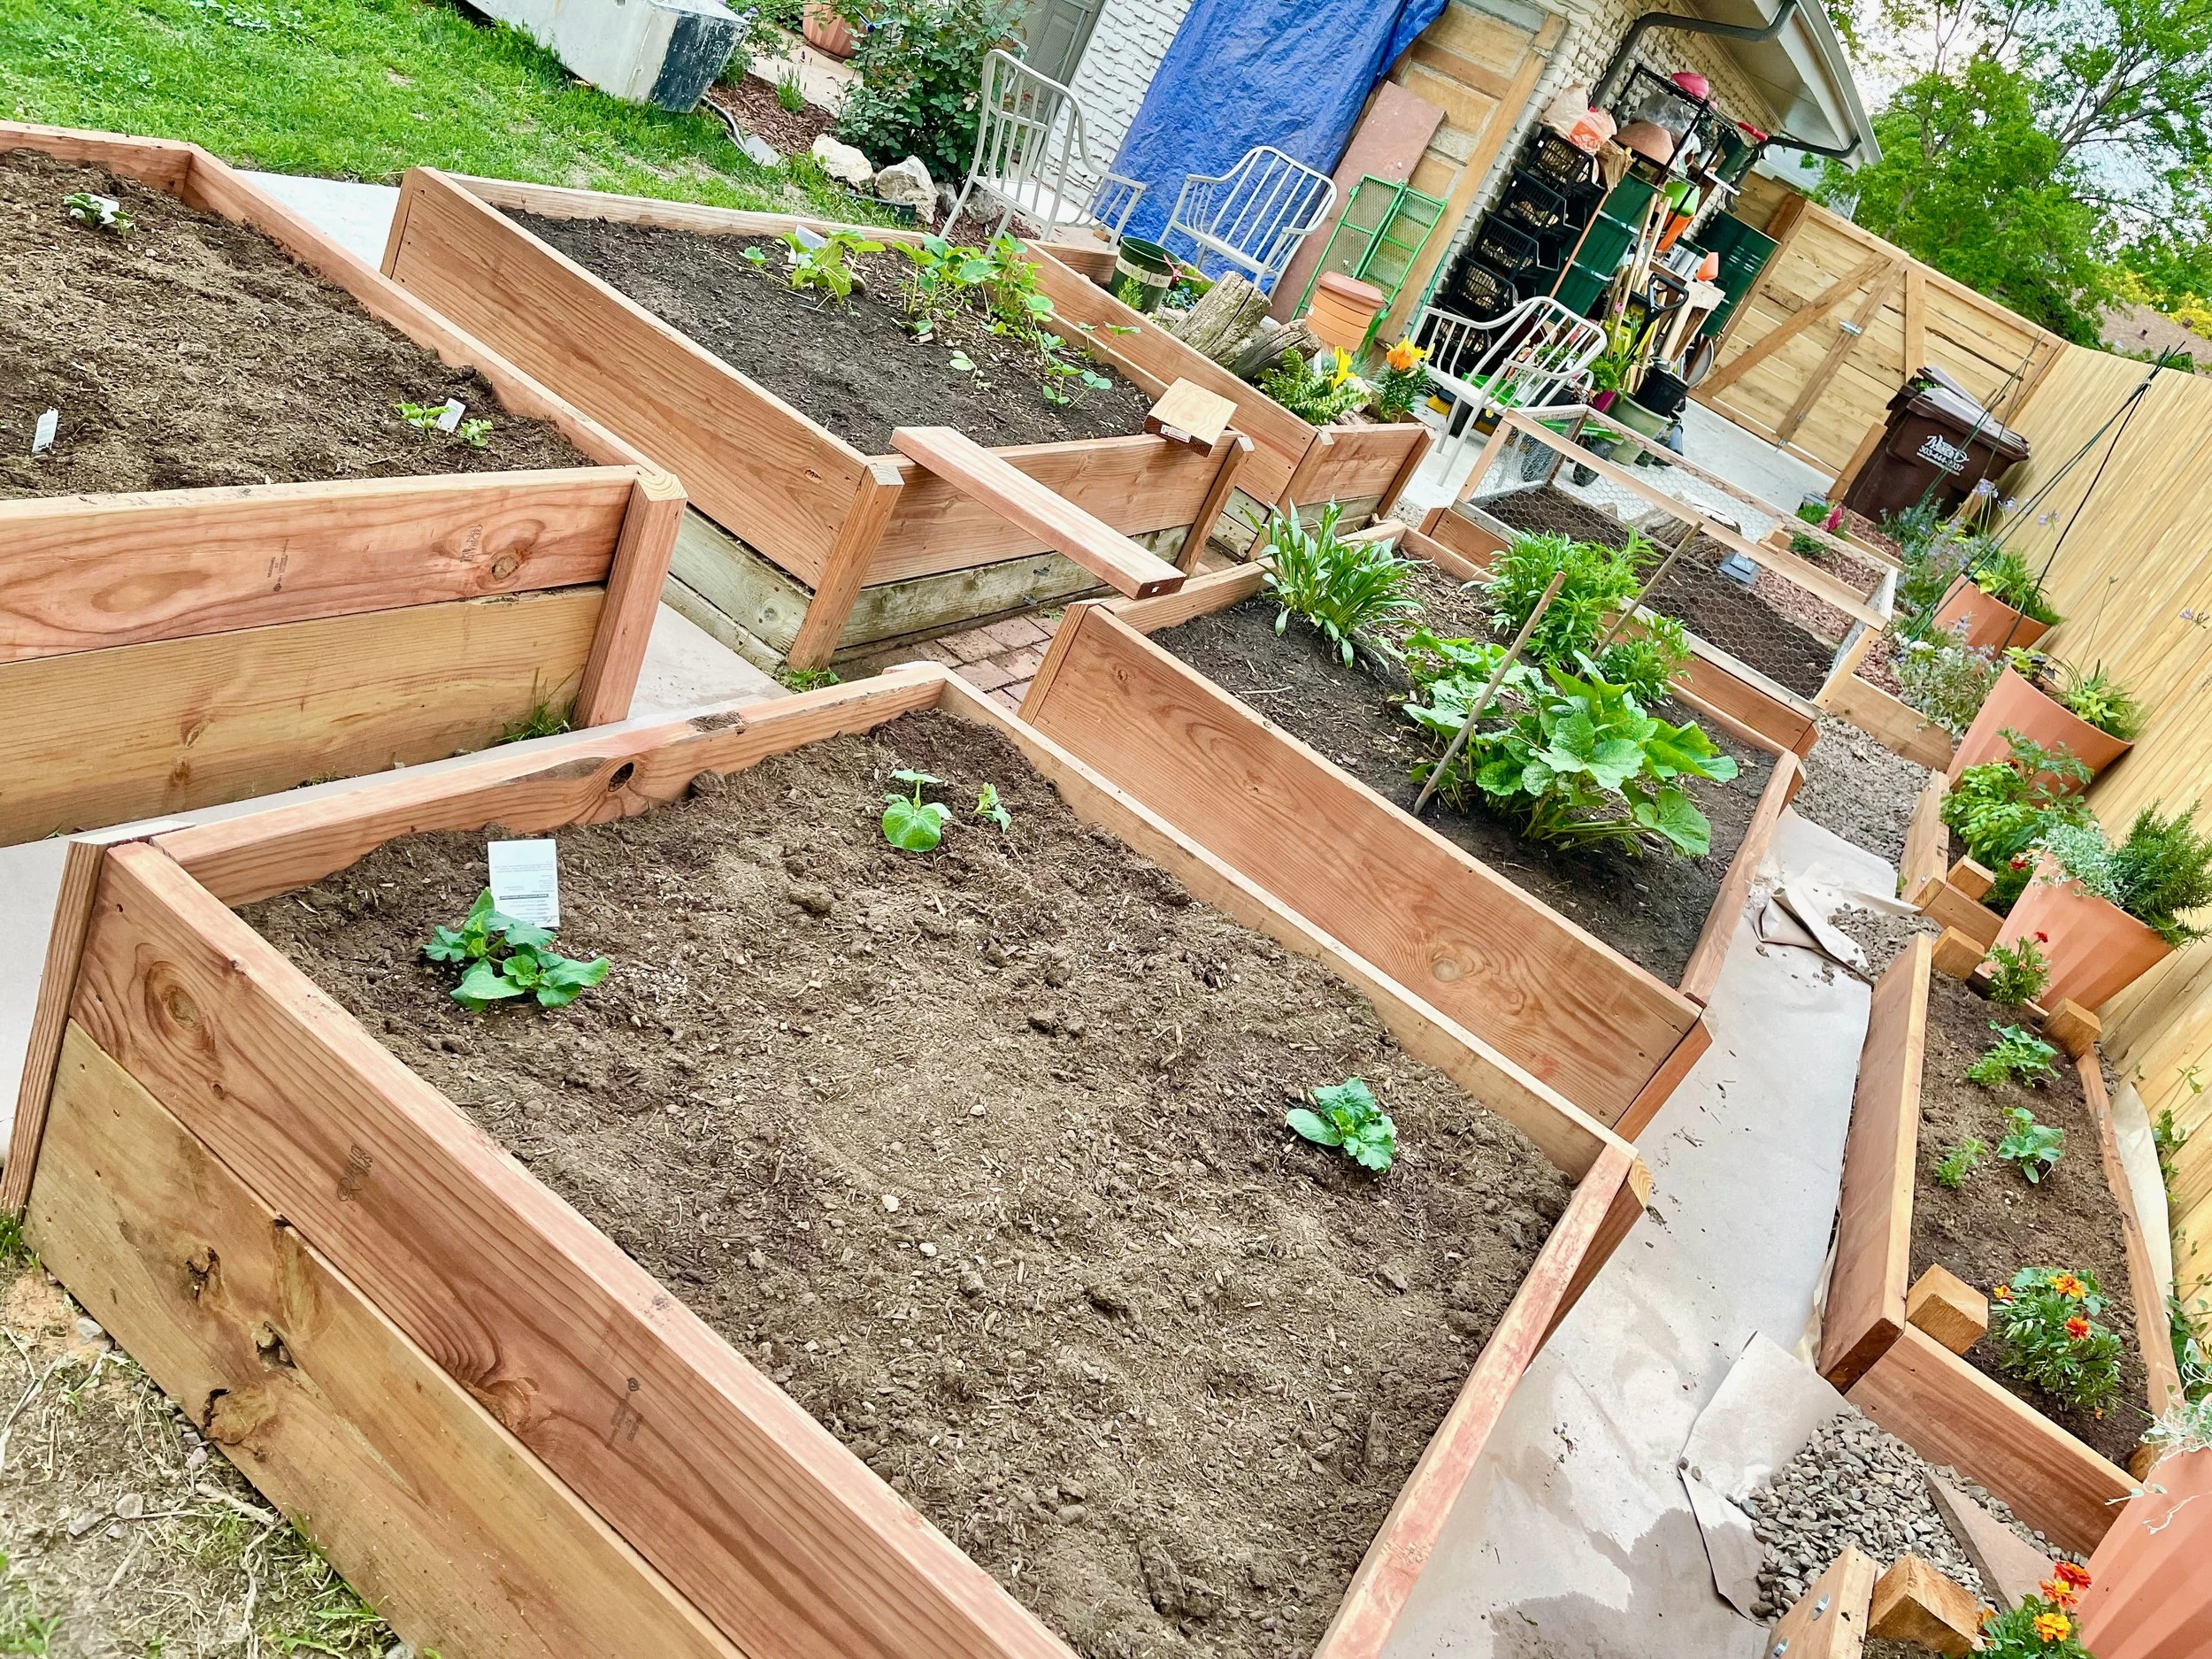
We started by renovating some raised beds which were here when we bought our house. We built them up, added fresh soil, and that was our first vegetable garden in this garden. Over the years, however, we have built dozens more! They hold perennials and annuals, flowers and vegetables, and so much more! Some are very low. Others are quite tall. But they are all built with the same materials and the same processes.
One of the things I love about raised beds is that they create clean, defined spaces breaking a large space into more manageable bites. And if you don't like where you've placed your bed, you can move it as needed.

A Raised Bed Tour
In this video I give you a tour of all of our types of raised beds including what has become our standard DIY raised bed. Check it out so you can see all of the raised beds hard at work!

Materials You’ll Need
The first step in building a raised garden bed is gathering the necessary materials. Here's what you’ll need:
Wood: Cedar, redwood, or pressure treated lumber are the best choices, as they resist rot and pests.
Bolts & Washers: Use galvanized bolts to secure the boards together.
Drill: A drill is best for making holes for screws, but a hammer will suffice if using nails.
Measuring Tape and Square: To measure and ensure your bed is square.
Level: Ensure the frame is level so the soil can drain evenly.
Soil and Compost: A mix of nutrient-rich soil and compost to fill your raised bed.
Cardboard: to act as a weed barrier at the bottom of the raised bed. Flattened boxes work perfectly for this!
Lumber comes in standard lengths: 6 ft, 8 ft, 10 ft, etc. And it comes in standard widths. Take a trip to the lumber yard and look at what is available. Take some measurements. Then come home and measure your own space and develop a configuration that works in your space.
A Note About Pressure-Treated Lumber
Most of our DIY raised beds are made from pressure-treated lumber. There are concerns about the chemicals used to treat lumber which keeps it from rotting. While those chemicals have changed since the days of PCP and creosote, I don't grow vegetables in my pressure-treated beds. To read more about this chemical process and garden beds, check out this link.
Step-by-Step Instructions
Step 1: Decide on the Size and Location
Start by selecting the perfect spot for your raised bed. It should receive at least 6 hours of sunlight per day and be near a water source. Most raised beds are 4 feet wide, 8 feet long, and 12-18 inches tall.
Step 2: Assemble the Frame
Cut your boards to the desired lengths. Lay the boards in a rectangular shape and secure the corners with screws or nails. We use 4x4 posts at each corner for stability. Rather than securing the boards to each other, they are secured to the posts which keeps the whole bed much more stable and secure.
Step 3: Prepare the Ground
Clear the area of any grass or weeds. Line the bottom with cardboard to prevent weeds from coming up.
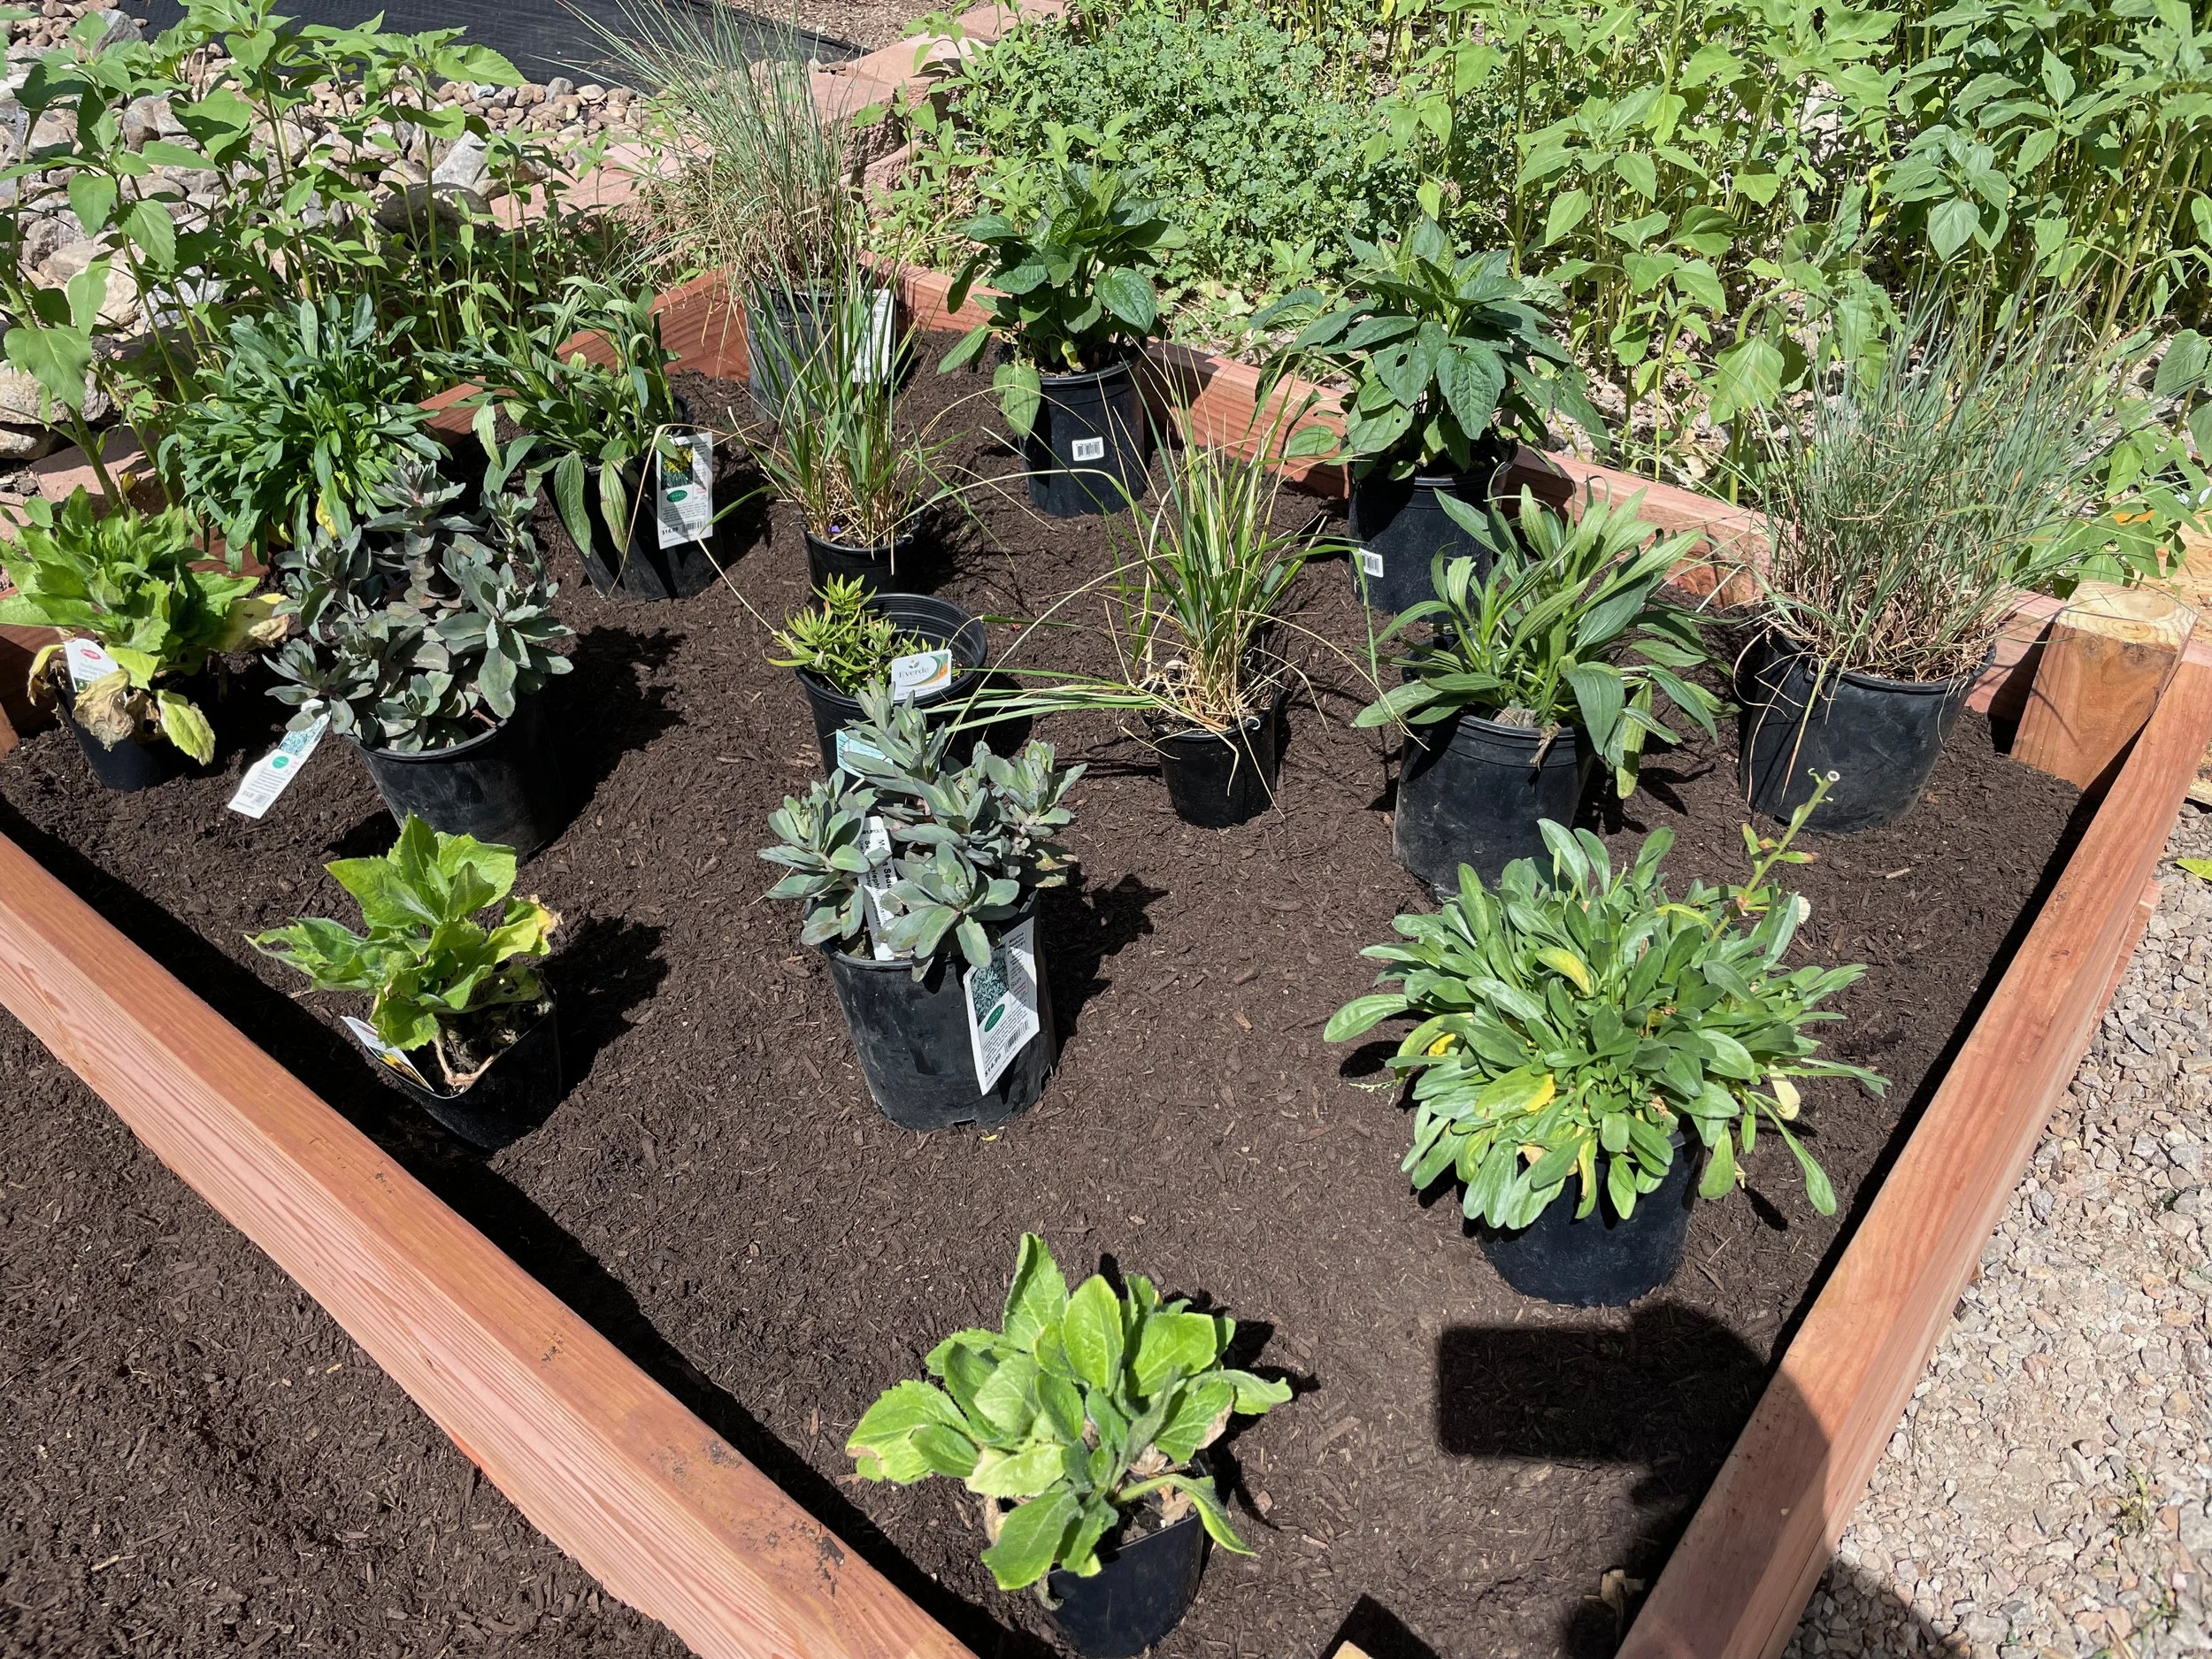
Step 4: Fill the Bed with Soil
Fill the bed with a peat-free soil mix. For more on how to fill your raised beds, click on this link.
Step 5: Level the Soil
Use a rake to level out the soil evenly, then give it a gentle press to ensure it’s compact enough for planting.

Maintaining Your Raised Bed
Once your raised bed is built and filled with soil, the next step is to maintain it. Regularly check the soil moisture level and water as necessary. In addition, you may need to amend the soil yearly by adding compost to replenish nutrients.
Mulching around your plants will help retain moisture and reduce weed growth. Keep an eye on your plants for any signs of pests or disease, and address issues promptly.
Building a raised garden bed is a simple process that provides a multitude of benefits for your garden. By following these steps, you'll create a durable and efficient growing space for your plants. With the right soil, proper watering, and regular maintenance, your raised bed will provide healthy, thriving crops for years to come.