Simple Crossback Apron
Sew this easy crossback apron in just about an hour! Easily customized to your proportions, this apron is great for gardening, cooking, or as a smock for painting and making. Sometimes called a Japanese apron, a pinafore, or a potter’s apron, this style is simple to make, inexpensive, and very practical.
Materials
2 yards of cotton or linen fabric — washed and dried
coordinating thread
dressmaker’s chalk
ruler or measuring tape
sewing machine
scissors
pins or safety pins
iron and ironing board
seam ripper
Notions for embellishment as desired (buttons, seam binding tape, ribbons)
A Note about Fabrics: I used an unbleached cotton canvas to make my first apron. It was a wonderful choice! It has a little heft without being bulky, and it washes well. But a linen would work just as well — it will just wrinkle more. Be sure to wash and dry your fabric before beginning work on this project.

How to Measure & Cut
Once your fabric is washed and dried, you’ll need to measure for your apron. Wrap the fabric around your chest or bust as you would a towel when you are getting out of the shower. With the fabric overlapping in the front (it will eventually overlap in the back), determine how much you want it to overlap, and mark the fabric with dressmaker’s chalk. I added about 12” of overlap total which allowed for comfort and ease of movement.
Cut your fabric at the mark you made. Tearing can create a nice straight line for many fabrics.
The remainder will become your straps and pockets or front pouch.
Here’s a basic diagram for how to cut your 2 yard piece of fabric. The proportions will depend on your body size and how large the Apron Body ends up being.
My basic measurements | Fabric: 2 yards at 36” wide
Apron Body: 56” x 36”
Straps (2): 8” x 25”
Front Pouch: 11” x 16”
Also, I am quite tall, so the 36” width of the fabric is a perfect length for me. You may want a shorter apron — or longer. To make it longer, buy fabric that is 45” wide. To make it shorter, trim the bottom edge to the desired length once you have cut the fabric.

This diagram is not to scale, but it gives you a sense for how the fabric can be cut. The important first step is to get the apron body cut in the right dimension. Then the straps and pockets can be cut from the remainder of the fabric.
Depending on the dimensions of your body and your fabric needs, you may have more left over to make two pockets. I opted for one large front pouch in the end.
Sewing Instructions
Hem the Apron Body
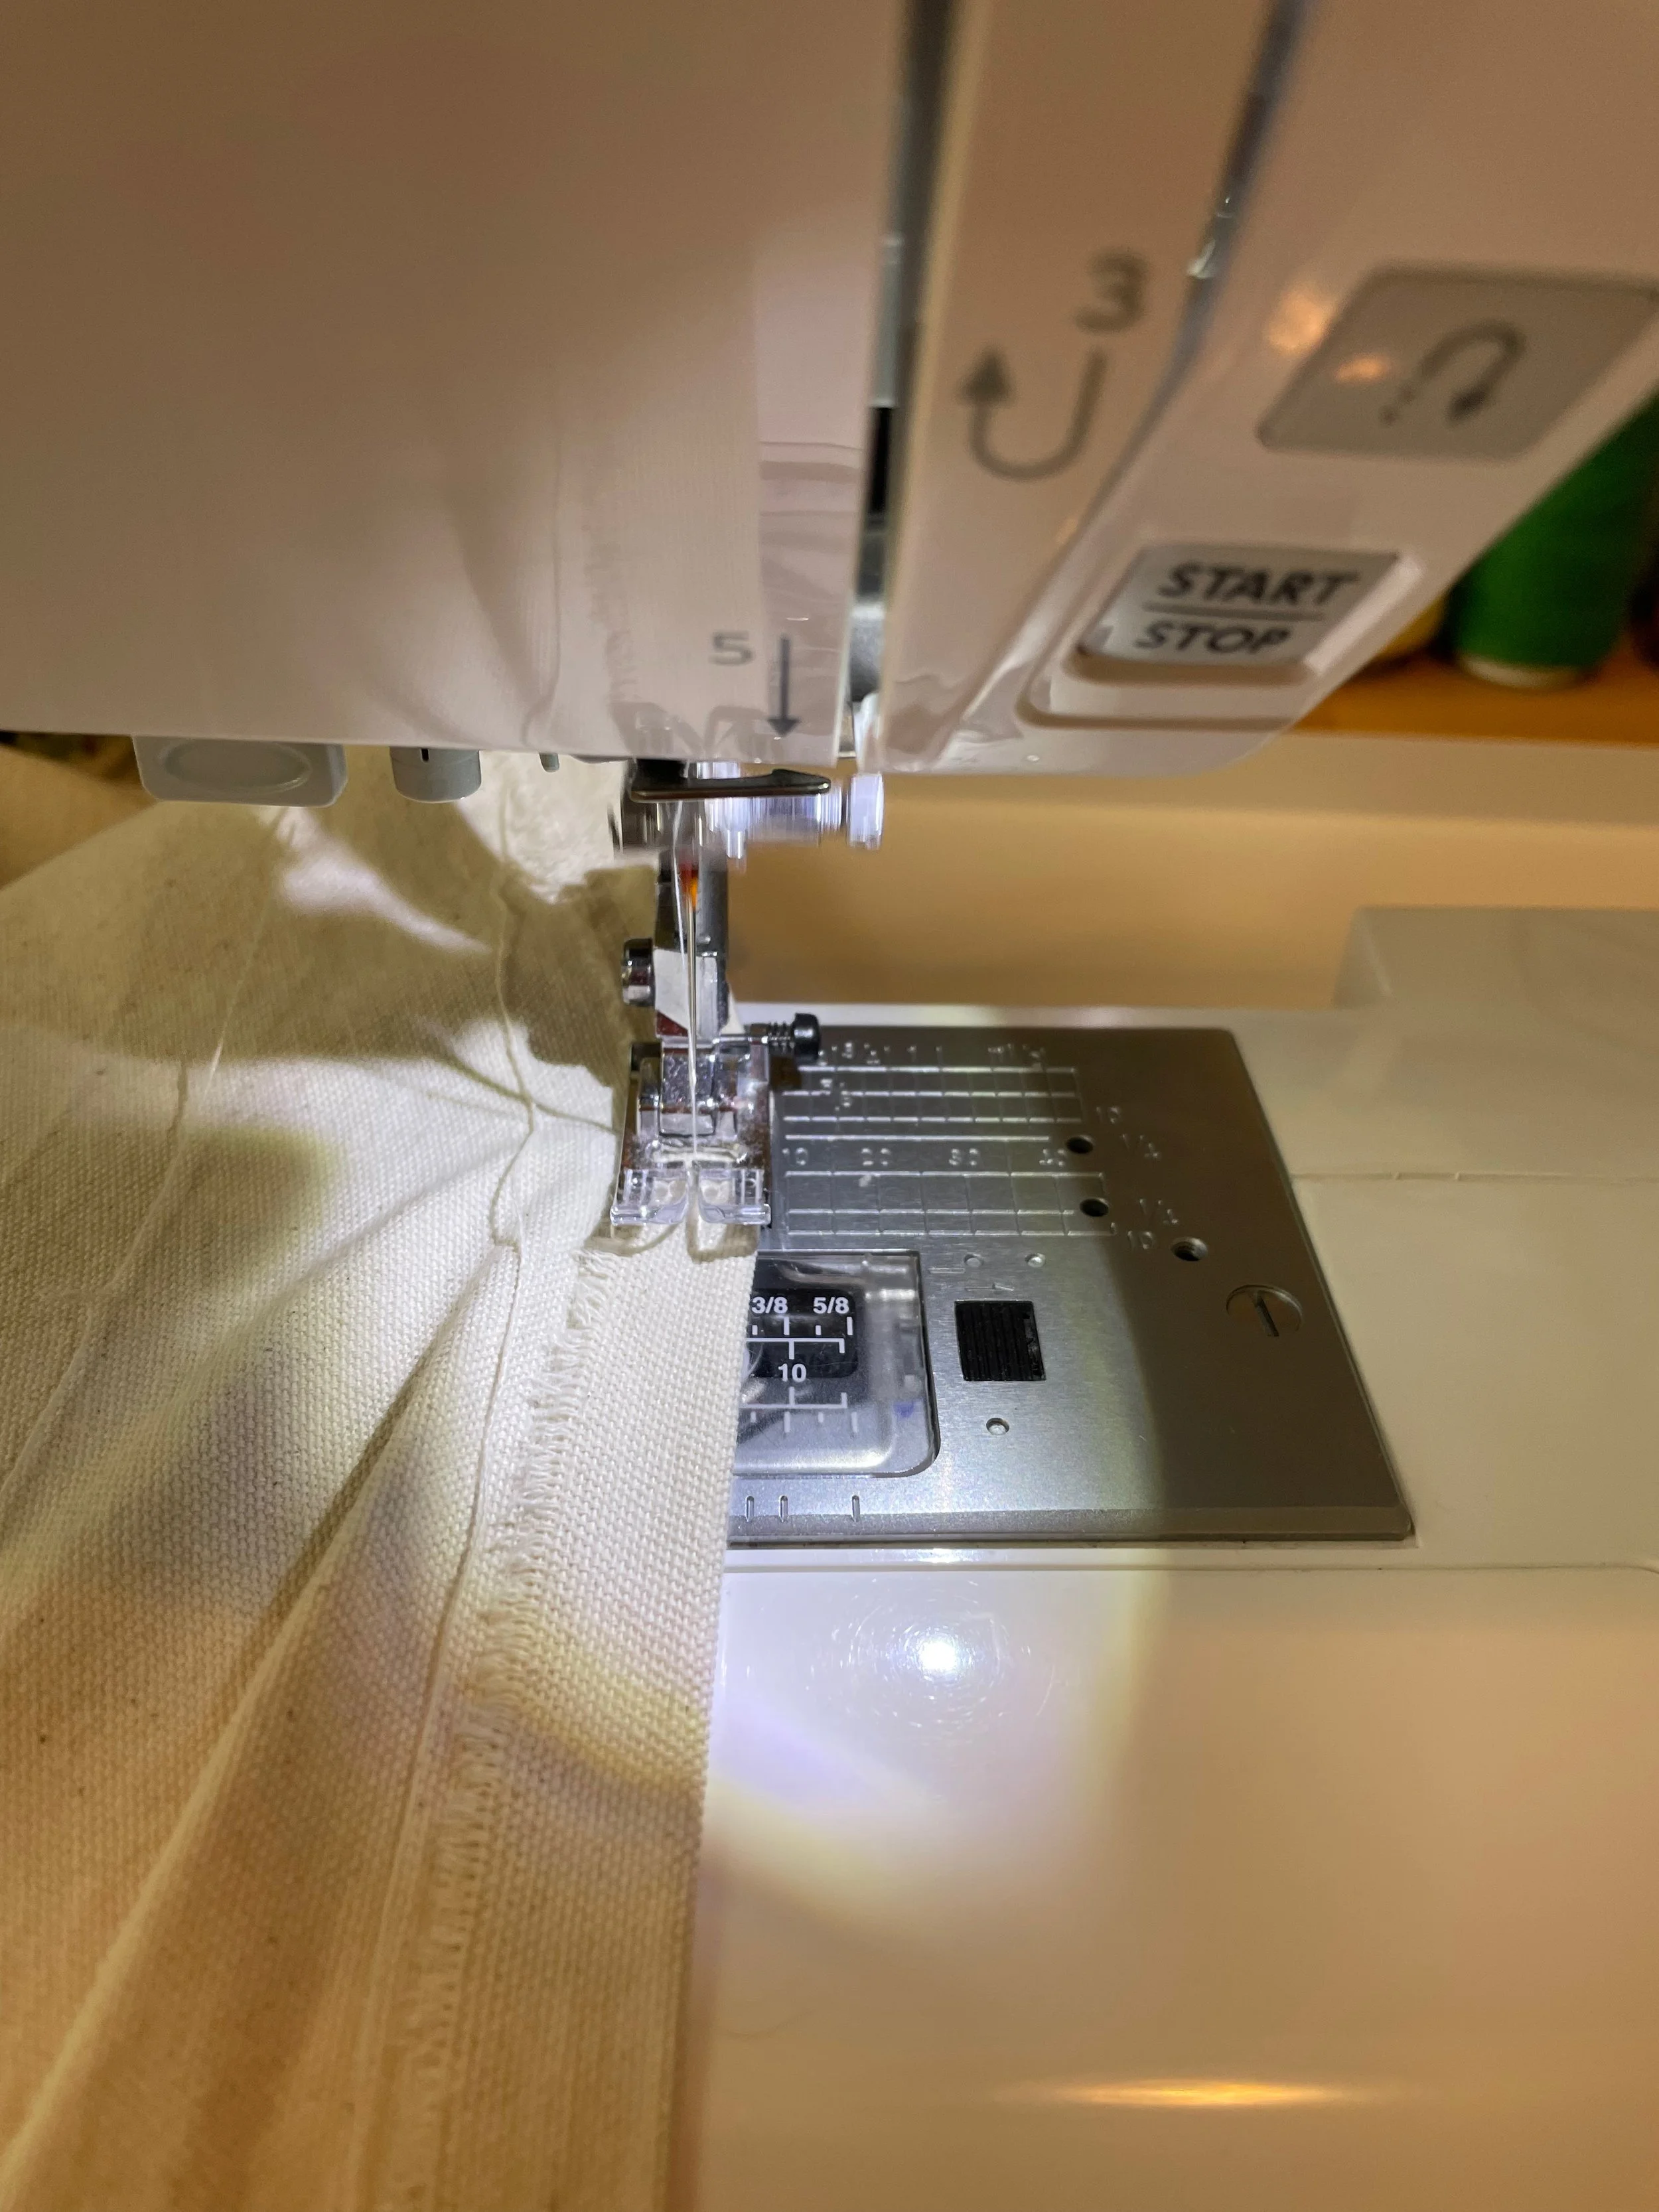
The first step is to hem the entire Apron Body — all four sides. Because this apron does not have a lining, use a double hem to conceal the raw edge of the fabric.
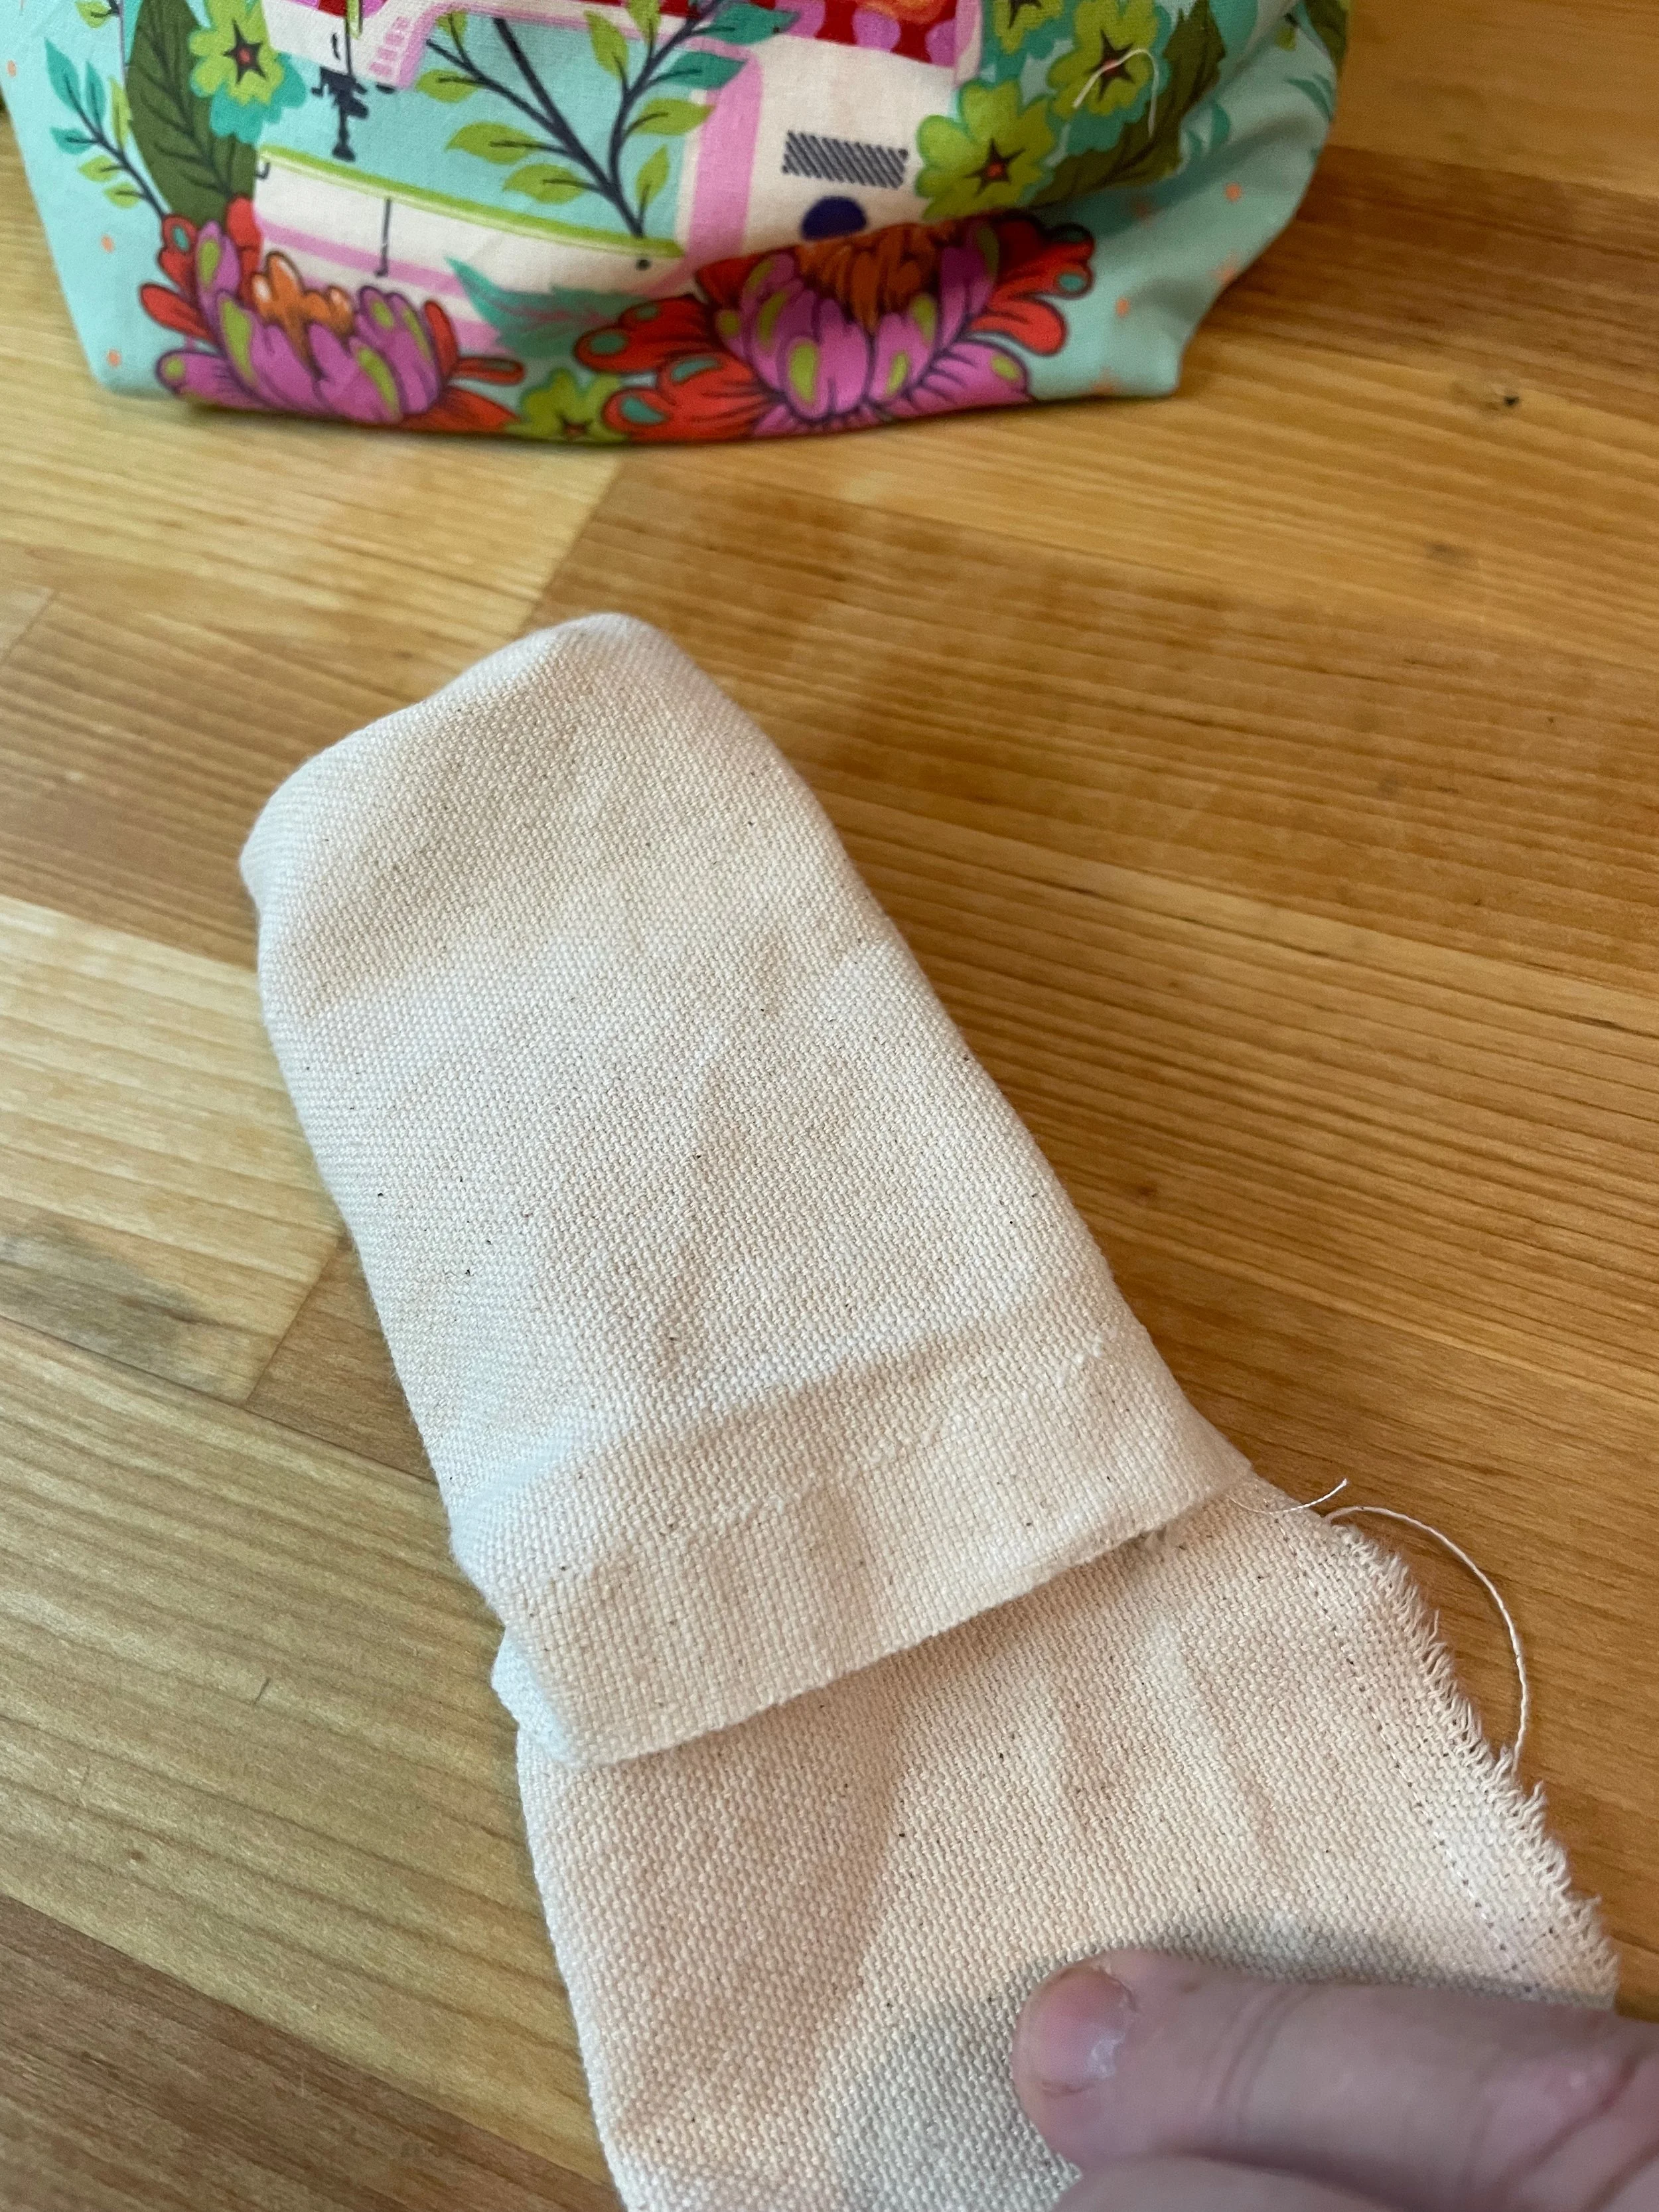
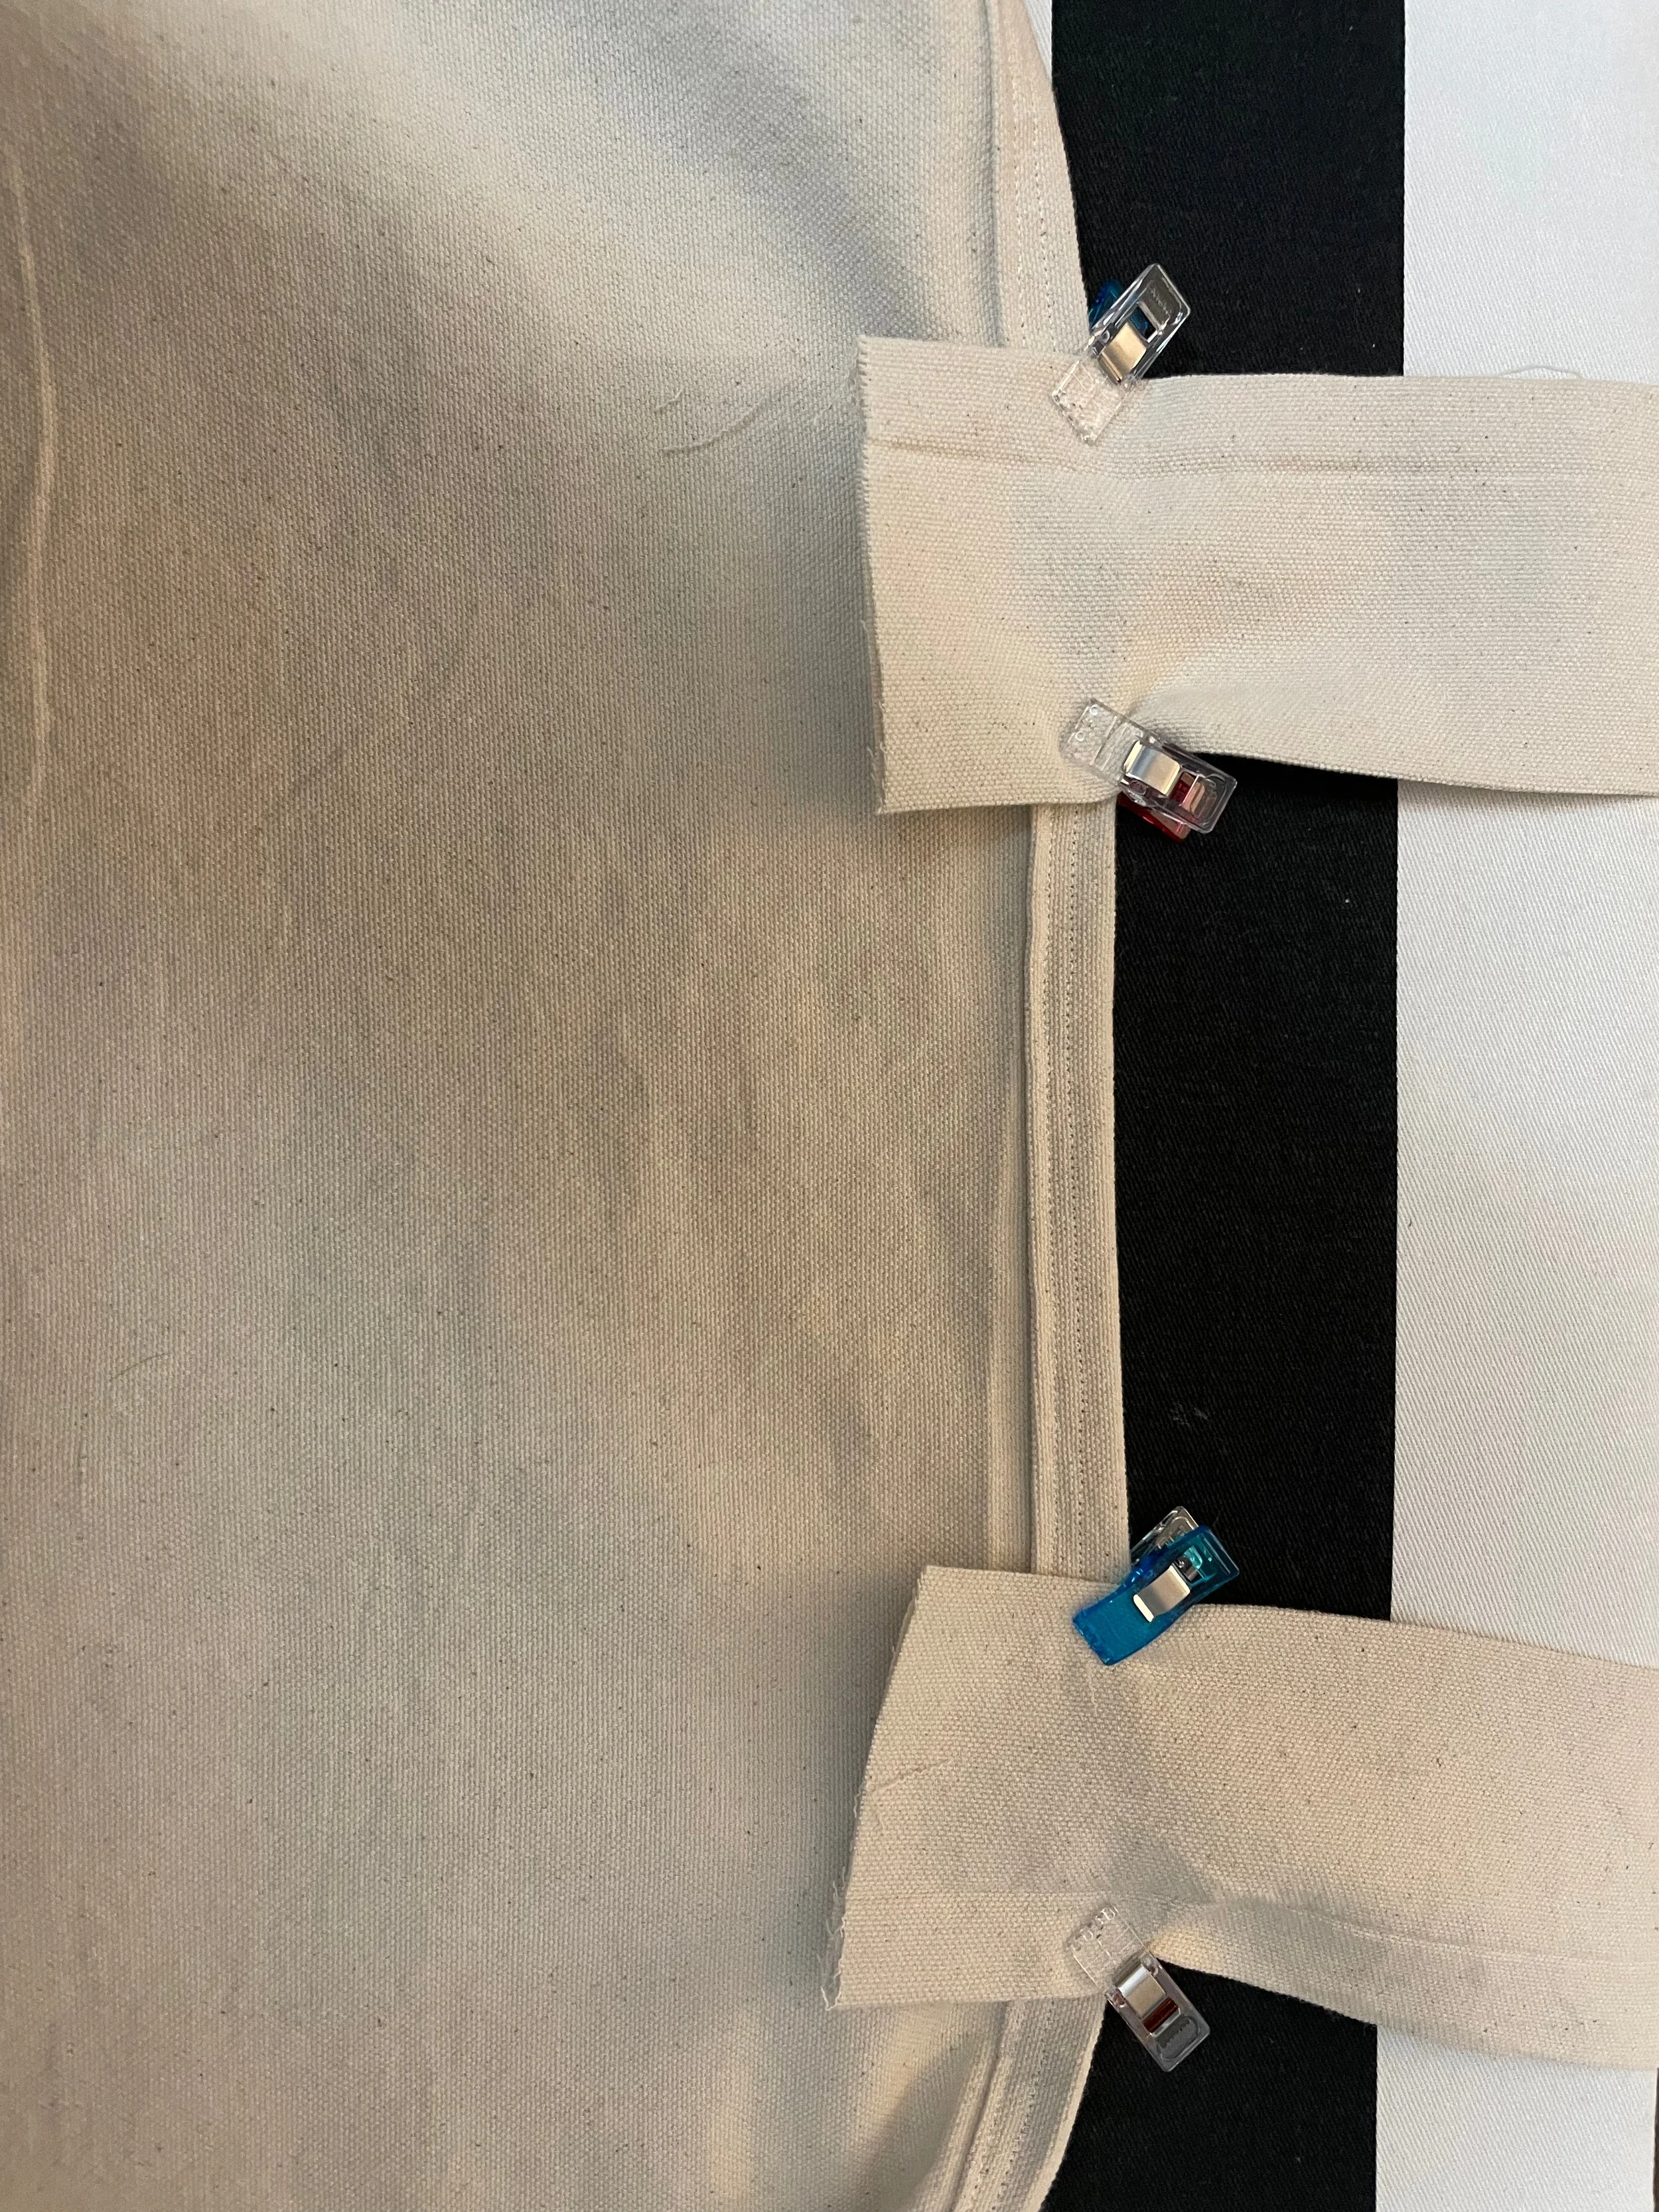
Sew & Turn Straps
Fold each strap piece in half the long way with right sides facing. Press.
Stitch the three sides with a 1/4” seam allowance leaving a 1” opening at the end.
Turn each strap and press. Stitch the openings closed.
Hem Pocket or Pouch
For two pockets, cut identical rectangles from the fabric. For a larger single pouch, trim to the desired size. Hem all sides of each pocket or pouch. I used a double hem to prevent fraying.
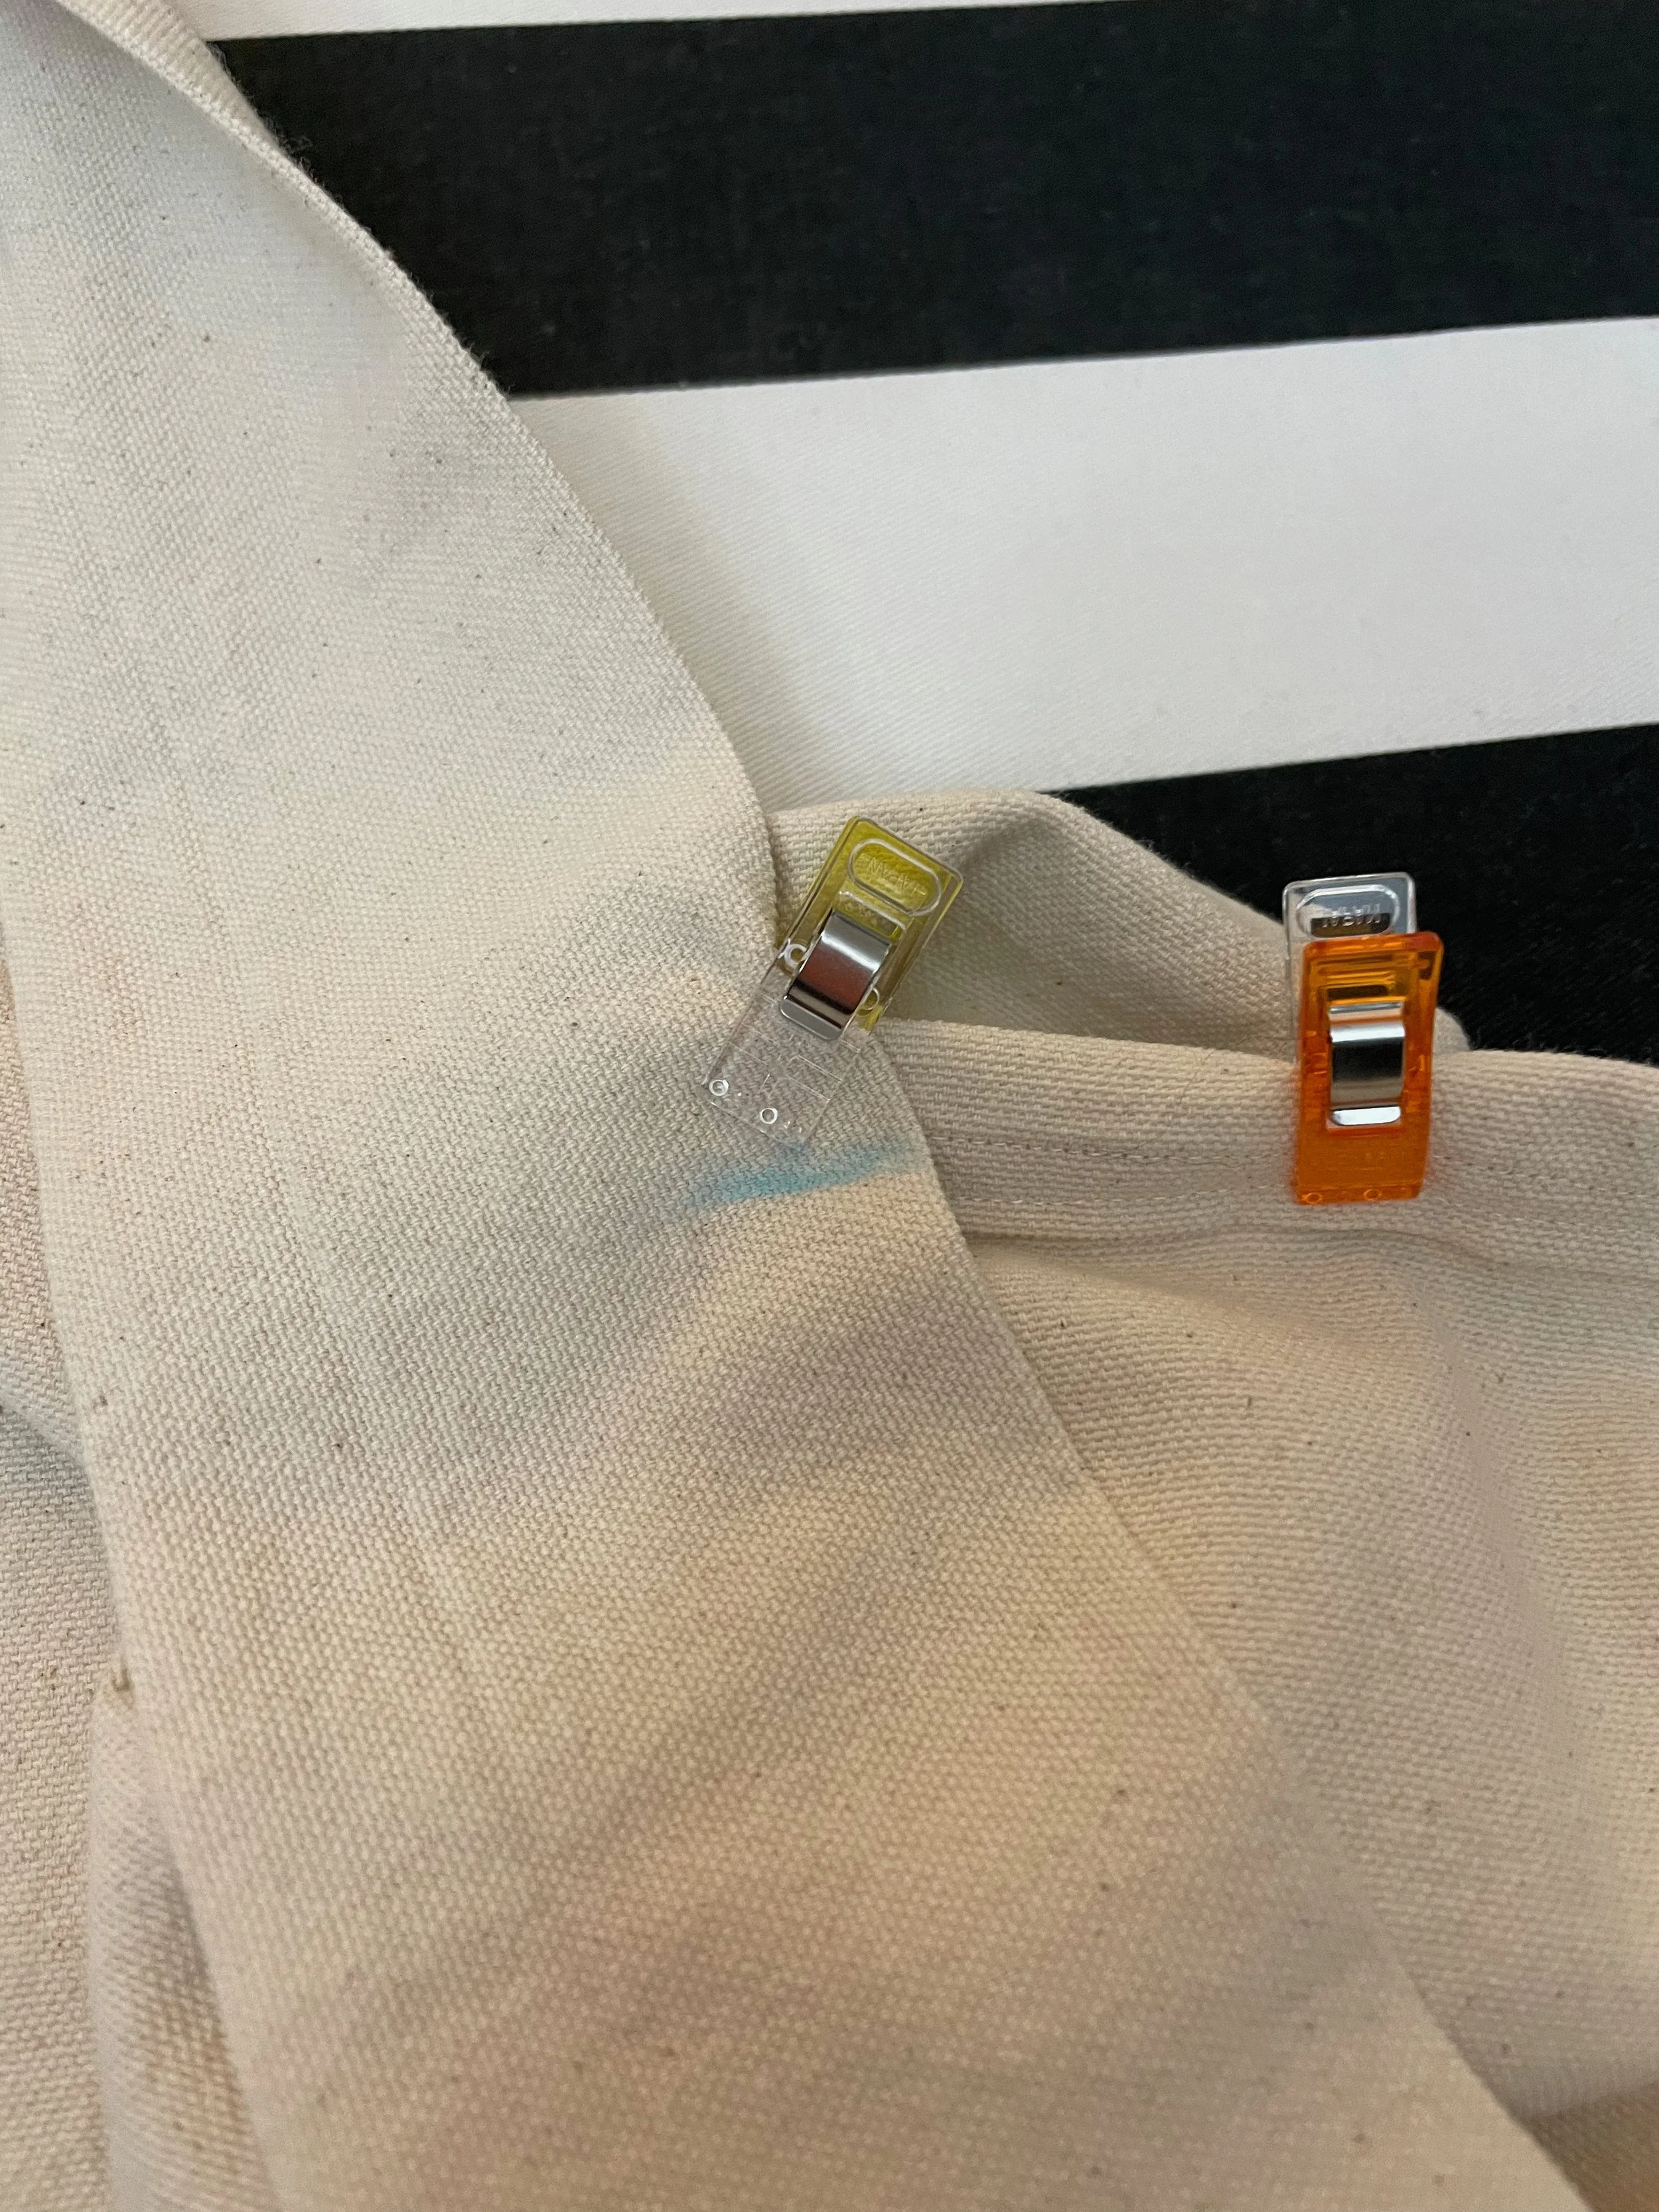
Pin Straps & Adjust
Place the straps across your shoulders at a comfortable distance apart. Measure the distance between them using a measuring tape.
Fold the Apron Body in half. Press and then open.
Using a measuring tape, measure and mark the placement for the straps centered on the pressed center line. For my apron, my straps are 7” apart, so I made a mark with dressmaker’s chalk 3.5” from the center line in each direction.
Pin your straps in place on the back side of the Apron Body. You may want to use safety pins for this since you’ll be trying it on and making adjustments.
Then cross the straps and pin the other ends to the opposite corners of the apron along the top edge.
Now, try the apron on and adjust as needed for fit. Make sure your straps aren’t twisted!
Angle Under Arms
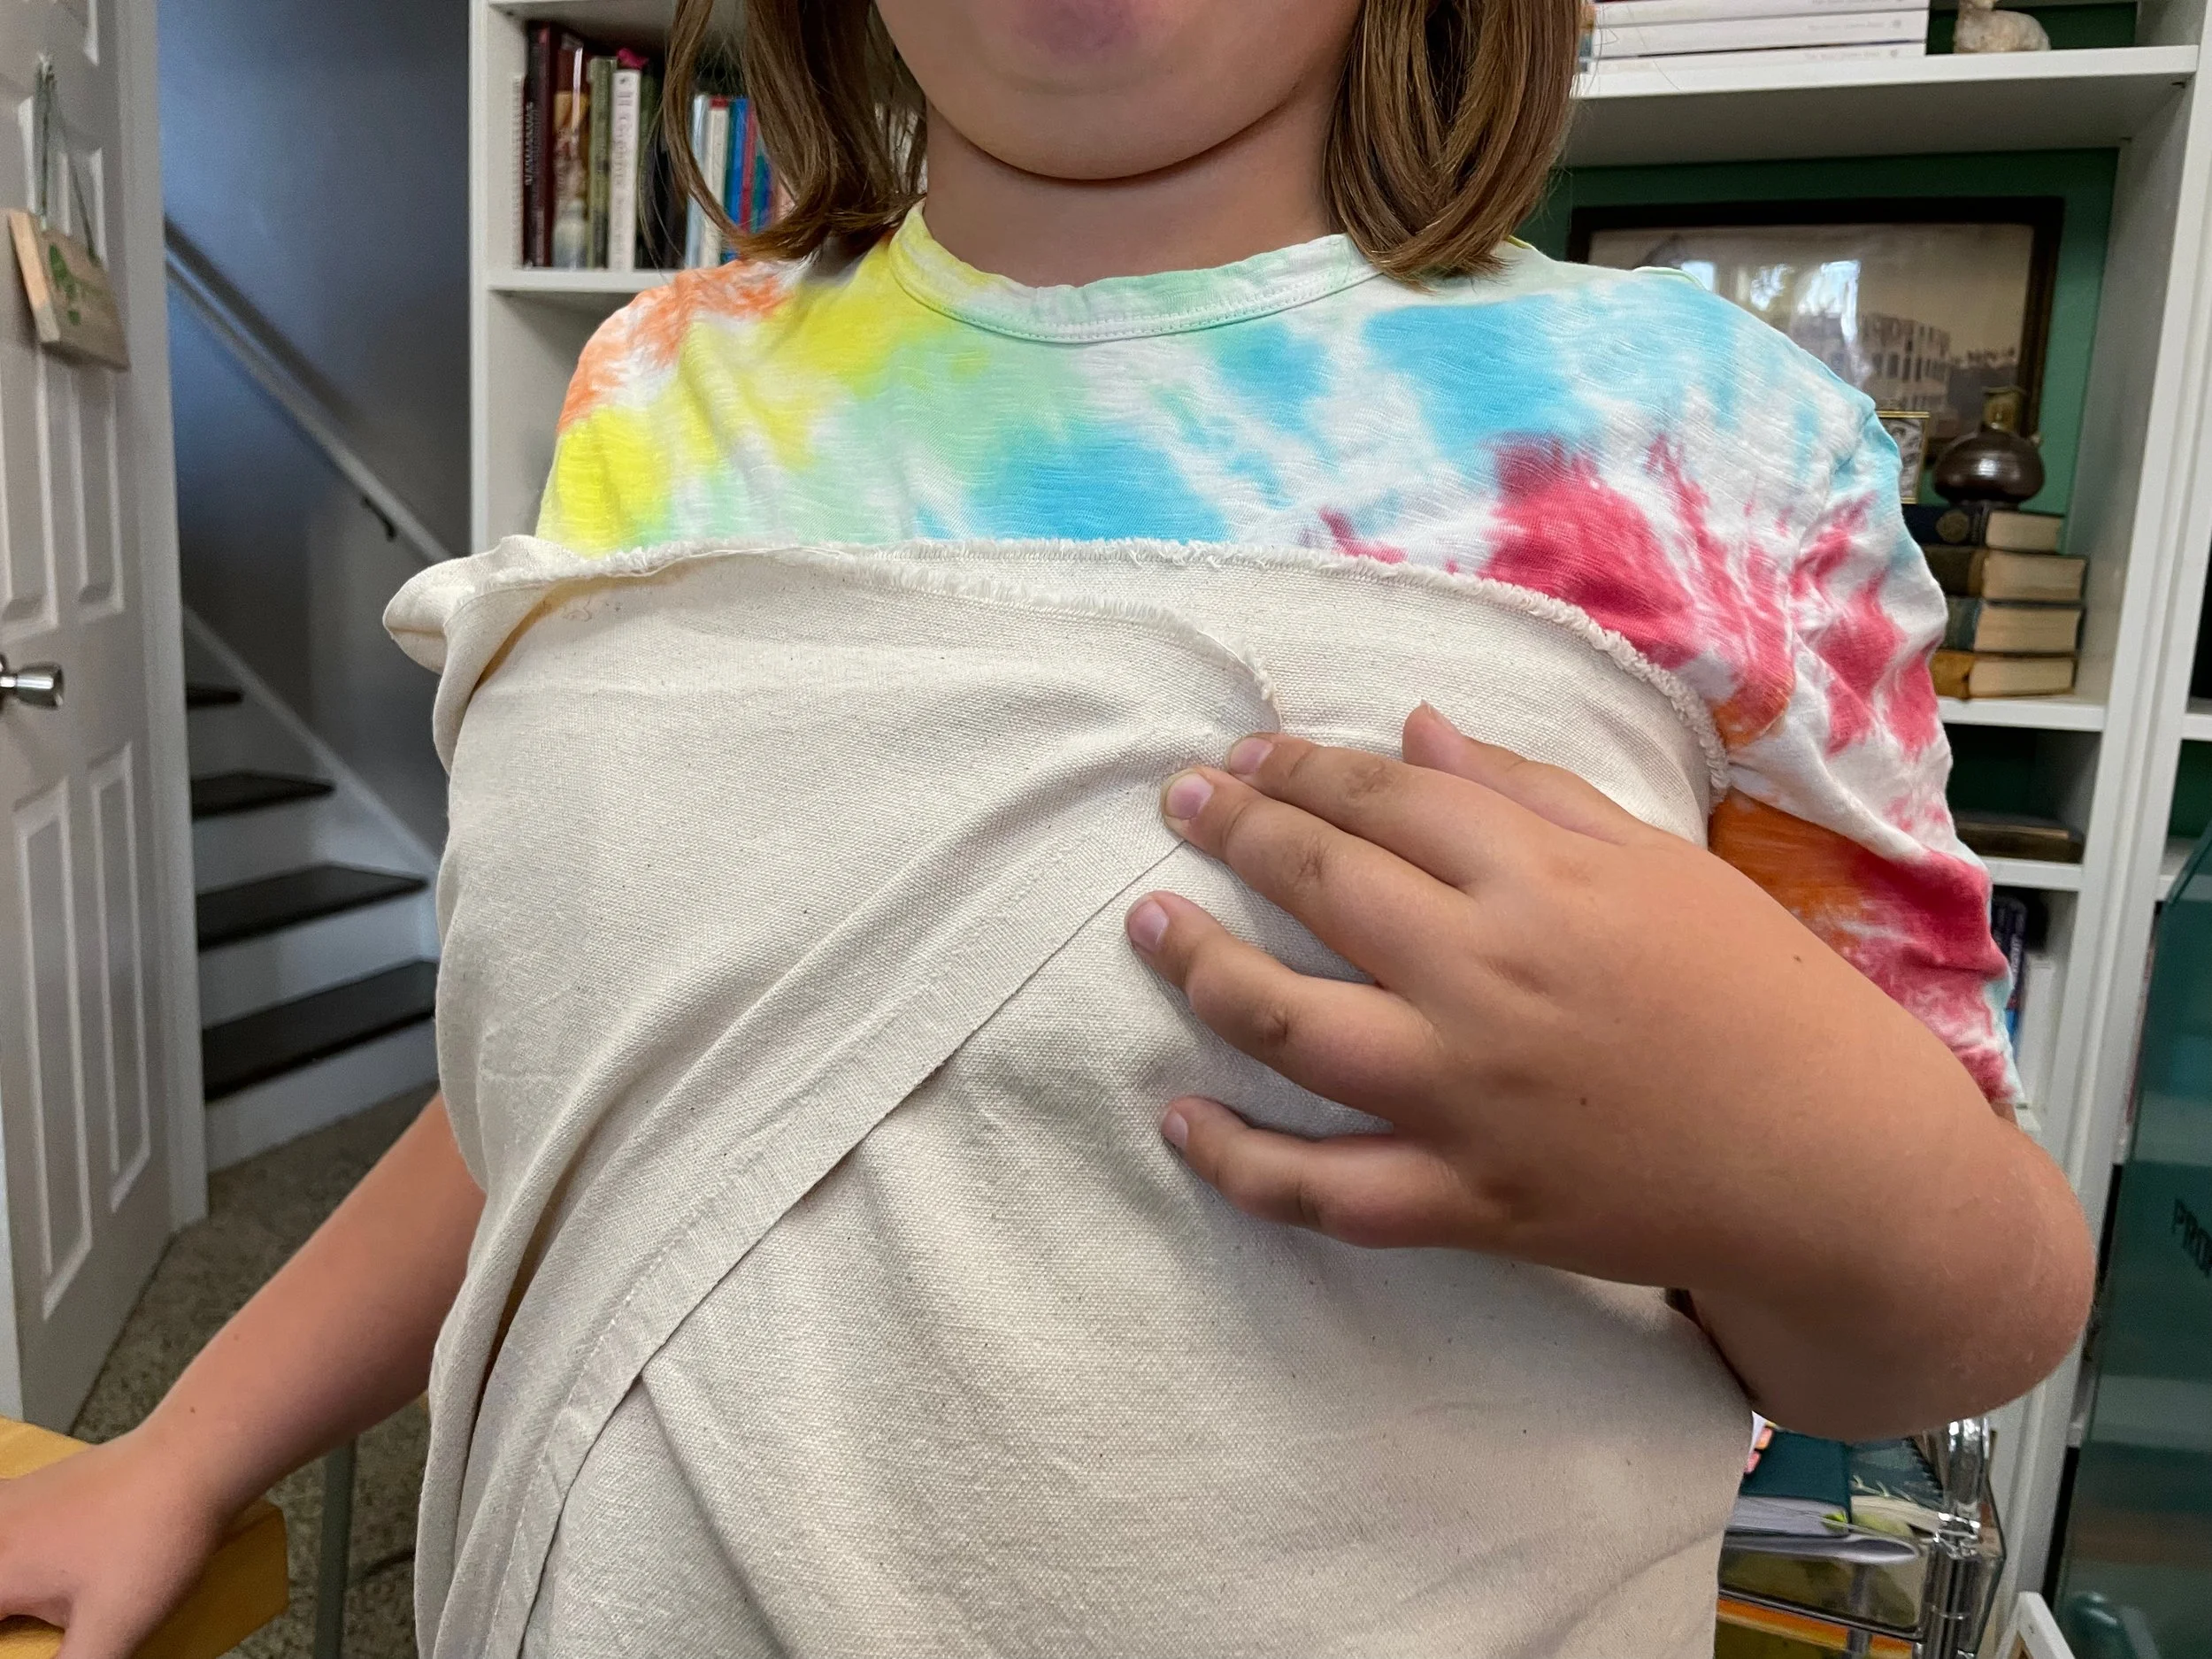
This step is optional, but for those of us who are a little more buxom, that straight-across cut may be problematic underneath the arms. There’s an easy fix, however, if you find there’s too much fabric under the arms, and it all gapes.
Before you sew the straps on, fold the top corner down about 3 inches. Pin the strap at this new location, and press the fold at this angle. Repeat on the other side. This will ease the gaping under the arms slightly, giving a better fit. You don’t need to cut at this angle (though you could). Just stitch it all down when you attach the straps.

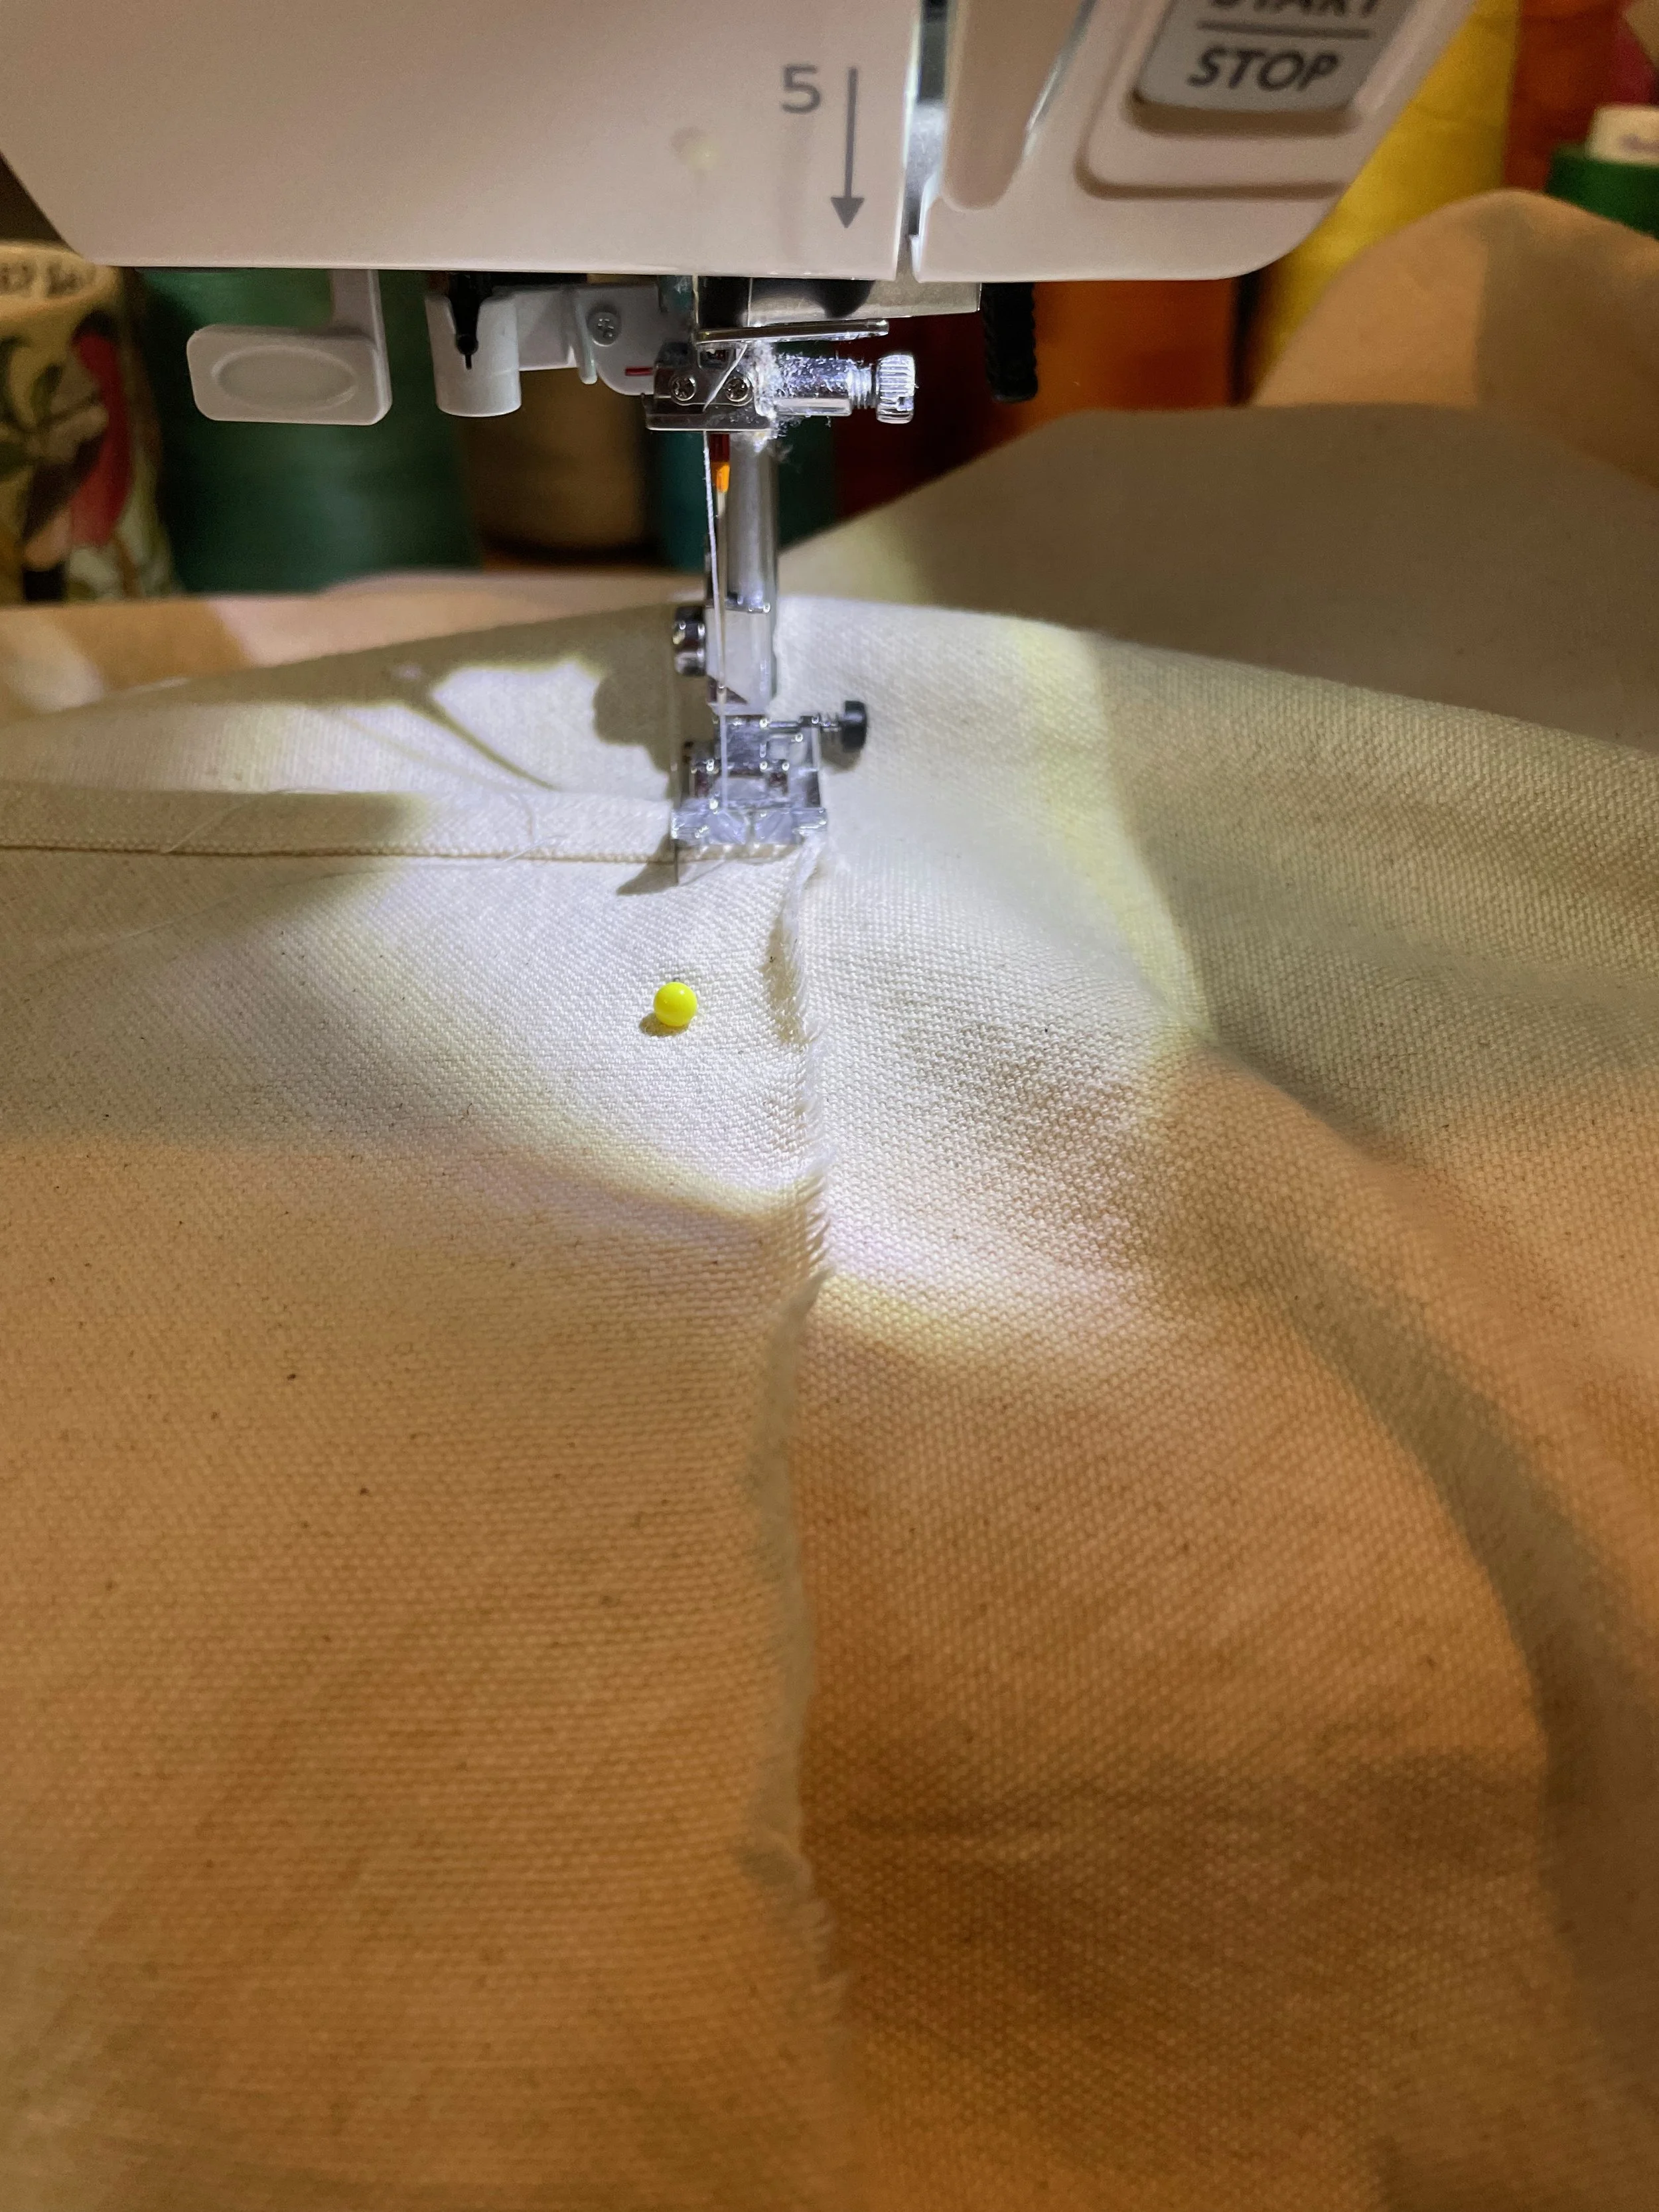
Sew Straps
Double-check that your straps aren’t twisted, then stitch them into place. I did a double row of stitching to make sure they held well.
If you also folded the fabric under the arms, now is the time to stitch that down as well.
Measure for Pouch
Put the apron on. Decide where you want the top of your pouch to land or where you want your pockets to be. Mark with dressmaker’s chalk.
I put one pouch in the front, so I marked the right spot for the top using dressmaker’s chalk. Then, I pressed the pouch in half and opened it up flat. I lined the fold mark with the fold I pressed earlier at the center of the apron and lined the top of the pocket with the chalk mark. Then I pinned the pouch into place.
For pockets: mark the placement on one side. Then measure from the center fold to make it symmetrical on the other side. Pin into place.
Attach Pouch or Pockets
Stitch the pouch or pockets into place. Be sure to leave one edge open!
Finishing Touches
Snip any loose threads and you should be done!
This apron is very simple and plain by design. But you could easily embellish it! Here are a few ideas:
Add seam binding tape around the edges or on the straps and pockets.
Use a Cricut and an iron to add vinyl words or graphics.
Embroider details on the pockets and straps.
Add ribbon trim or even lace.
Making & Sewing Projects

Featured


