Plant this!

Two Waterwise Grass Replacements
A Drought-Tolerant Yard Transformation
Years in the Making
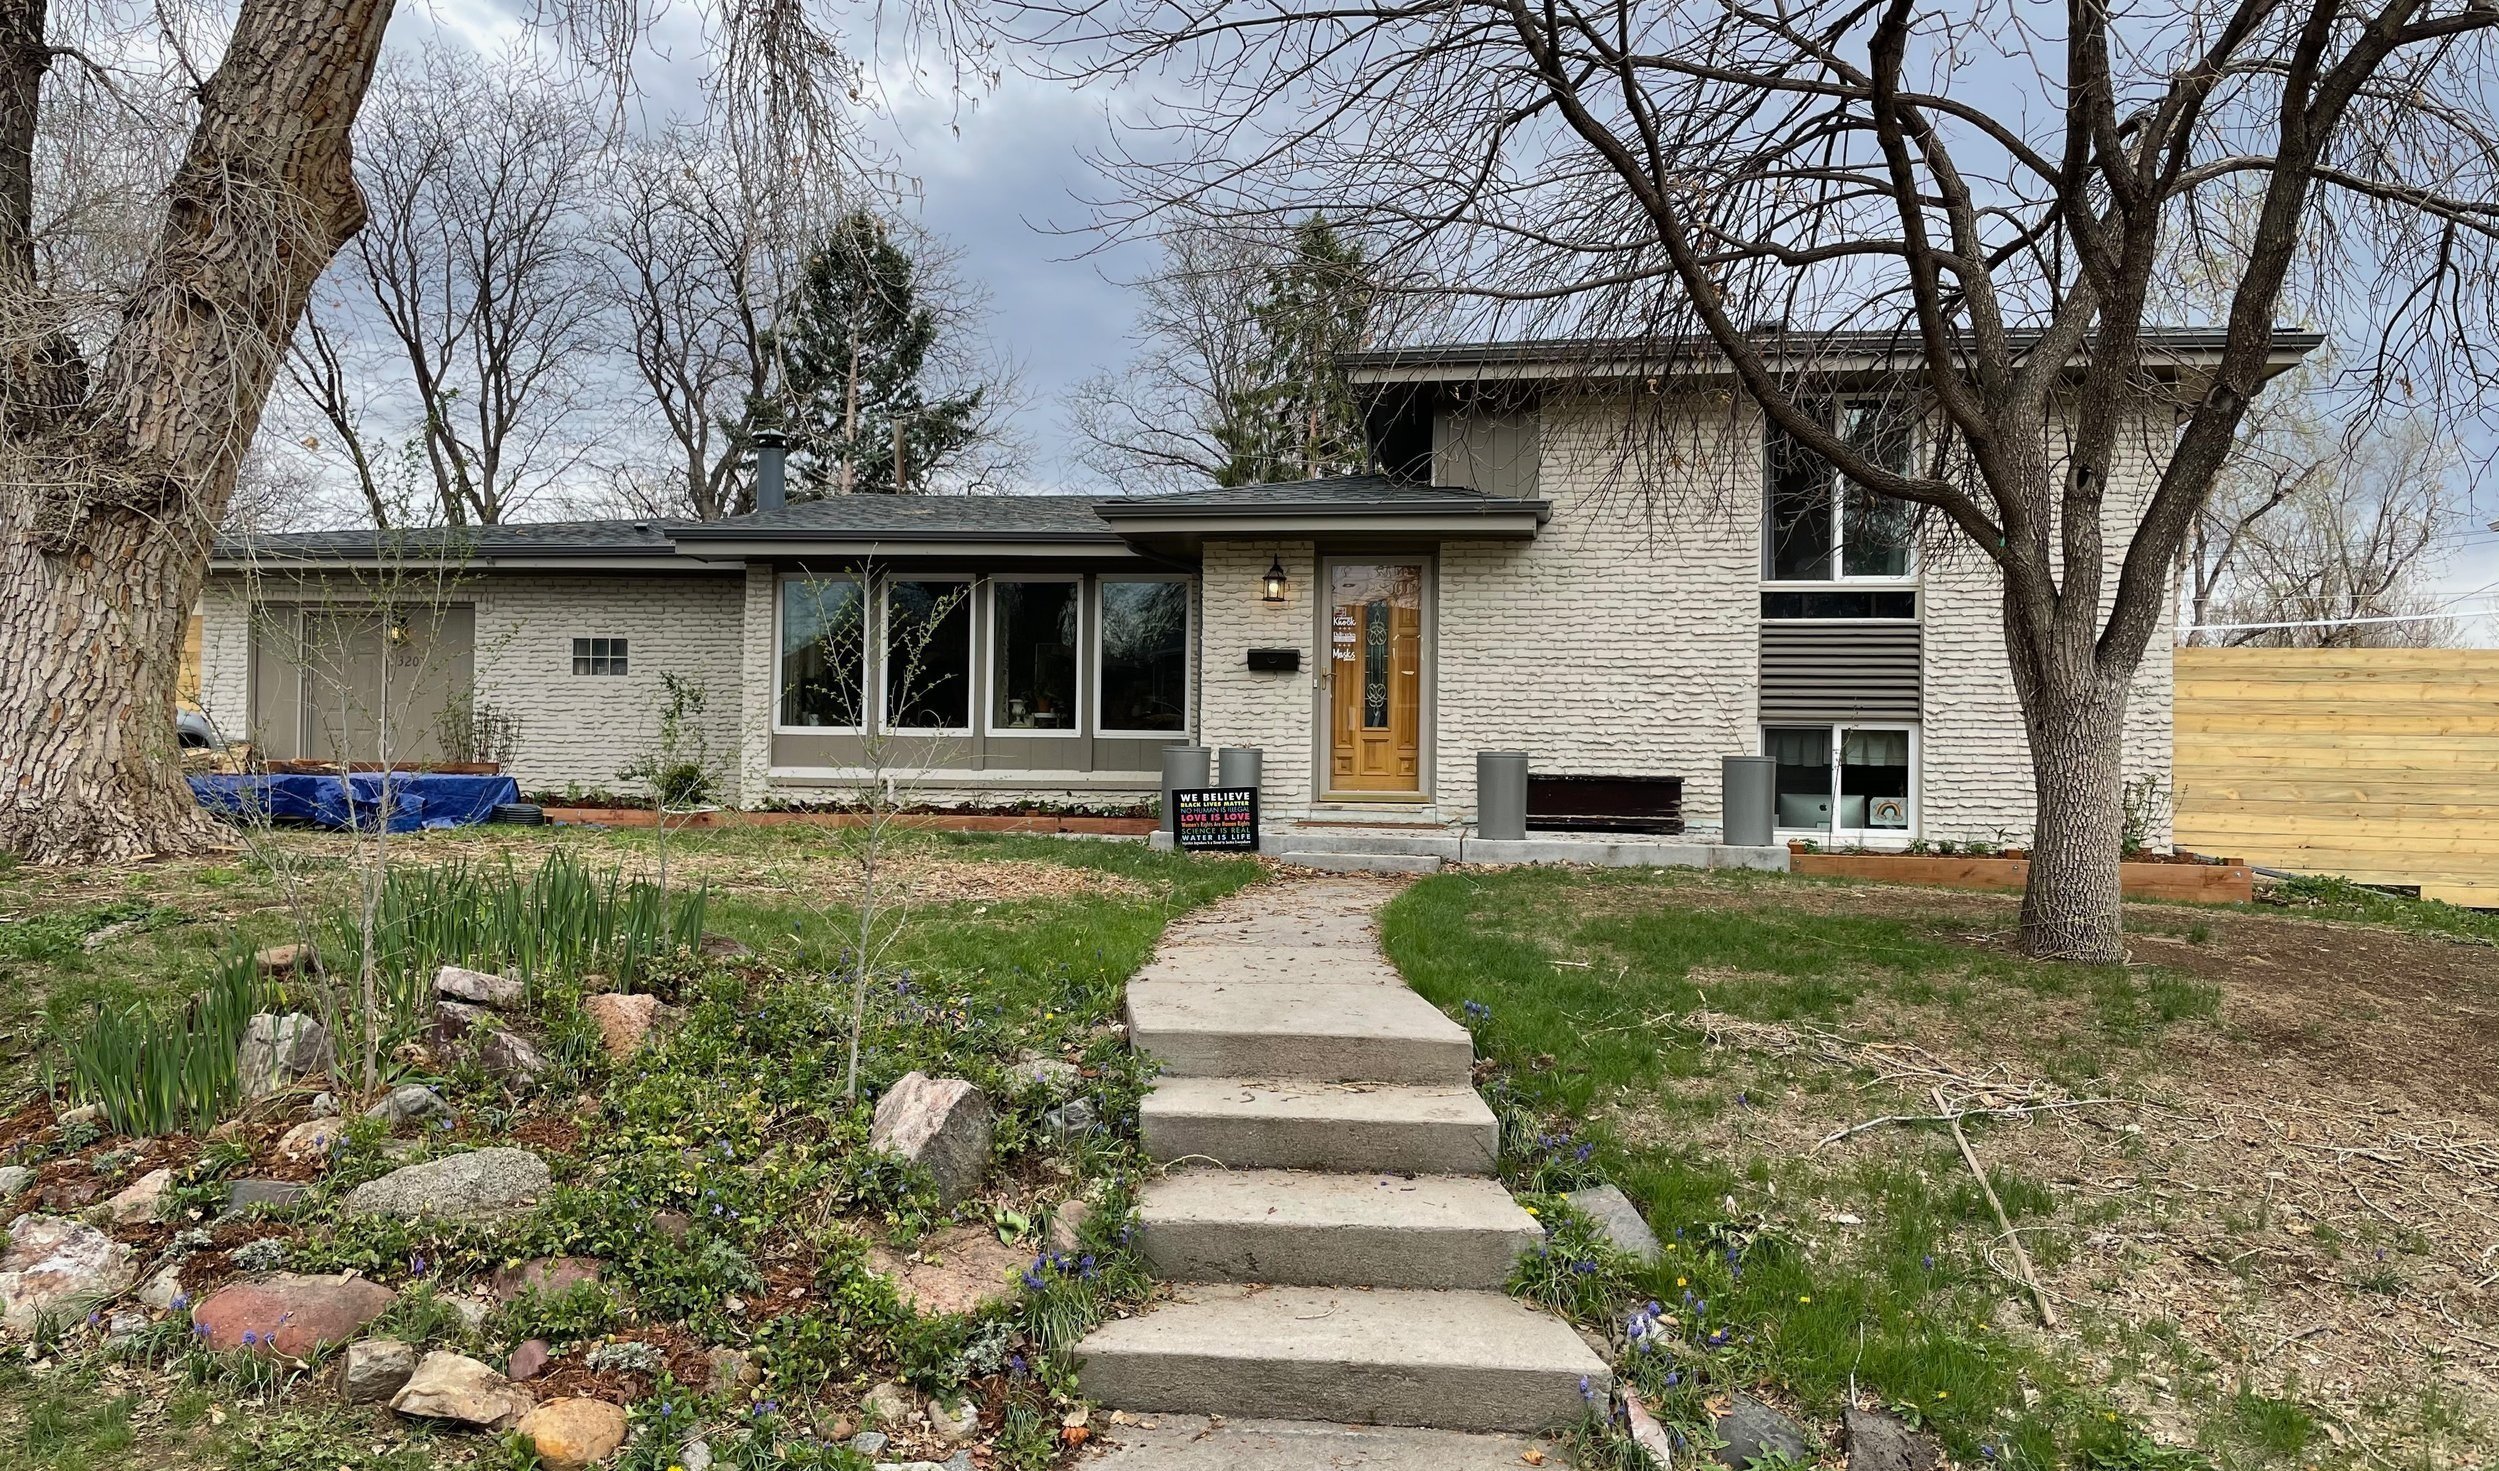
We bought our home in the winter, and we just assumed the large lawn was grass. Well, you know what they say about assuming things – yeah, we were really, really wrong.
Our lot is just a bit smaller than the average suburban lot in the US, and it was very much NOT covered in grass. There were a few areas where grass remained, but for the most part the "lawn" that appeared in the spring was a combination of three invasive weeds: field bindweed (Convolvulus arvensis), Canada thistle (Cirsium arvense), and prostrate knotgrass (Polygonum aviculare).
We could have done what most people do: kill everything with a spray, put in a sprinkler system, and lay down turf grass. But, frankly, that is really expensive – both in the short-term outlay of having all of that done. And in the long-term of watering, mowing, fertilizing, and maintenance. And while our child would have enjoyed having a park lawn in the backyard – at least for awhile – we envisioned so much more.
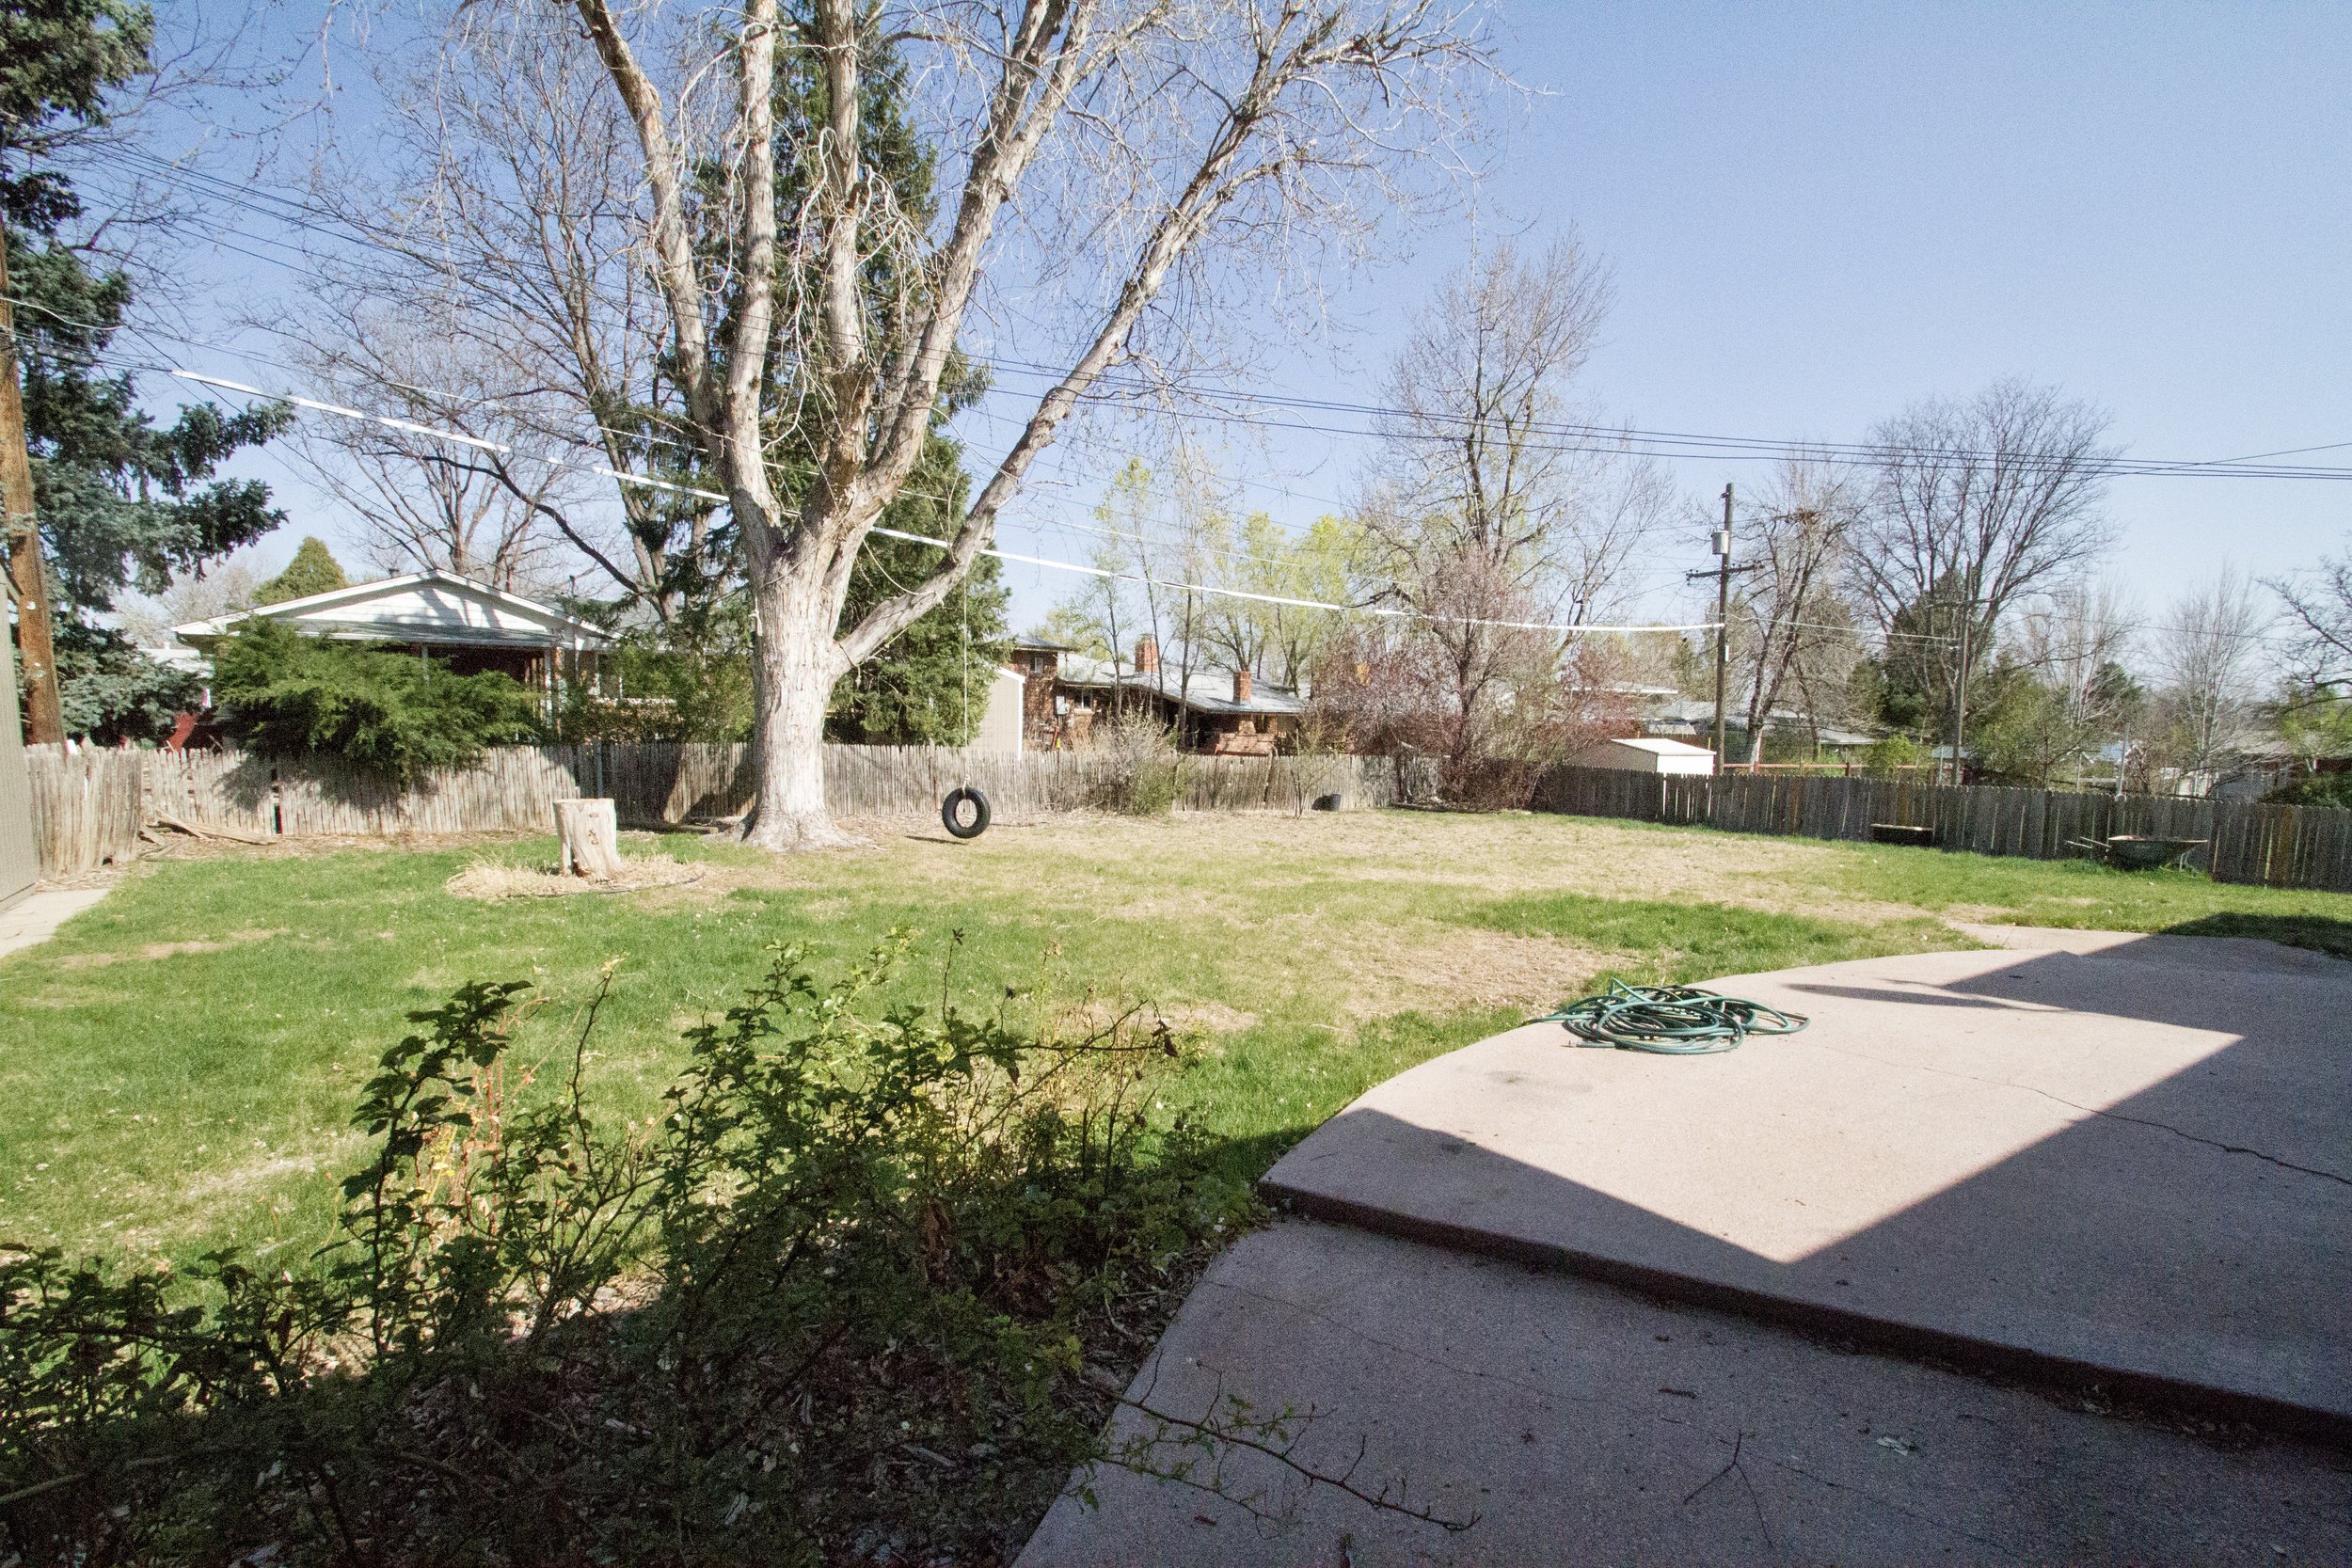
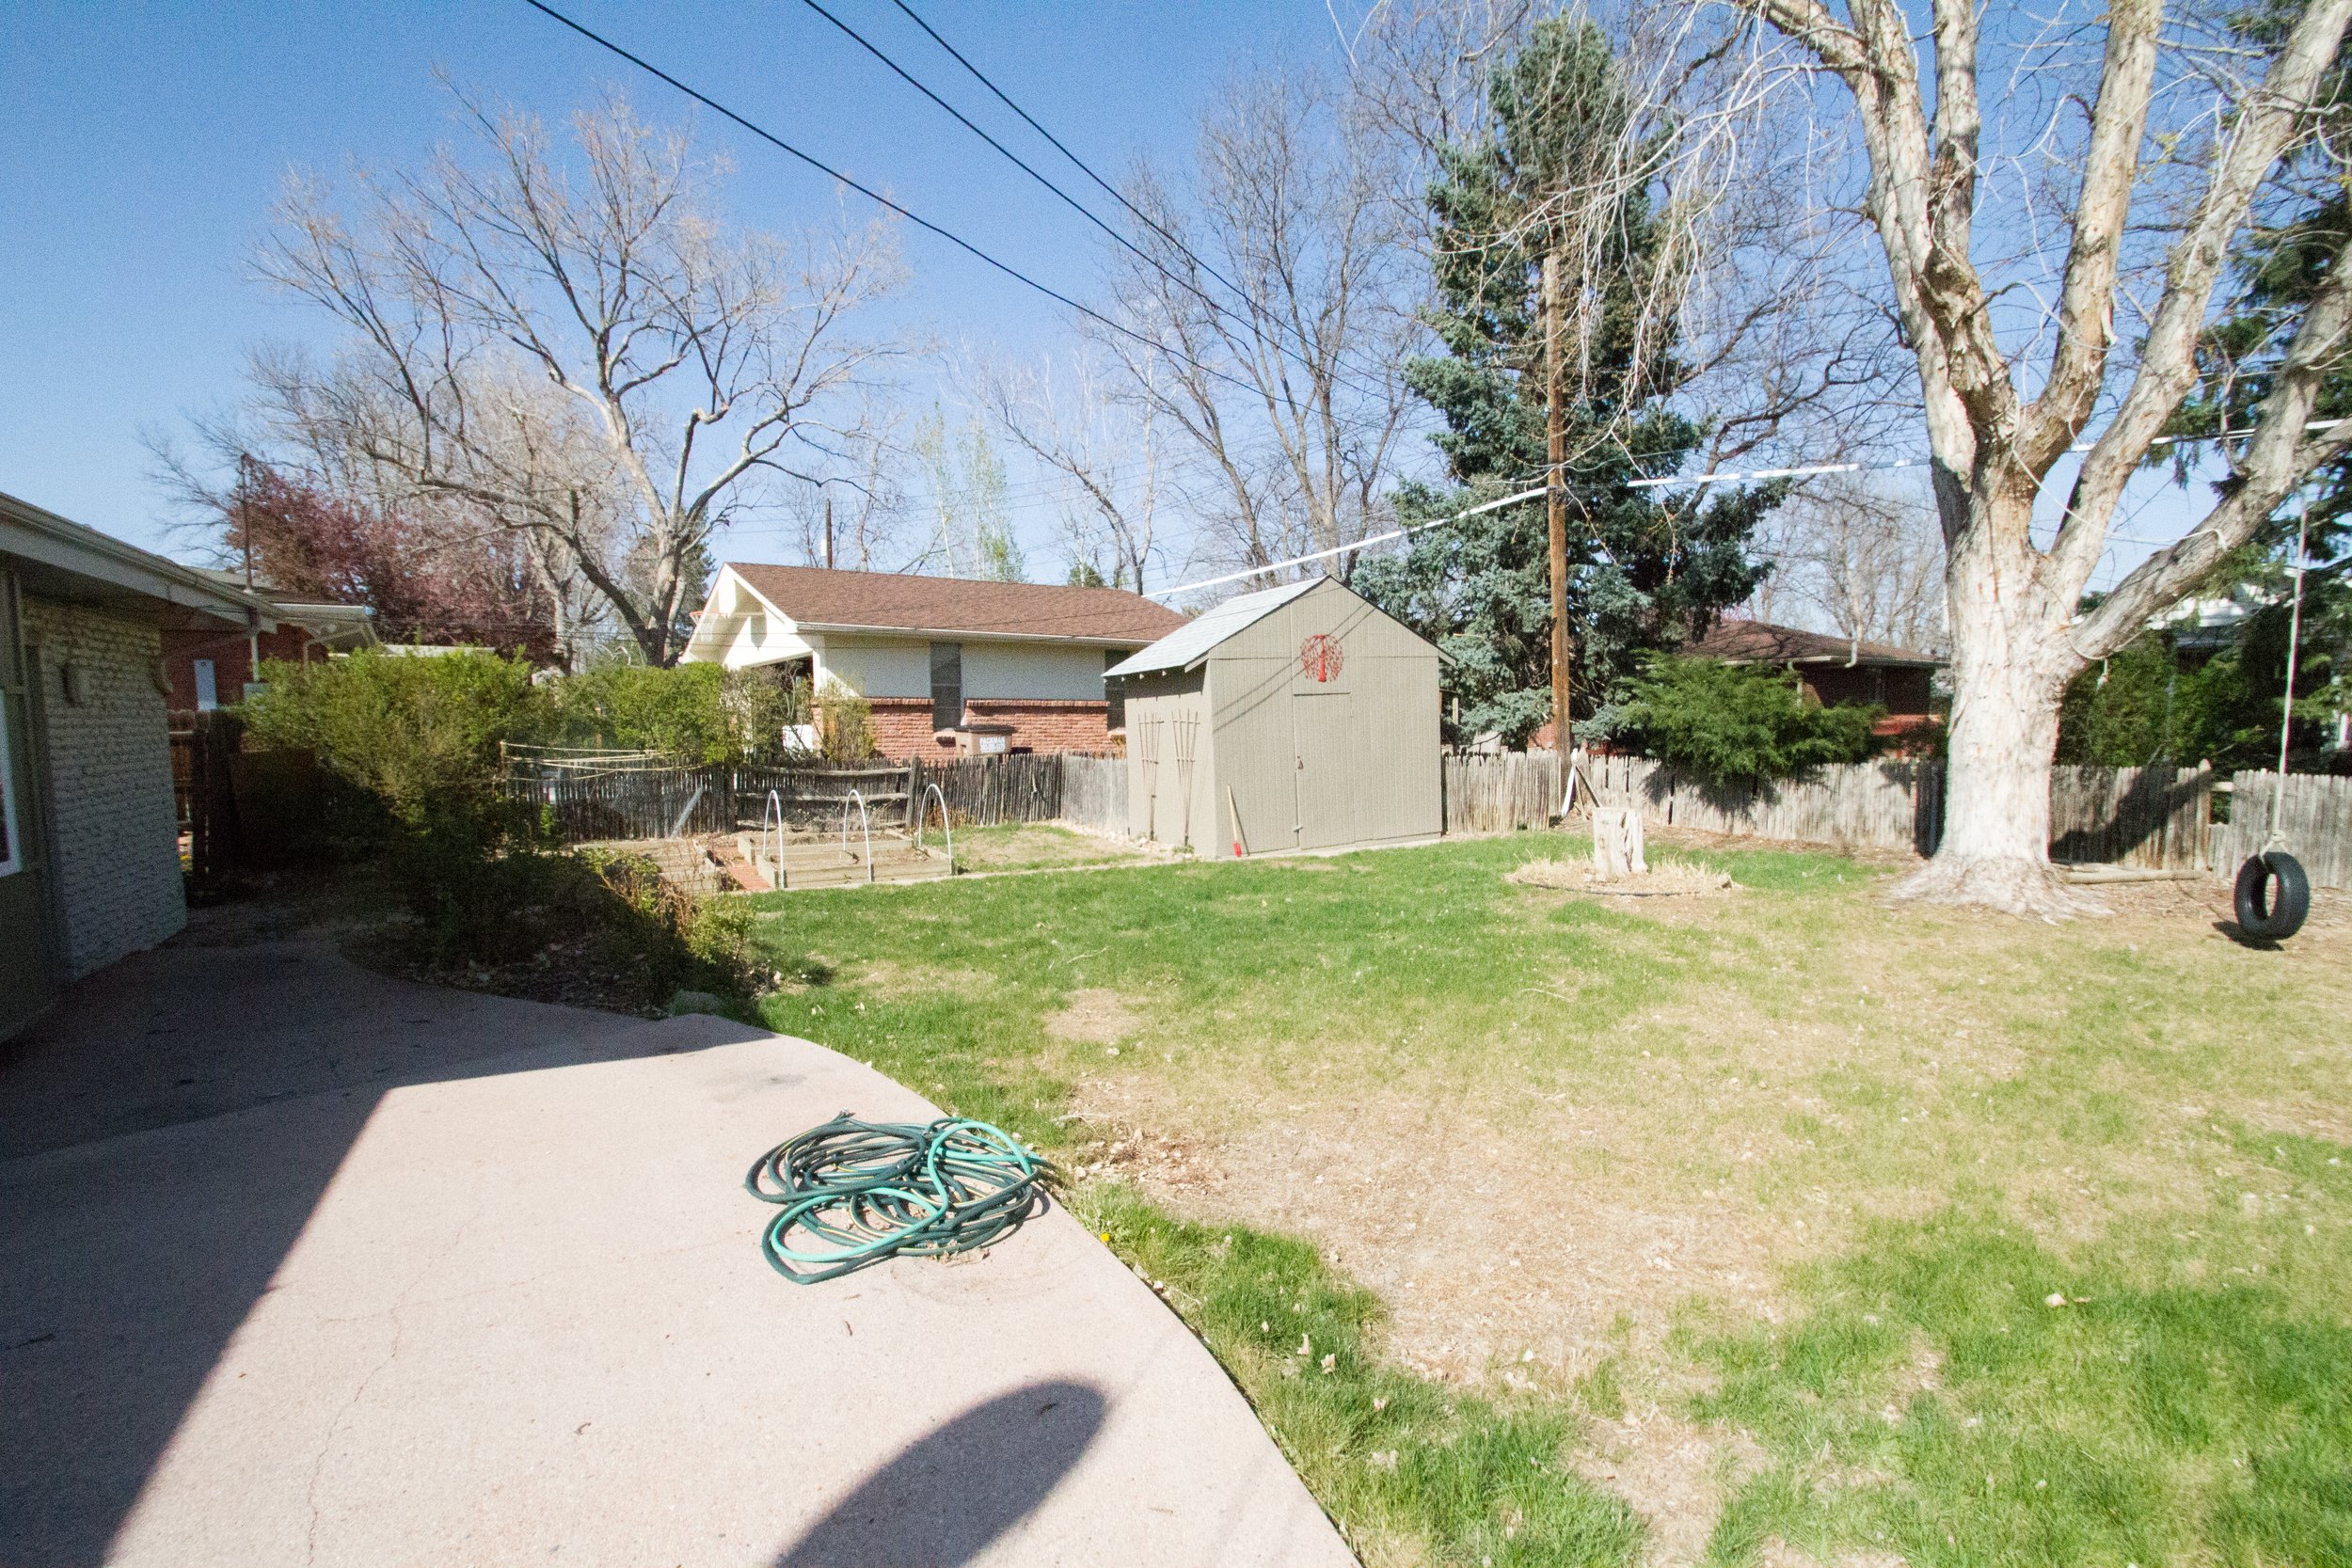
So we worked on a master plan which evolved over a few years but included creating living spaces in the backyard and a wildlife garden in the front. Both spaces were designed for play, for relaxation, and for beauty, surrounding ourselves with blossoms and habitat for bumblebees, birds, and humans alike.
AND we needed some space for lawn, too. We wanted the contrast between the wildness of the garden beds and the tidiness of a green lawn. But we did not want to install typical grass here in Colorado. Nor did we have the money to put in a sprinkler system. And the thing about a lawn is: it's a monoculture. It doesn't support the native wildlife around us, and we are all big lovers of wildlife. So we went a different direction.
Our master plan involved the installation of nearly 30 raised beds over the course of several years. We worked over time to define and name different parts of the garden: the Orchard, the Wildlife Garden, the Cutting Garden, the Grand Garden, the Pond Garden. Each area has a different planting scheme and plant vocabulary.
But between them we needed something to tie it all together, so finally last summer we were ready to install grass! Without a sprinkler system, we needed a lawn solution that was truly drought-resistant. We also needed something in the backyard that would stand up to our two dogs in all the ways that dogs can be trouble in a yard. And we wanted lawn that would be soft to the touch.
We ended up choosing two different solutions: DogTuff grass in the backyard and High Country Gardens' Xeriscape Clover Lawn Seed Mix in the front yard.
Let's take a look at the installation process for each and some results, too.
Preparing the Sites
This section should be called Killing the Weeds! I used two different methods to prepare the front and back yards – largely based on time requirements.
Solarization
For the front yard area, I placed an upcycled billboard over what was a weedy area for more than a year. Did it look good? No. But it did the job. The area was full of Bindweed which is particularly hard to kill. And it took us a while to get to this project. So we had time for solarization.
At a minimum, you'll want to solarize for at least 6 weeks, but in my experience, longer is better. And I have had really good success with using upcycled old billboards for this kind of project. We bought two billboards several years ago, and we have just moved them from place to place, solarizing and killing off all of the weeds as we go. It's been very effective – and they are long-lasting.
Glyphosate
I don't use herbicides often. The metaphor that resonates with me is that herbicides like glyphosate are like chemotherapy: we don't use chemo for a cold, but it is the right thing to use for cancer.
For the backyard, I didn't have the luxury of time for solarization. I needed to kill off the weeds immediately. And it was a cancer. In this case it was Prostrate Knotgrass to which I am also HIGHLY allergic. So I very carefully sprayed the area the day before we left on vacation. When we came back, the plants were largely dead. I waited 2.5 weeks before starting to plant the plugs at which point all of the Prostrate Knotweed was dead.
More site-specific preparation information is given in the sections below.
DogTuff Grass
I'd read about DogTuff a few years ago. It's a South African grass hybrid that has been extensively tested here in Colorado where many grasses really struggle. It is green, lush, drought-tolerant, and stands up to foot traffic as well as dogs! It sounded ideal to me, so when it was finally time to choose a grass for the backyard, I went to my friends at High Country Gardens, one of the few sources for DogTuff in the country.
DogTuff is planted as plugs and spreads by stolons – long, reaching pieces of grass that spread out, root into the ground, and form more tufts of grass on their own. So the planting process is a little intense. But the results should be magnificent.
Site Preparation
After all of the weeds were dead, we cut the remaining vegetation down to the soil level with a string trimmer and raked and removed the vegetation.
I watered the area well for 3 days before I started planting. It made for muddy work, but the soil was cool and damp which helps the plants establish.
Additionally, as I was planting, I pulled up any weed roots which I could remove. I will still have weed pressure for a year or two to come. The seed bed in this area contains decades of seed, I am sure. But as the DogTuff grows in and becomes thicker, it will crowd out weeds over time.
DogTuff Installation Tips
Timing: DogTuff should be installed when your soil is warm, but it isn't too hot. However, my plugs didn't arrive until the third week of June – a little later than I would have liked. That said, it didn't seem to bother the plants at all. They just needed a little more water than I expected.
Caring for Your Plugs: Until you get them into the ground, you'll need to give your plugs a little TLC.
Water Well: grass plugs dry out very, very quickly. So you'll need to water them every day when they are in trays, and have a good plan for watering frequently through the first season of growth.
Cover with Shade Cloth: to keep them from baking in the sun, I kept the plugs in an area with afternoon shade and covered them with shade cloth as well.
Use an auger and a grid: I used an old cattle panel that had squares just about the right distance apart for the grass plugs. I placed it on the ground to use for spacing. Then I put an auger in the drill and used that to create the holes for the plugs. It made relatively quick work of the project. It only took me a few days to get everything planted, working for a few hours at a time.
Overseed with an Annual Rye Grass: This was a great tip from someone on a Reddit thread. They suggested overseeding with an annual grass which would fill in between the plugs while the plugs established themselves. Because it is annual, it won't come back next spring, either. Their suggestion, which I will probably follow, is to seed again in year two if there are significant empty spots between the plugs. Eventually, however, the DogTuff will fill in together.
Water Frequently for Summer 1: DogTuff is drought-tolerant, but for the first year or two you need to keep it very well hydrated.
Month 1 (Jun-Jul): For the first month, I watered twice per day. This was partly because we had a historically hot and dry summer with June and July being particularly brutal.
Month 2 (Jul-Aug): Then I cut back to once per day for the second month.
Month 3-4 (Aug-Oct): By month three, I cut back to twice per week.
Year 2: I will water once per week all summer for the second year.
That's a lot of watering, but it should pay off over time as mature plants only need to be watered once or twice per month.
For more about DogTuff check out these two links:

Trays of plugs ready to be planted.
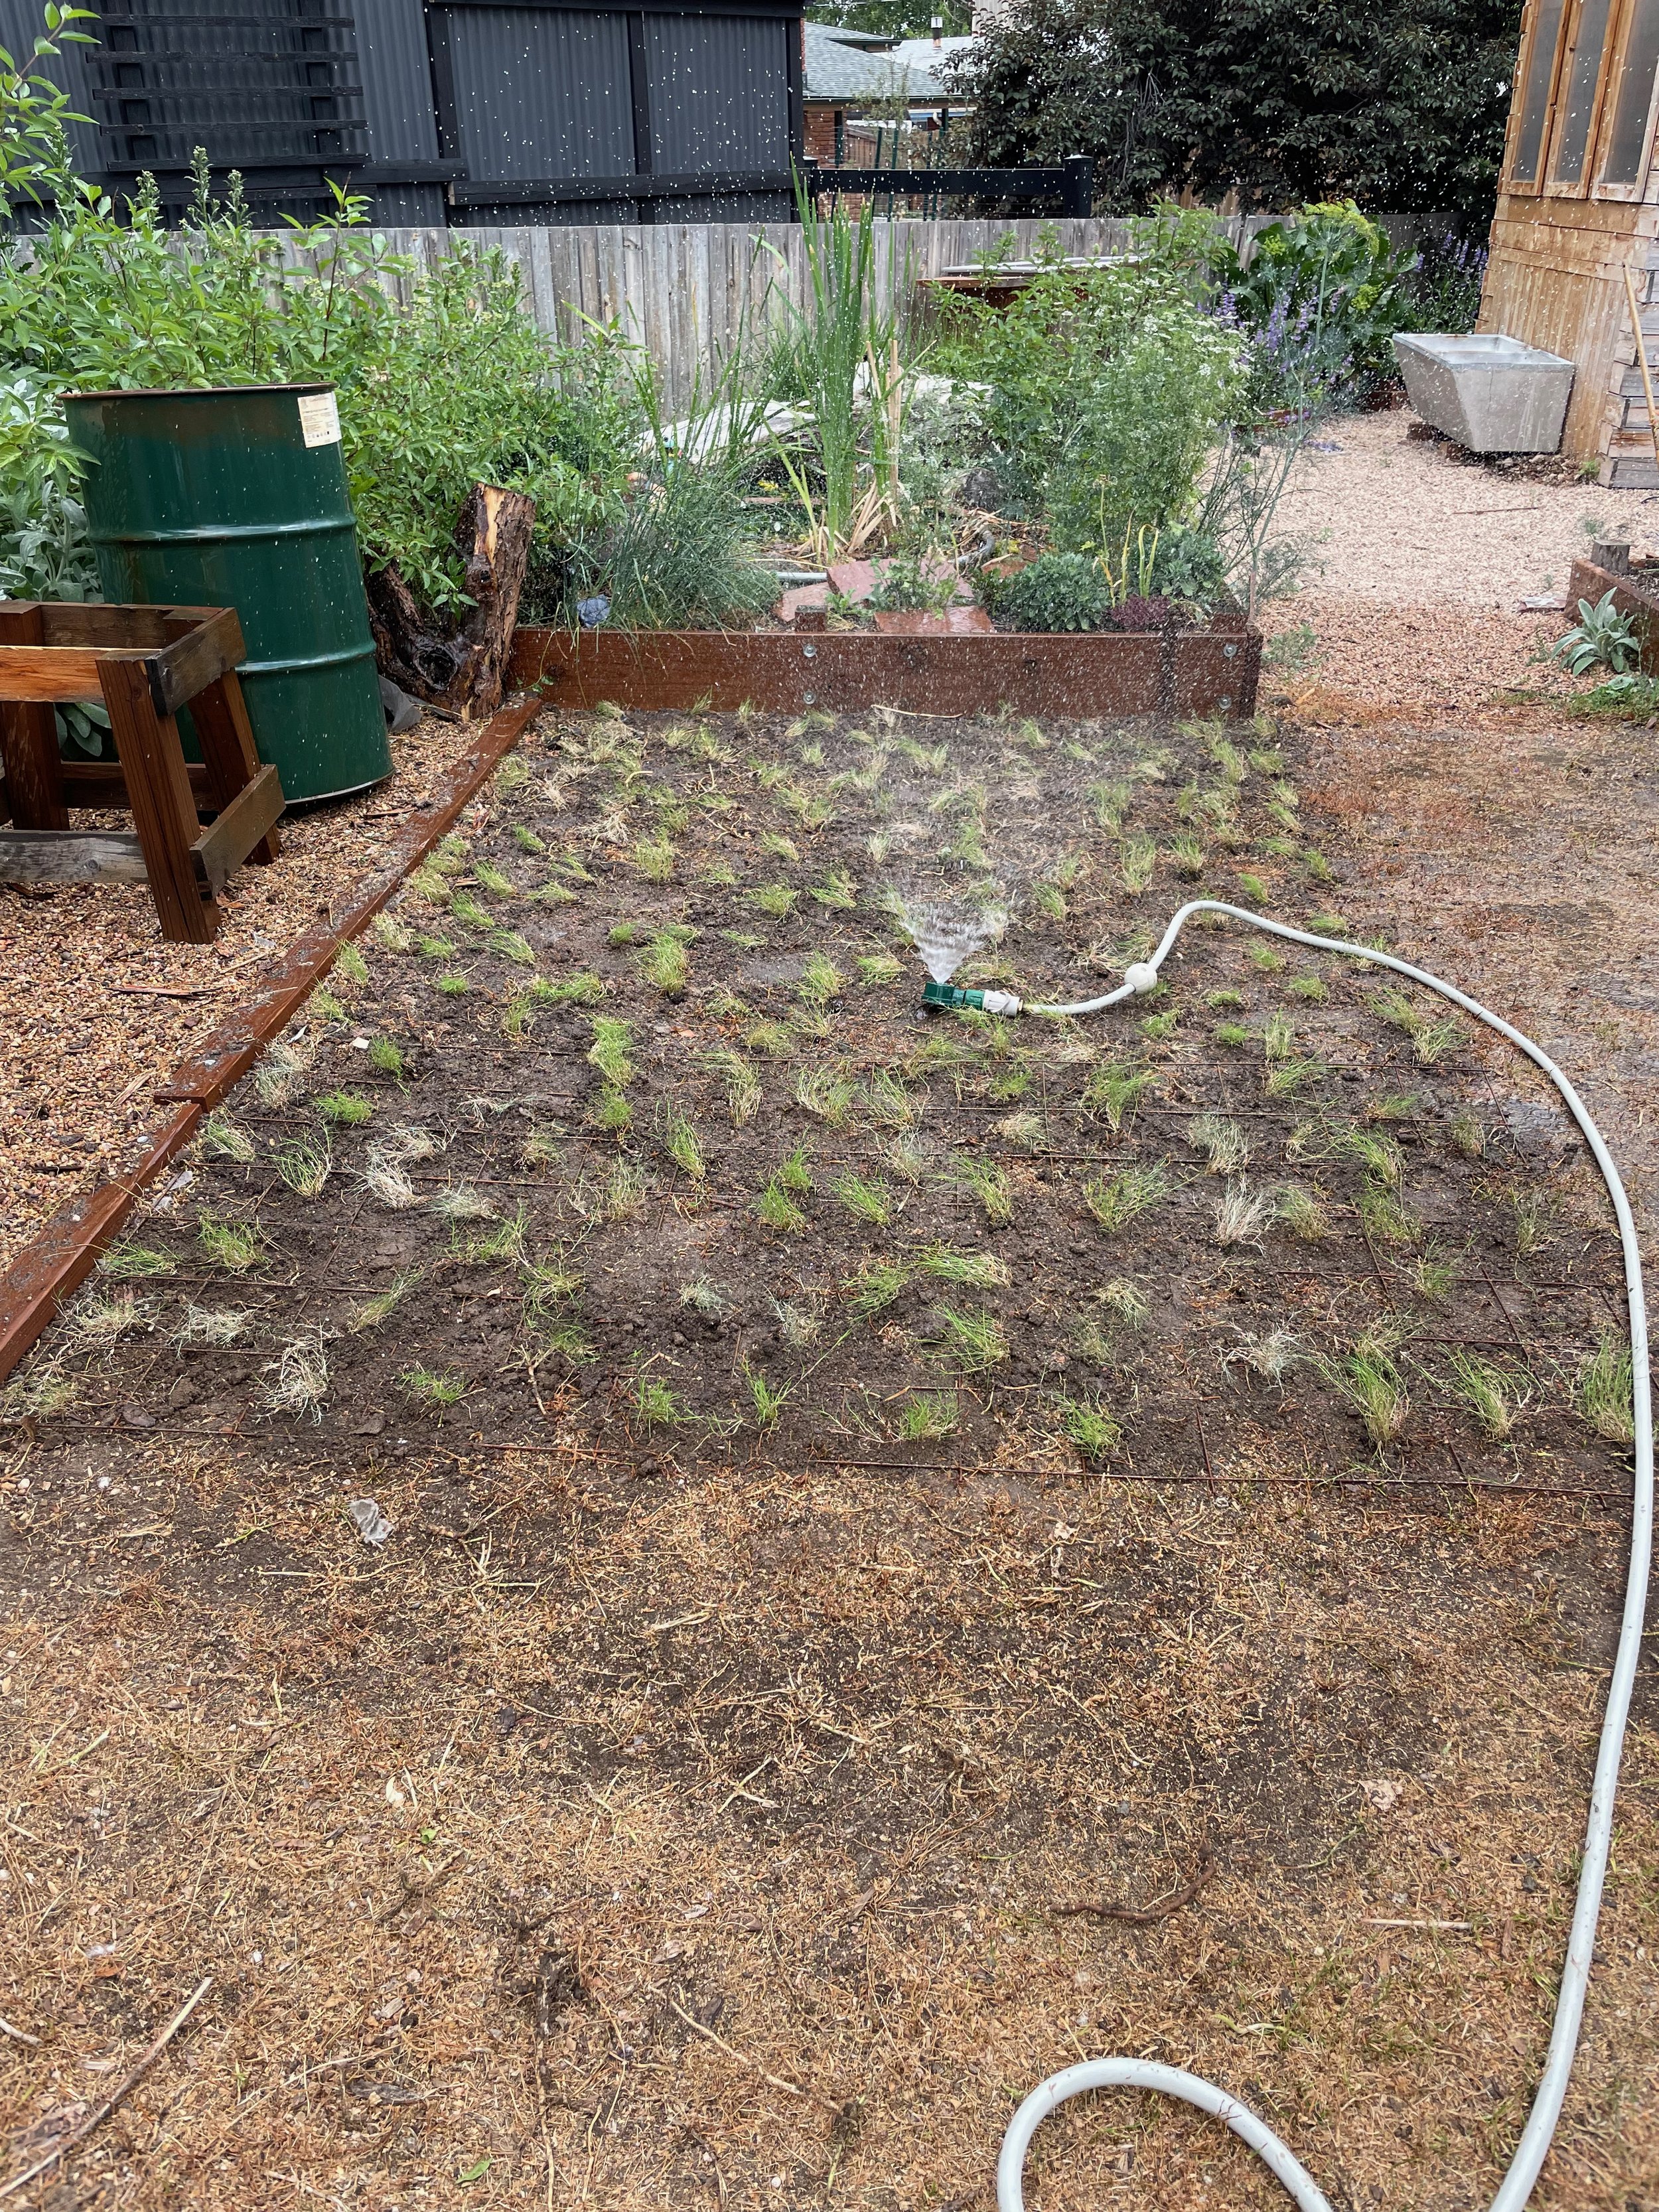
The first plugs in the ground!

The same area three months later.
In this garden tour video, you can see the Clover Mix lawn as it was coming in during the fall.

About three weeks after seeding, the seeds have germinated and are starting to grow on.
Clover Mix Lawn
Clover lawns have been all over the internet for a few years, and they come with mixed reviews. For the front yard I needed a cheap solution, however, and I needed something that would be relatively drought-tolerant and would not need to be watered often. I was initially interested in a clover lawn, but instead I chose a mix of clover and Achillea which compliment each other and make for a lovely, drought-tolerant mix.
In the end I chose, High Country Gardens' Xeriscape Clover Lawn Seed Mix. It's a mix of Low Work & Water Grass Dwarf Fescue Seed, Dutch White Clover seeds, and white-flowering Achillea (Yarrow) seeds. Clover-only lawns can be harder to grow here in Colorado. They green up later which can allow weeds to establish before the clover comes back. The grass and Achillea should perk up sooner and help to keep that from happening – which I need since this area was nothing but Bindweed before.
I planted the DogTuff in the summer, but I planted this lawn in the fall – September.
Site Preparation
Once I pulled back the billboards that had been solarizing the area, I let the soil sit for 2 weeks to see if any weeds germinated. There were very few – all of which I hand-pulled.
I had a load of compost delivered, and spread out about 2" of fresh compost over the entire area.
I watered deeply the night before I was going to spread the seeds.
Lawn Seeding Tips
Use a seed spreader to get even coverage.
Consider covering the seed with a single layer of agricultural burlap. See below.
Water daily, and if it is really hot, water twice per day.
Lawns can be seeded in both spring and fall. Check your seed type to see which timing is more advantageous.
I will reseed in April to pick up the bare spots, but the coverage and growth was really strong even after our first few frosts.
Using Burlap when Seeding a Lawn
This is evidently an old trick that most landscapers have replaced with chemical and plastic solutions. However, it worked beautifully, and I think it deserves another look. It's an eco-friendly, biodegradable process.
Once I had spread the seed evenly, I covered it with a single layer of burlap which was held down by landscaping staples in each corner and along the sides.
The burlap helps in several ways:
It keeps birds and squirrels from eating the seeds.
It keeps the seed from washing away in rain or irrigation.
It keeps the seed moist which helps with germination and helps the seedlings get established.
You MUST use natural hemp burlap – nothing with plastic in it. The grasses and plants grow up through the burlap, and the burlap will eventually biodegrade and disappear into the soil. But while it is there, it will help to retain moisture which is very helpful in a dry climate like mine. In areas where I need to reseed, I'll lift the burlap and seed underneath – or just seed on top – as needed.

Achillea, Clover, and Rye Grass coming up through the burlap.


