Christmas Decorations for your Light Fixtures

How to Make Simple Christmas Decorations to Hang From Light Fixtures
A Simple Idea for Any Room of your House

Looking for quick and beautiful ways to decorate your home for the holidays? These DIY Christmas light-fixture decorations are the perfect beginner-friendly project. Using simple materials like wired ribbon and floral picks, you can create easy hanging holiday decorations that instantly dress up chandeliers, pendant lights, and kitchen islands. Whether you love classic Christmas greenery or modern holiday décor, these easy DIY Christmas floral bunches add festive charm to any room—without spending much money or time.
I absolutely love decorating for Christmas! It takes several days, and I relish the creative exercise as well as the beauty it brings to our home. And let me be clear: I am a maximalist when it comes to Christmas. I believe that Christmas decor should be cheerful, opulent, and magnificent. None of this minimalist spareness for me!
To that end, I have several easy and inexpensive projects which can bring cheer and beauty to any spot in your home!
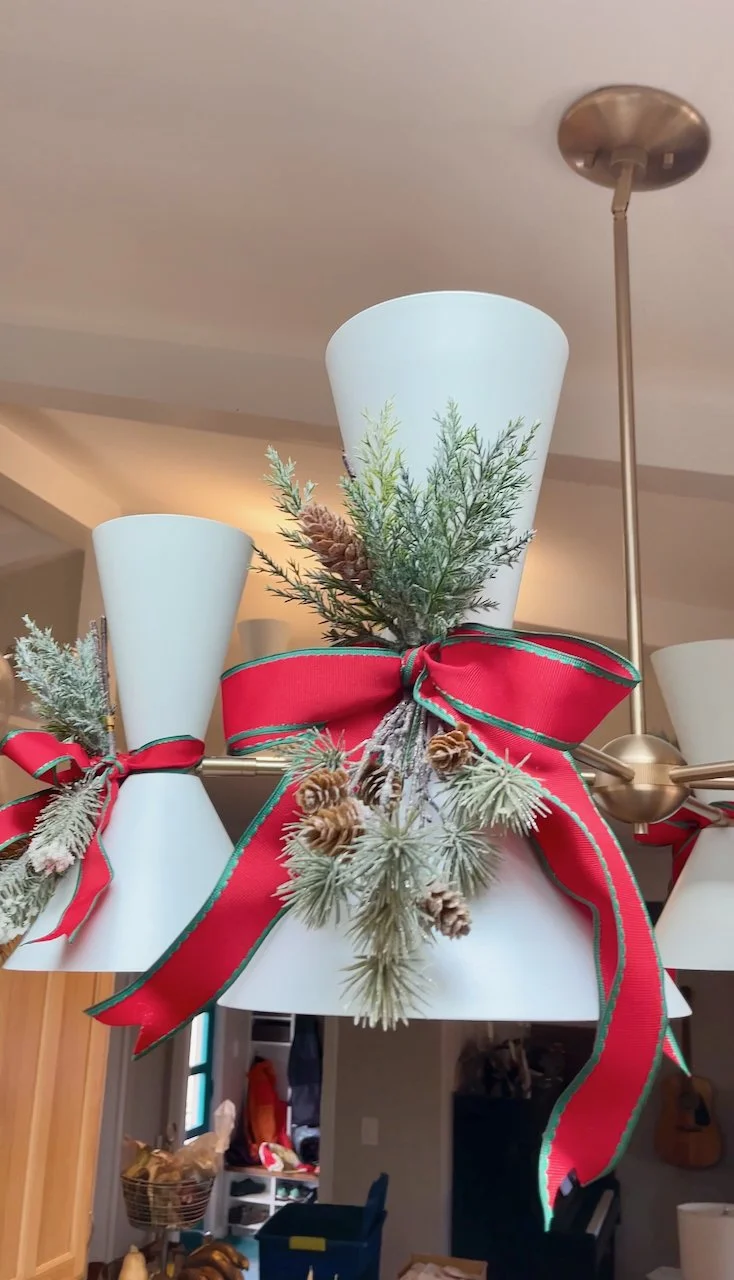
Let’s start with these simple bunches of greens which I used on the chandeliers and light fixtures in our kitchen and hallways. I made these from materials I already had on hand (except the ribbon) — some floral picks which I bought after Christmas a few years ago, zip ties, and ribbon. That’s it. I tied one on each of the chandelier lights in the kitchen and on the fixtures in the hallways, too. The same idea could be used on doors, chairbacks — honestly almost anywhere! They are so festive — and they will last for years. But you could also make them from real greenery for a pungent festive punch!
Materials You’ll Need
Wired ribbon (about 2 inches wide)
Fabric scissors
Regular craft scissors
Short zip ties
Artificial floral picks or real evergreen sprigs


Video Tutorial
This video walks you through how to make this project step-by-step. Enjoy!

Step 1: Cut Your Ribbon
For each floral bunch, cut:
One 36-inch piece of ribbon — this becomes the main bow in the front
One 22-inch piece of ribbon — this wraps around the light fixture and blends into the bow
Why wired ribbon?
Wired ribbon holds its shape, fluffs beautifully, and can be reused year after year.
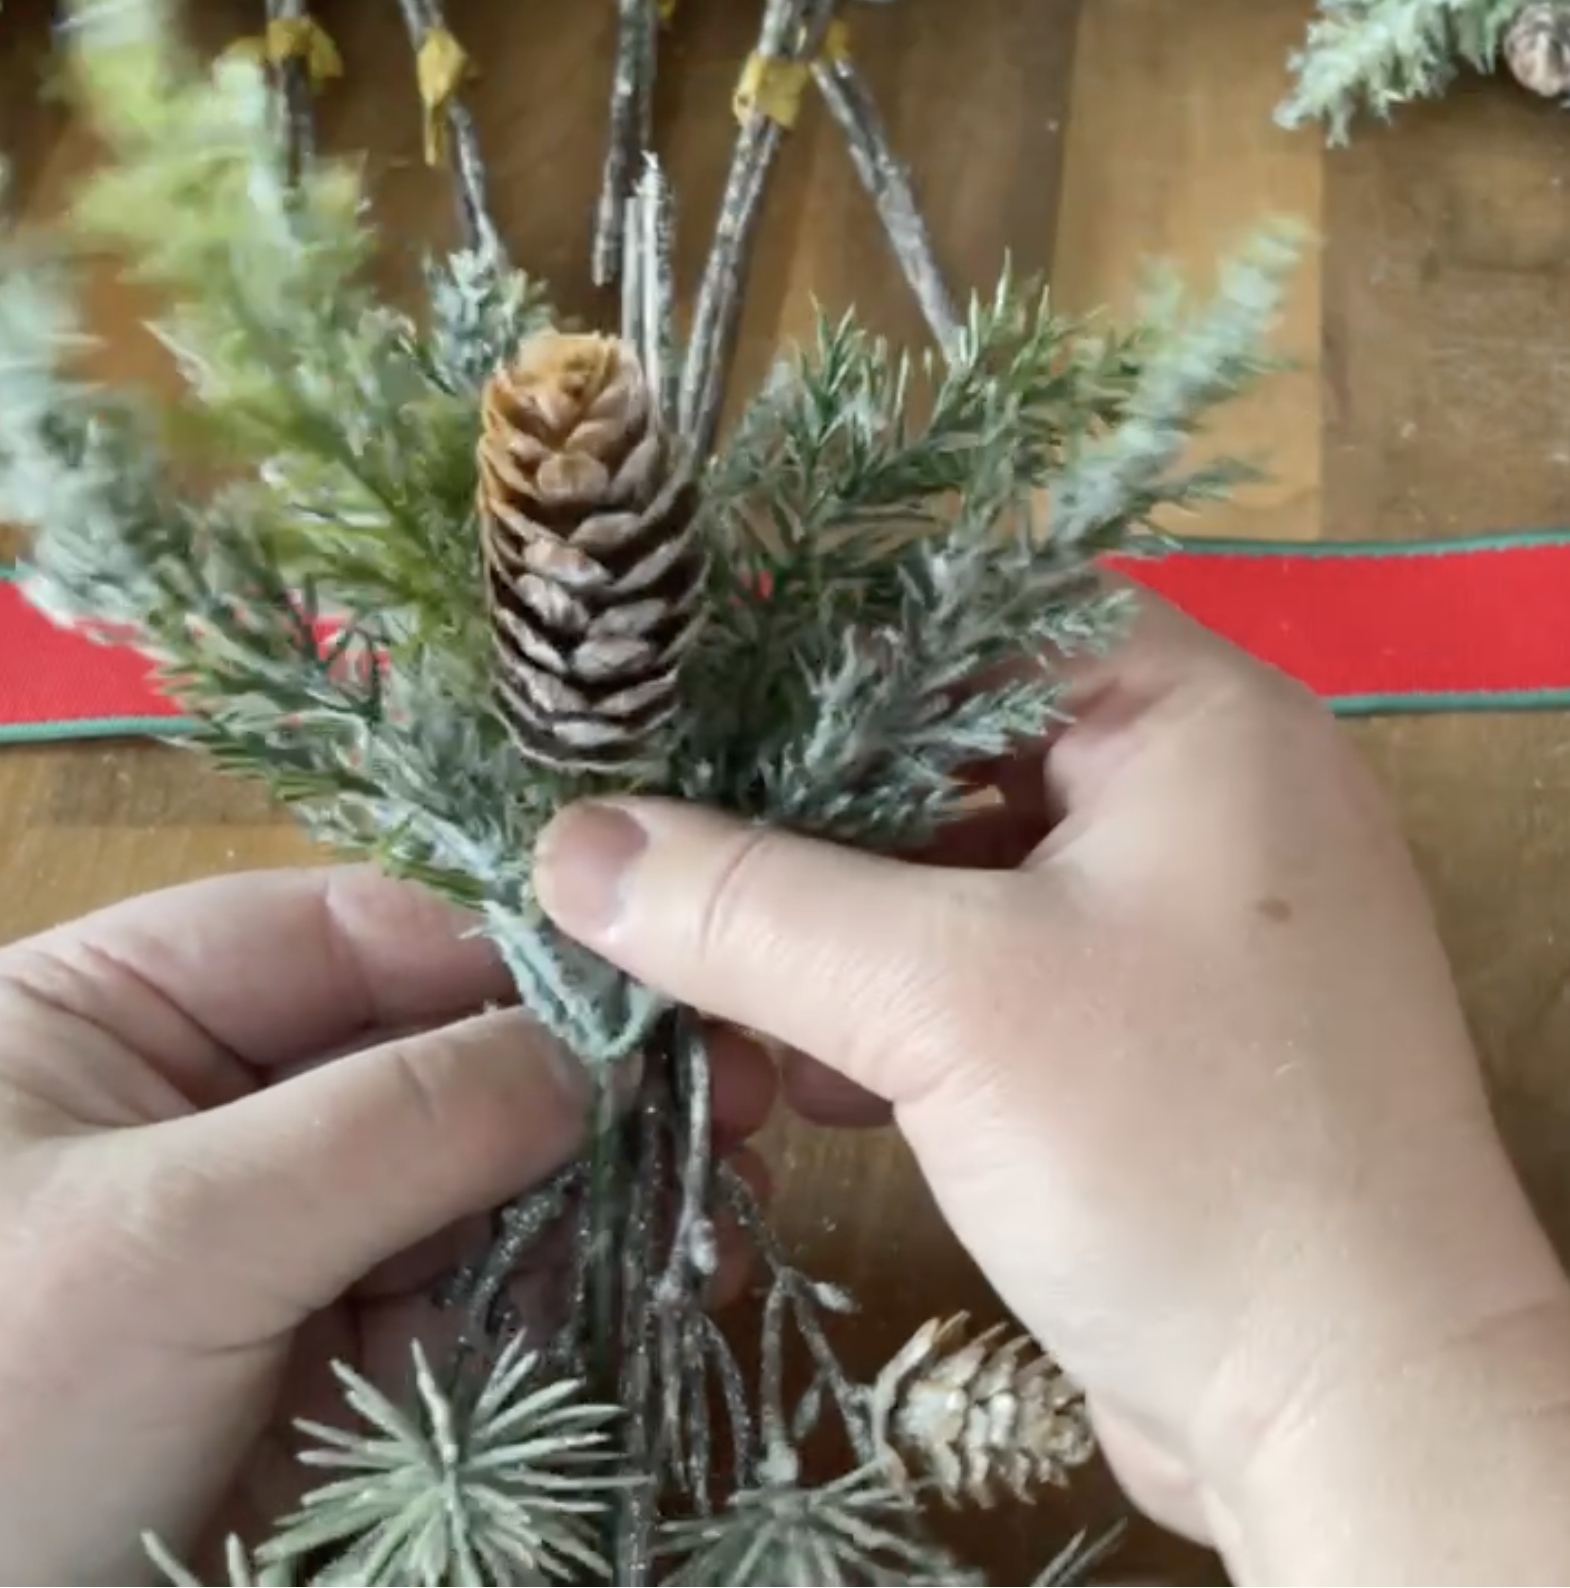
Step 2: Choose and Layer Your Floral Picks
Pick two floral stems for each arrangement.
A smaller pick goes on top
A larger pick goes on the bottom
Feel free to mix styles, colors, or greenery—whatever matches your holiday theme.
Step 3: Build Your Ribbon & Floral “Sandwich”
Stack your materials in this order:
Back layer: Place the 22-inch ribbon on the bottom with 2/3 of the length on the left and 1/3 on the right.
Middle layer: Set your two floral picks on top of the back ribbon.
Front layer: Fold the 36-inch ribbon in half and lay it across the top.
Tip: Keep track of which side is the front and back—this ensures the bow faces the right direction.

Step 4: Secure Everything With a Zip Tie
Wrap a short zip tie around the middle of the bundle at a slight angle.
Pull it as tight as possible to hold the layers together.
Rotate the zip tie’s closure to the back of the arrangement.
Trim the tail of the zip tie with non-fabric scissors.
To disassemble later, just snip the zip tie!

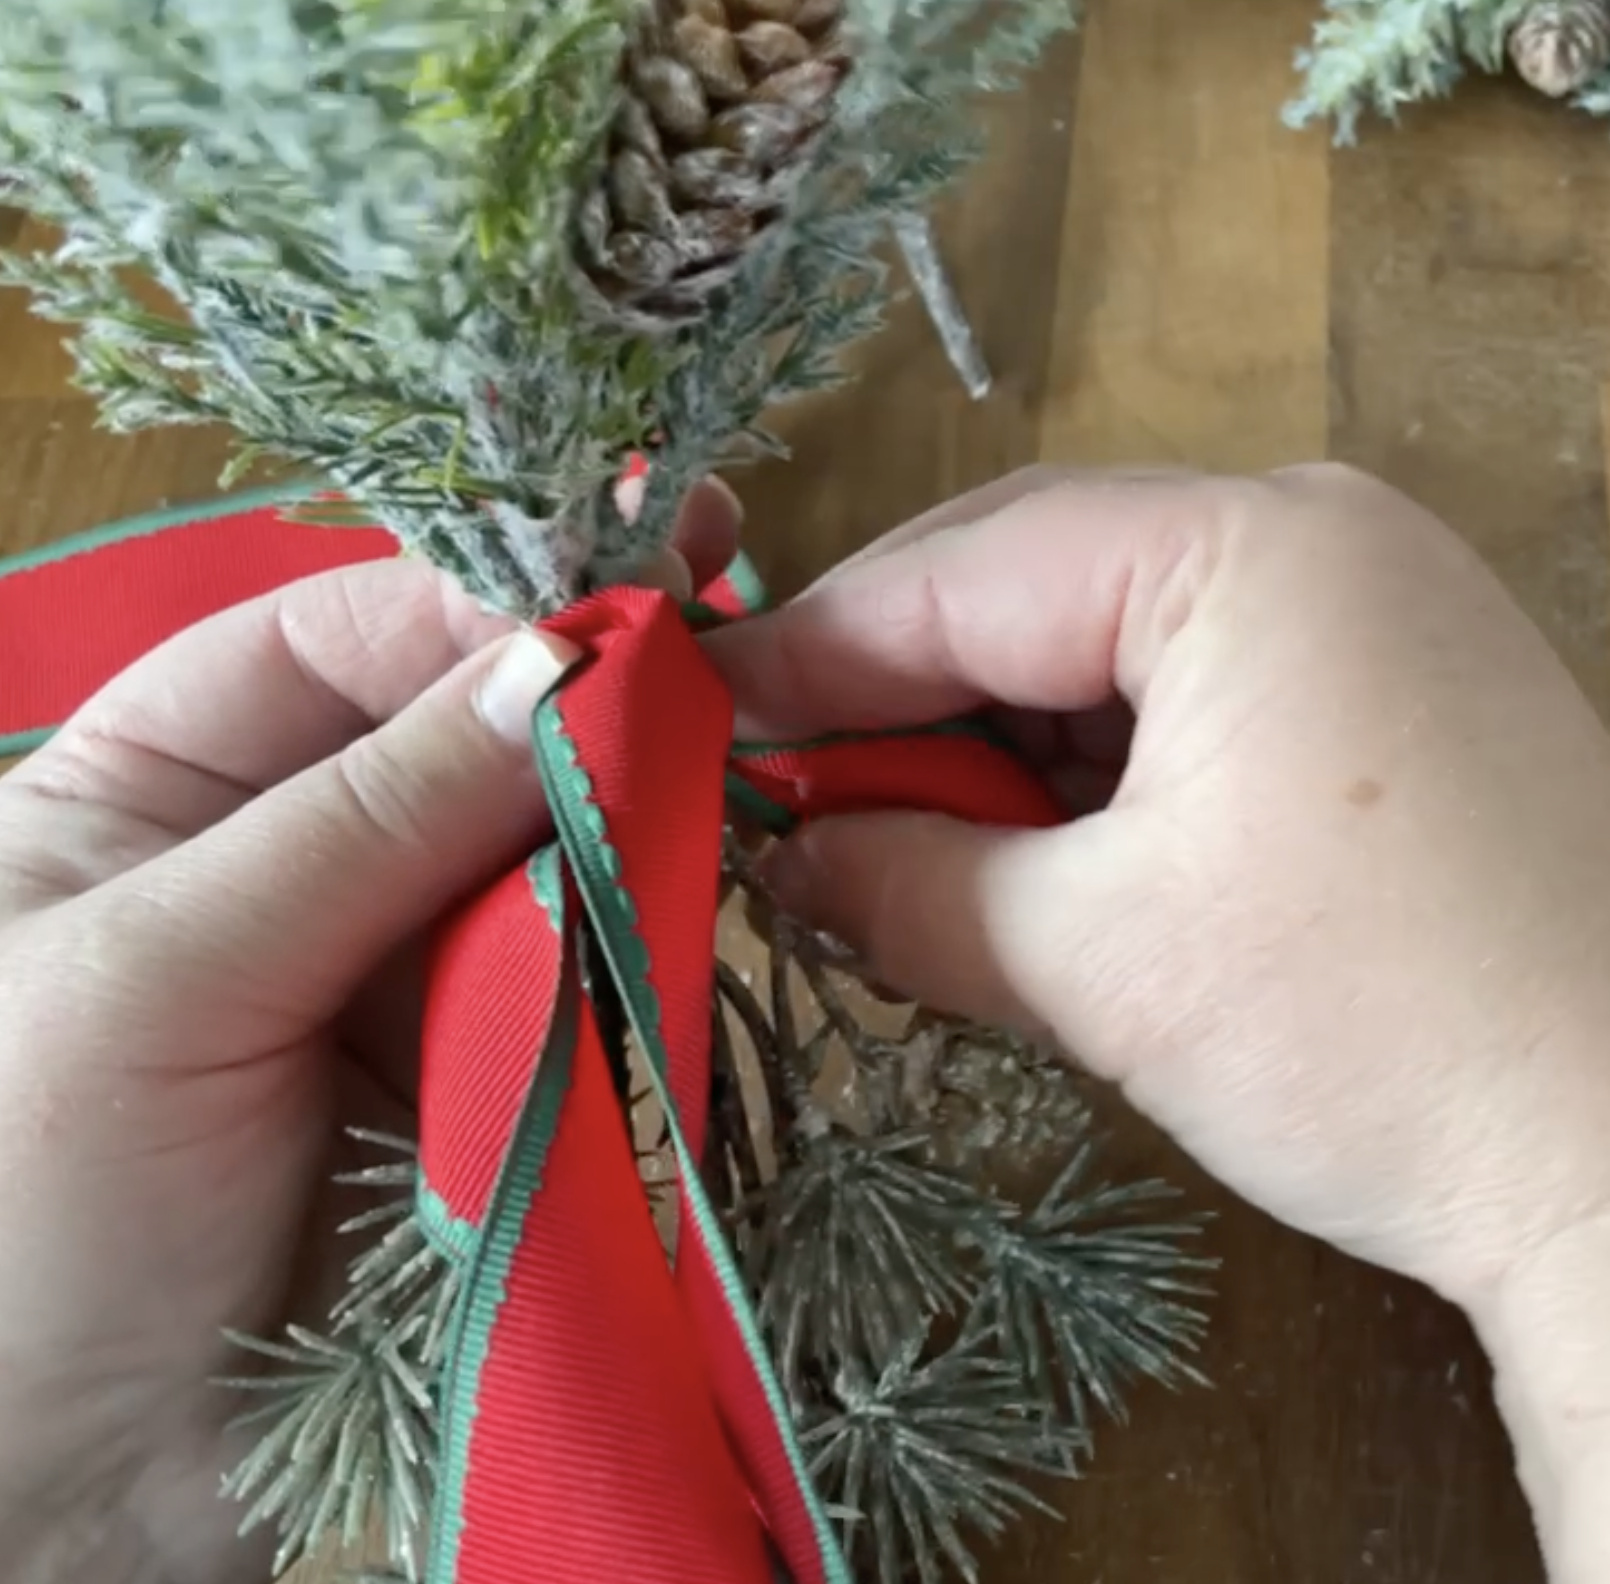
Step 5: Tie the Bow
Using the front ribbon:
Tie a simple bow at the center of the arrangement.
Adjust and fluff the loops until the bow looks full and balanced.
Wired ribbon makes this part super easy.
You can go simple or create a more dramatic bow depending on your décor style.
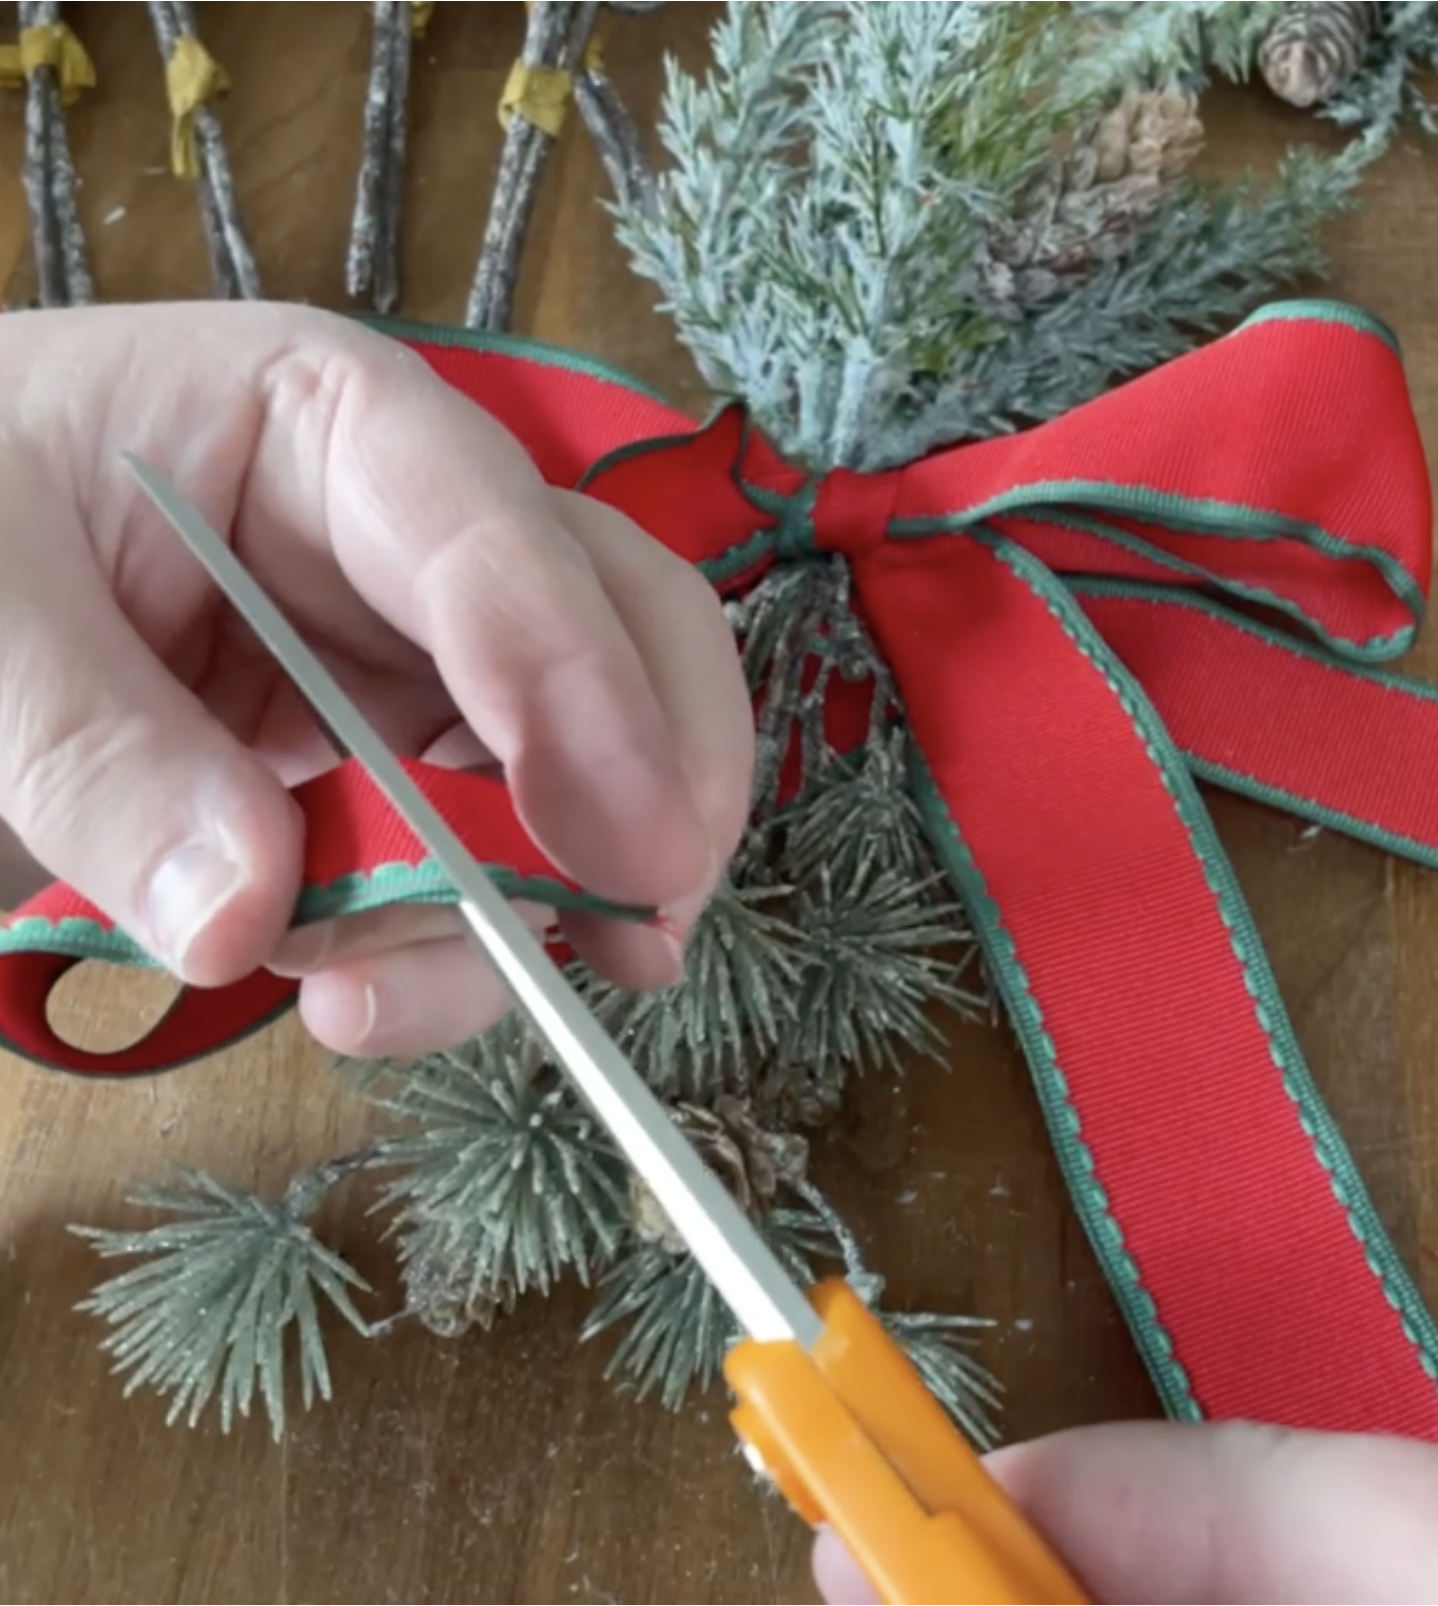
Step 6: Trim the Ribbon Tails
To get clean, non-fraying ribbon ends:
Fold each ribbon tail in half.
Cut a small V-shape into the folded edge with sharp fabric scissors.
Unfold to reveal perfect pointed ribbon ends.
This sewing trick keeps your ribbon looking crisp and polished.

Step 7: Attach to Your Light Fixture
Use the back ribbon (the one split 2/3 and 1/3) to tie your floral bunch to your chandelier or light fixture.
Hide the knot behind the bow—the tails blend right into the design, making the attachment invisible.

Step 8: Shape & Fluff
Fluff the bow.
Adjust greenery or floral picks.
Shape wired elements until everything looks full and festive.
Your decoration should look beautiful from all angles!
Why You’ll Love This DIY
Budget-friendly — great for repurposing old floral picks
Reusable — wired ribbon and artificial greenery keep their shape
Fast — takes just a few minutes per bunch
Customizable — match any Christmas color palette or décor style
These charming little bunches add instant warmth and personality to any space—and they store easily for next year.
at the close…
These simple Christmas floral bunches are a stylish, affordable way to create holiday light-fixture décor you can enjoy year after year. With just a few minutes of crafting, you can transform any space with warm, festive details that feel custom and high-end.
If you loved this project, be sure to explore more of my DIY holiday decorations, easy Christmas crafts, and budget-friendly seasonal décor ideas.
Happy holidays—and happy decorating!
Angela
Subscribe now so you never miss a thing!