

Spring Container Ideas
Two Spring Container Plant Recipes Using Perennials You Can Replant Later
Spring is the perfect time to pot up your containers—but what if your planters could keep giving long after the season ends?
Instead of filling pots with short-lived annuals, you can design spring containers using perennial plants that transition beautifully into your garden beds later. It’s a smarter, more sustainable way to garden—and it saves money, too.
In this post, you’ll find two easy perennial container recipes that look gorgeous in spring and can be transplanted into your landscape once the season warms up.
Why Use Perennials in Spring Containers?
Before we dig in, here’s why this approach works so well:
Double-duty plants: Enjoy them in containers now, plant them in the ground later
Cost-effective gardening: No need to rebuy plants for beds
Stronger root systems: Perennials can establish early when started in containers
Eco-friendly: Less waste than tossing spent annuals
The key is choosing early-season hardy perennials that tolerate cool temperatures and transplant easily.
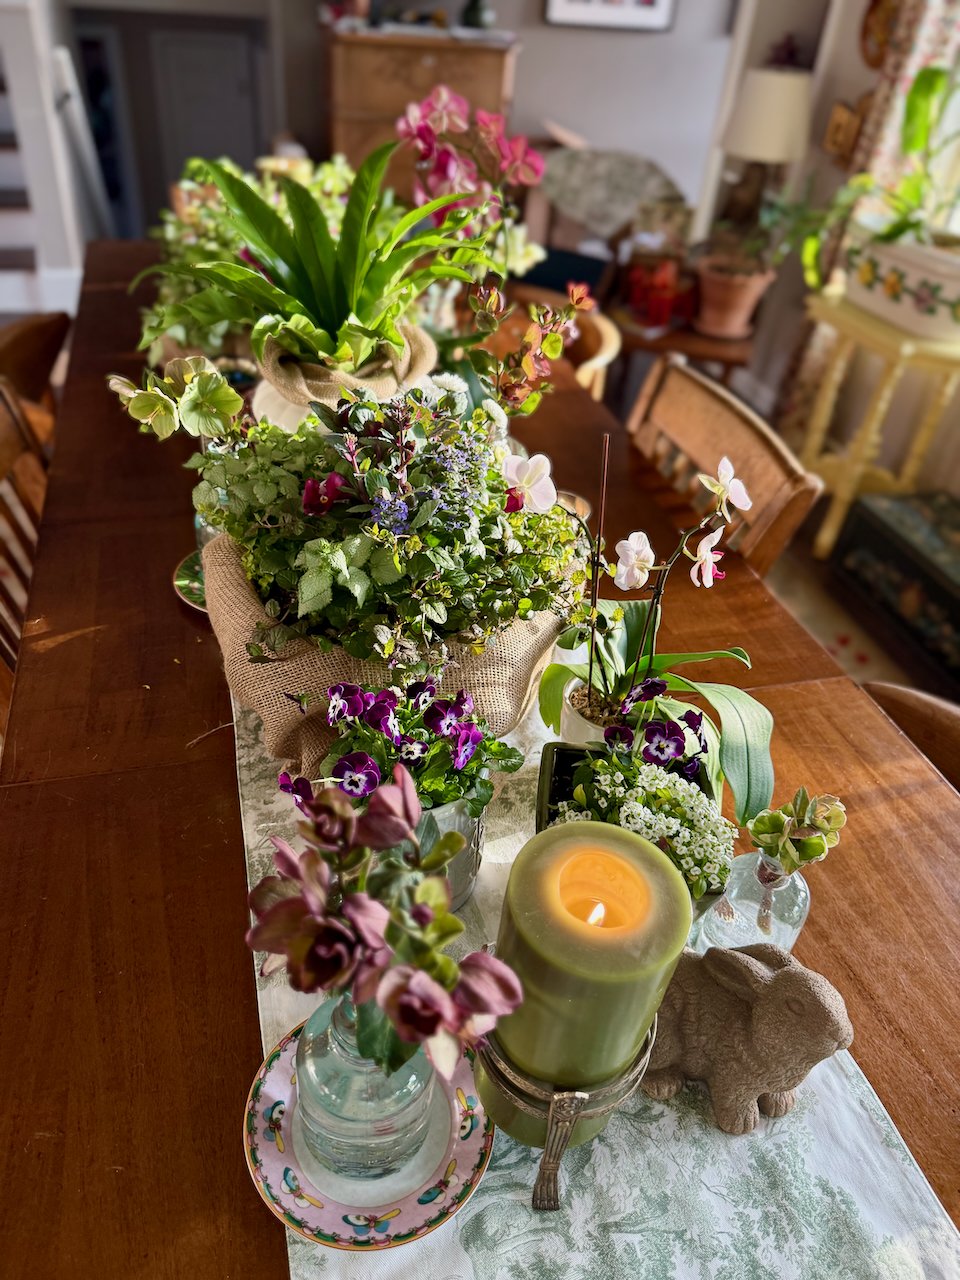
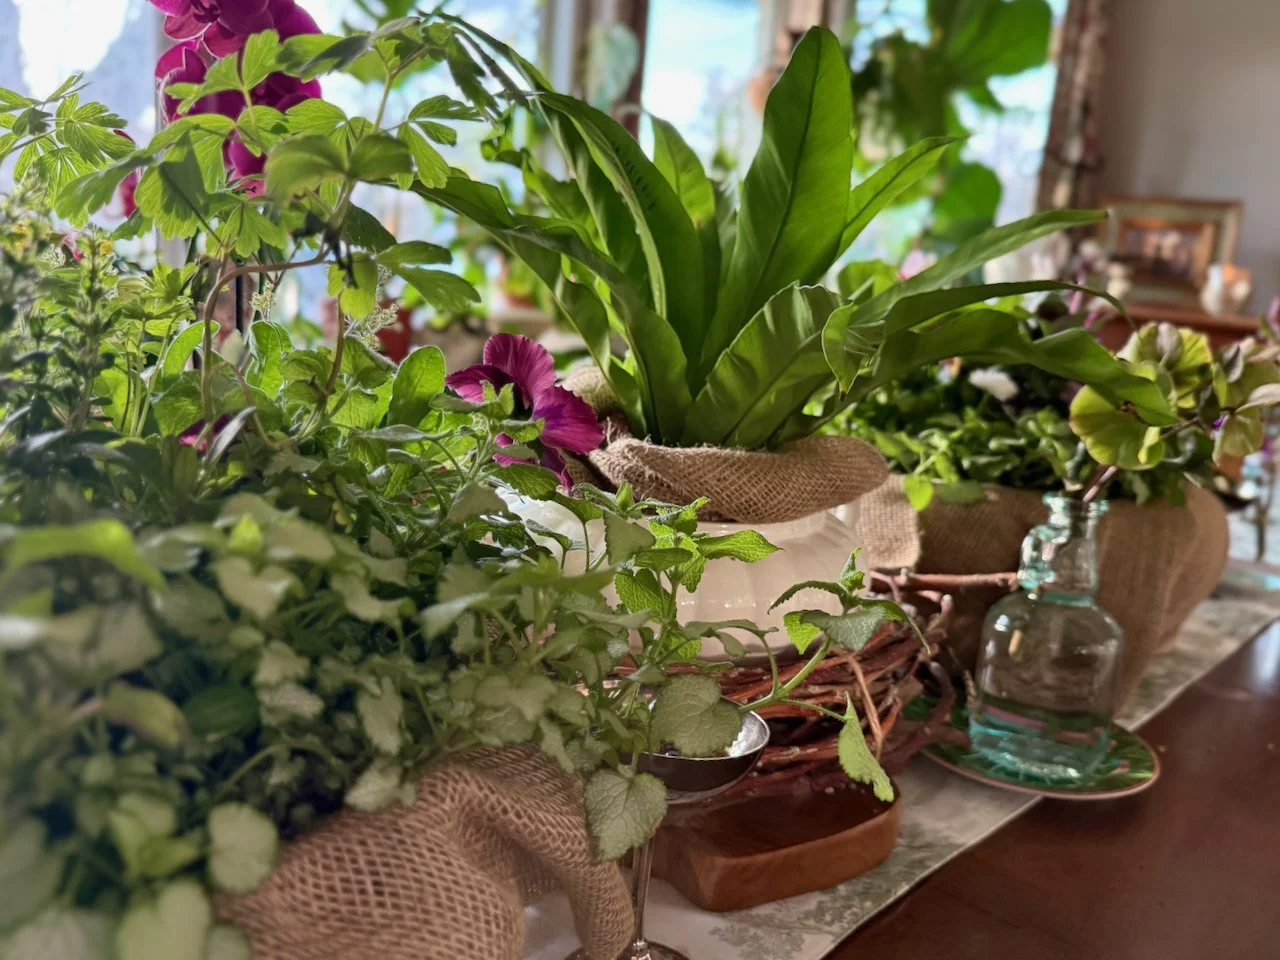
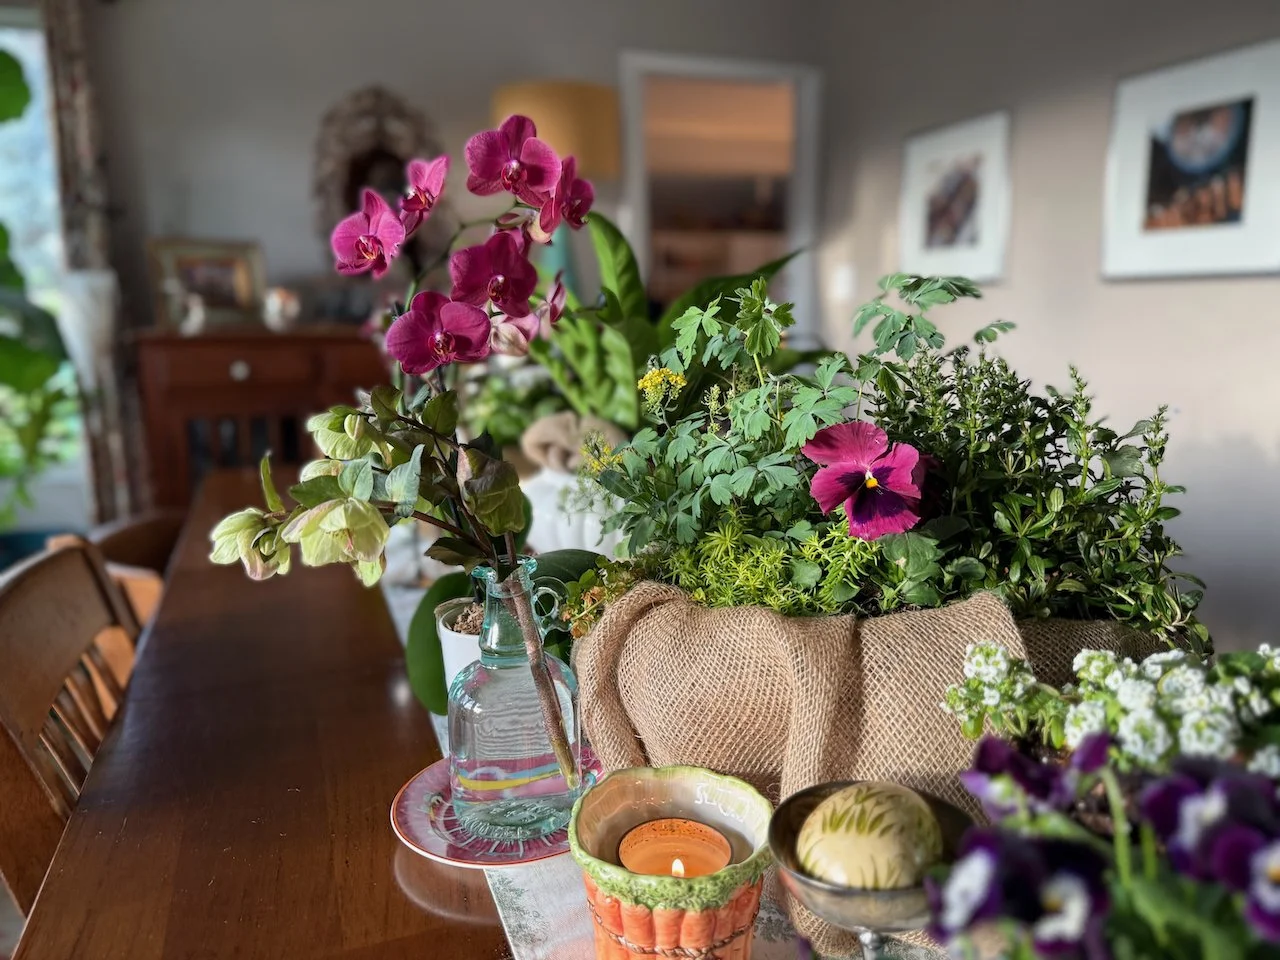
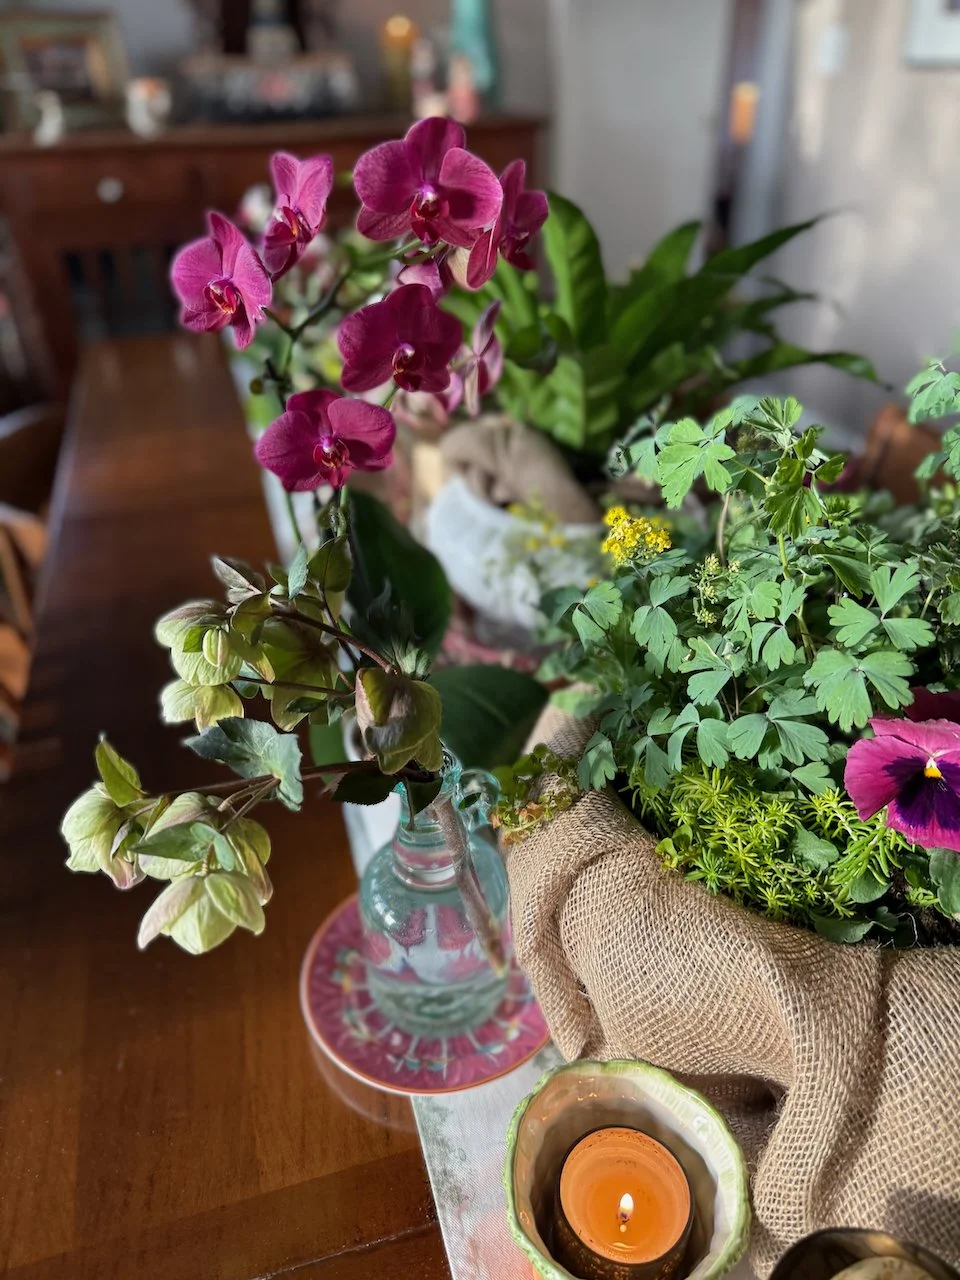
I actually started with these containers inside as part of my Spring and Easter Tablescape. But this assortment of plants in them is so lovely – and easy – that I think they could and should be duplicated! And many of these plants are perennials. When I am done with them in pots, I will plant them all out into the garden where my Jane Austen English Countryside Garden Table will live on for years to come!
One of the things I like about these two pots, too, is that they aren’t identical. They have a few plants in common, but each combination has a different character and feeling. It’s coordinated – not matchy-matchy.
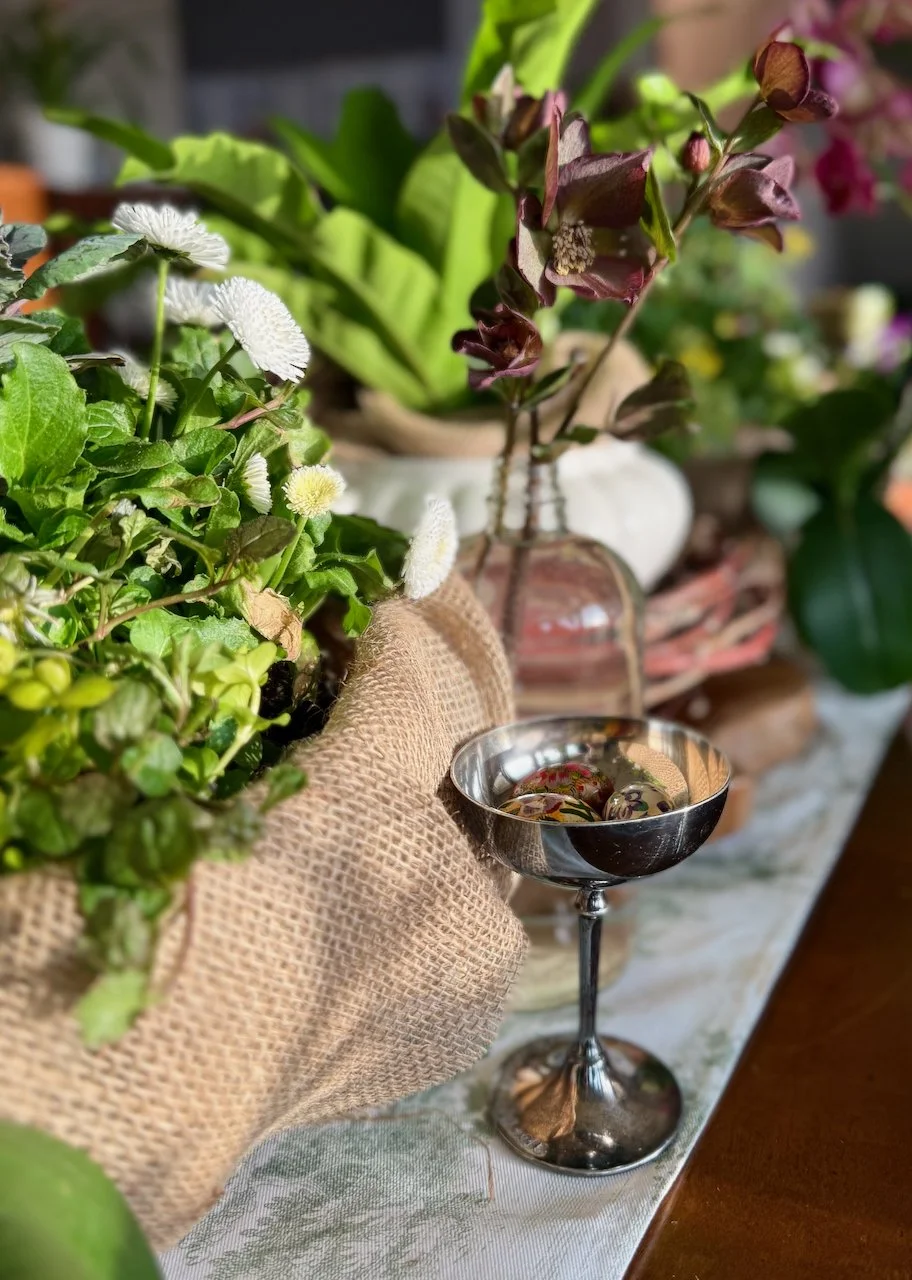
The Miss Elizabeth Bennett
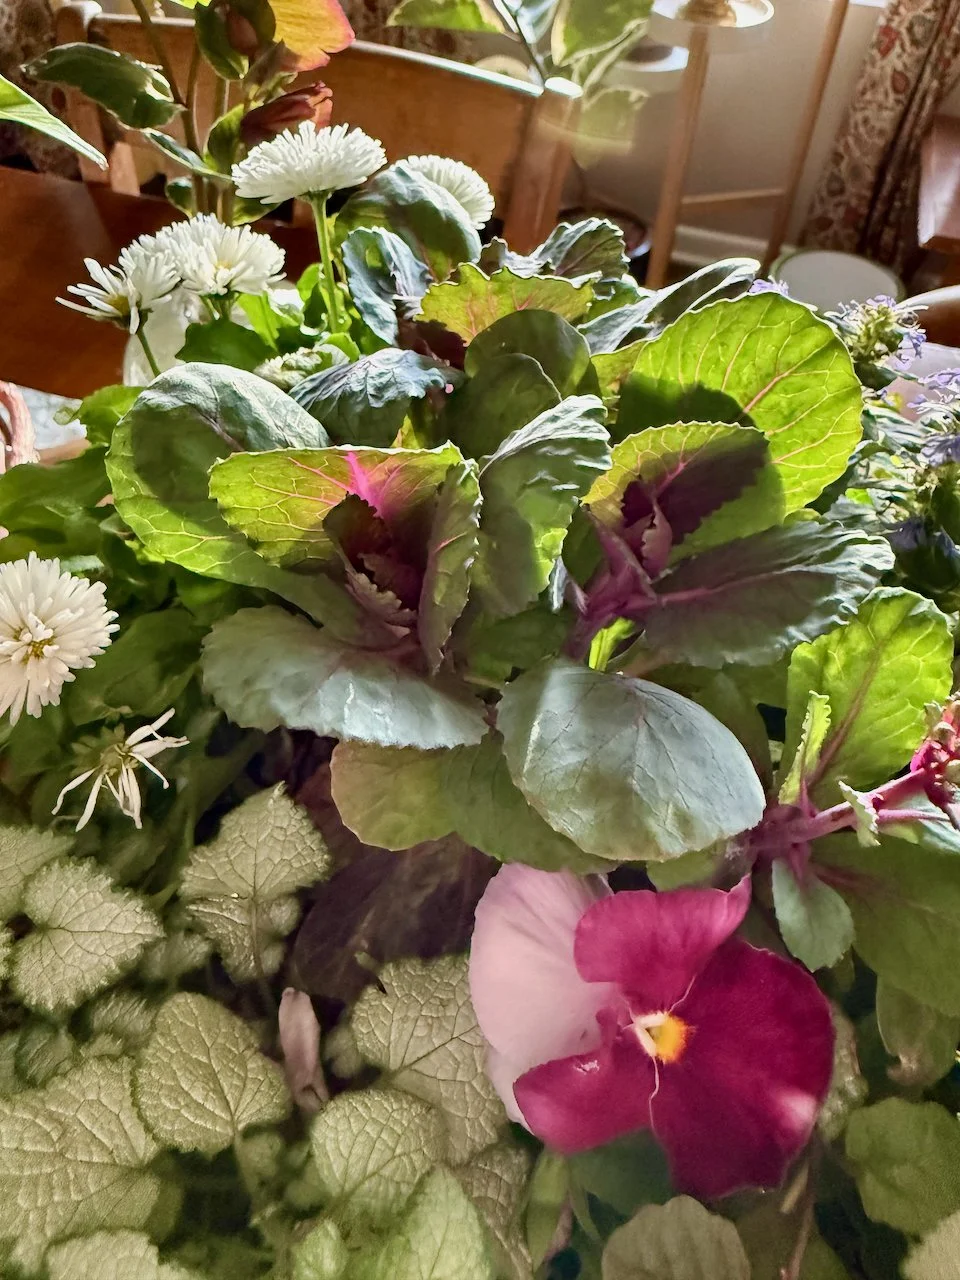
Ornamental Kale
Creeping Jenny
Ajuga reptans L.
Bellis rotundifolia | English Daisy
Ornamental Kale
Pansies or Violas
Lamium purpureum | Purple deadnettle
Design Formula
Thriller: Ornamental Kale and Bellis rotundifolia (English Daisy). Plant one at the center and another slightly off-center.
Filler: Ajuga and Pansies or Violets
Spiller: Creeping Jenny and Lamium purpureum | Purple Deadnettle
Why This Combo Works
Ornamental Kale has great color and handles chilly spring nights
Ajuga adds year-round foliage interest in some growing zones and is a lovely groundcover
Creeping Jenny softens edges and trails beautifully
Colors blend in soft greens, purples, and creams
Planting Tips
Use well-draining potting soil
Keep evenly moist but not soggy
Place in part shade for best performance
Consider using an olla in your container for easy water management
Transplanting to the Garden
Once temperatures warm or the containers start to get a little leggy:
Move hellebore and heuchera into part-shade beds
Use creeping Jenny as a ground cover or edging plant
Violas can continue blooming or be replaced with summer plants
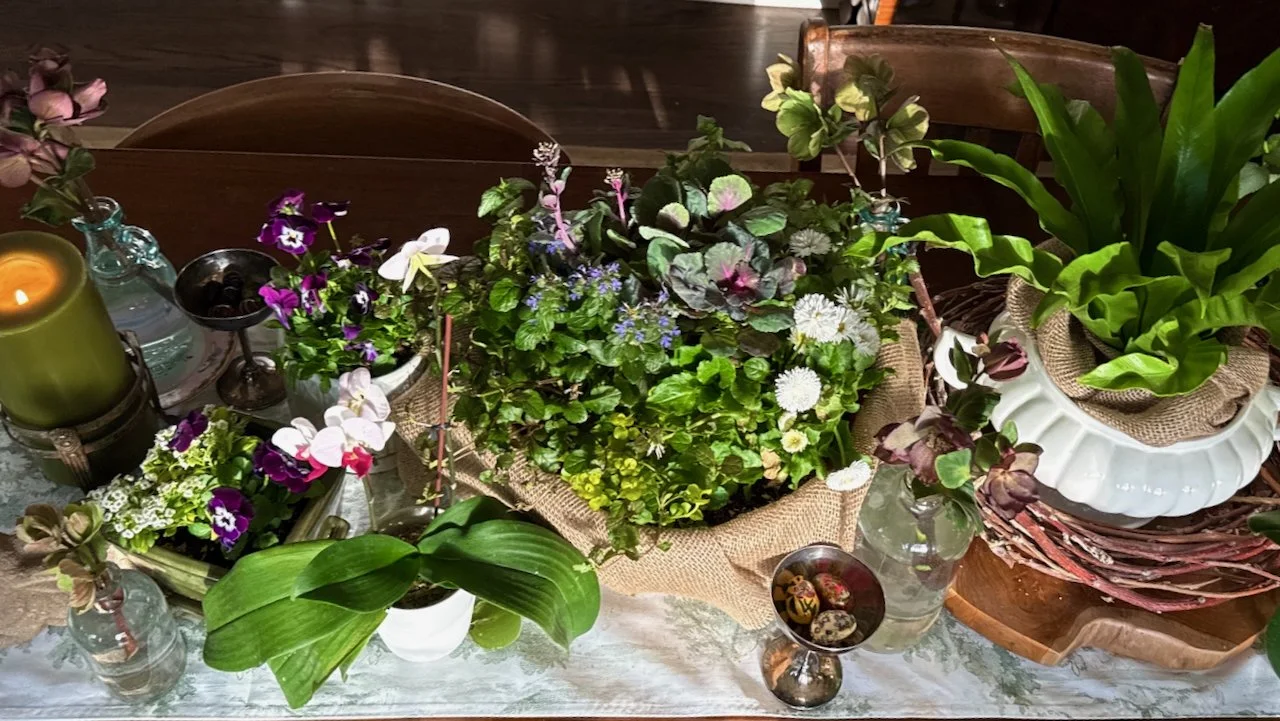
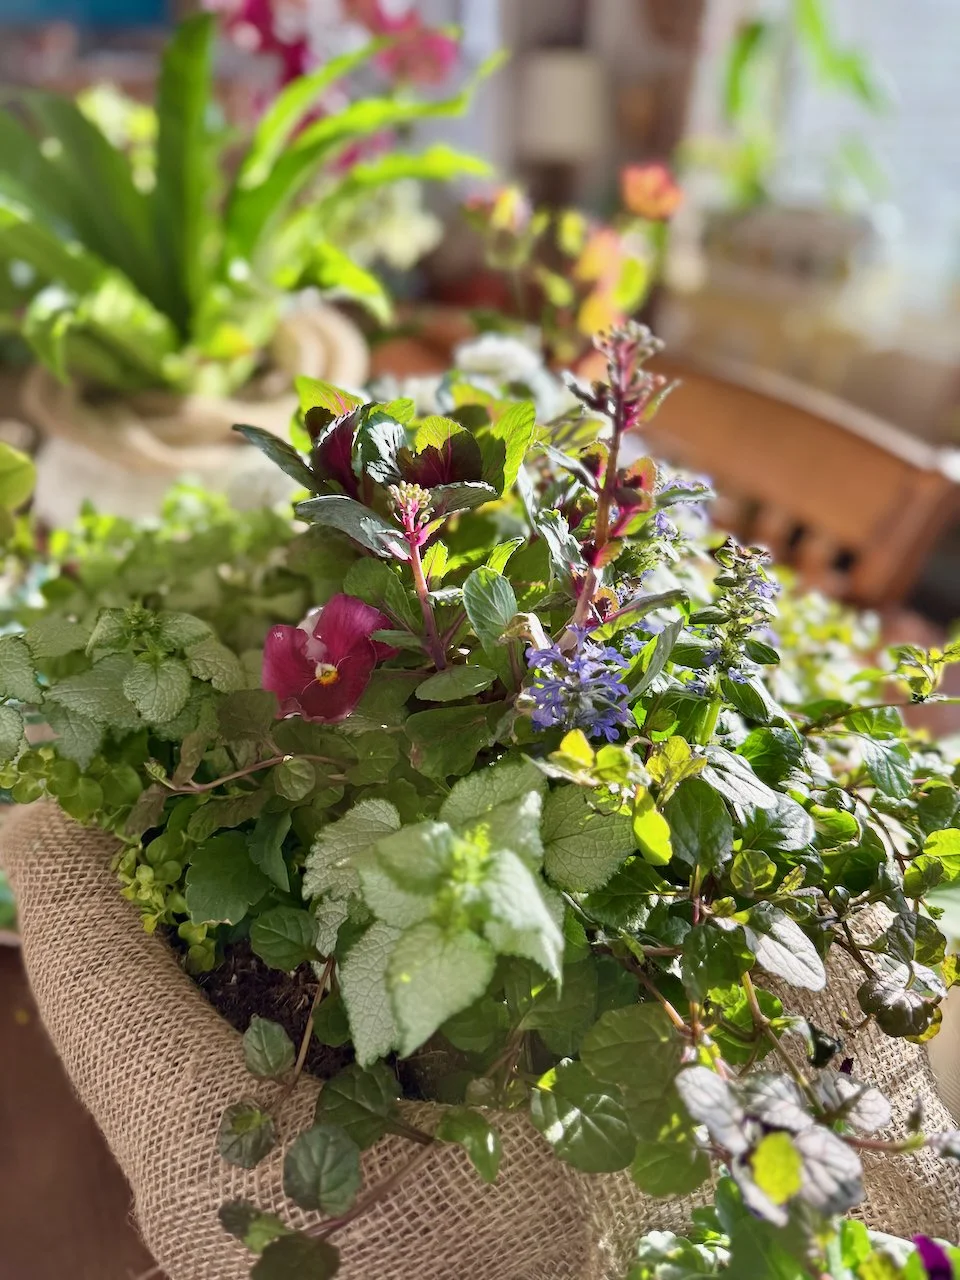
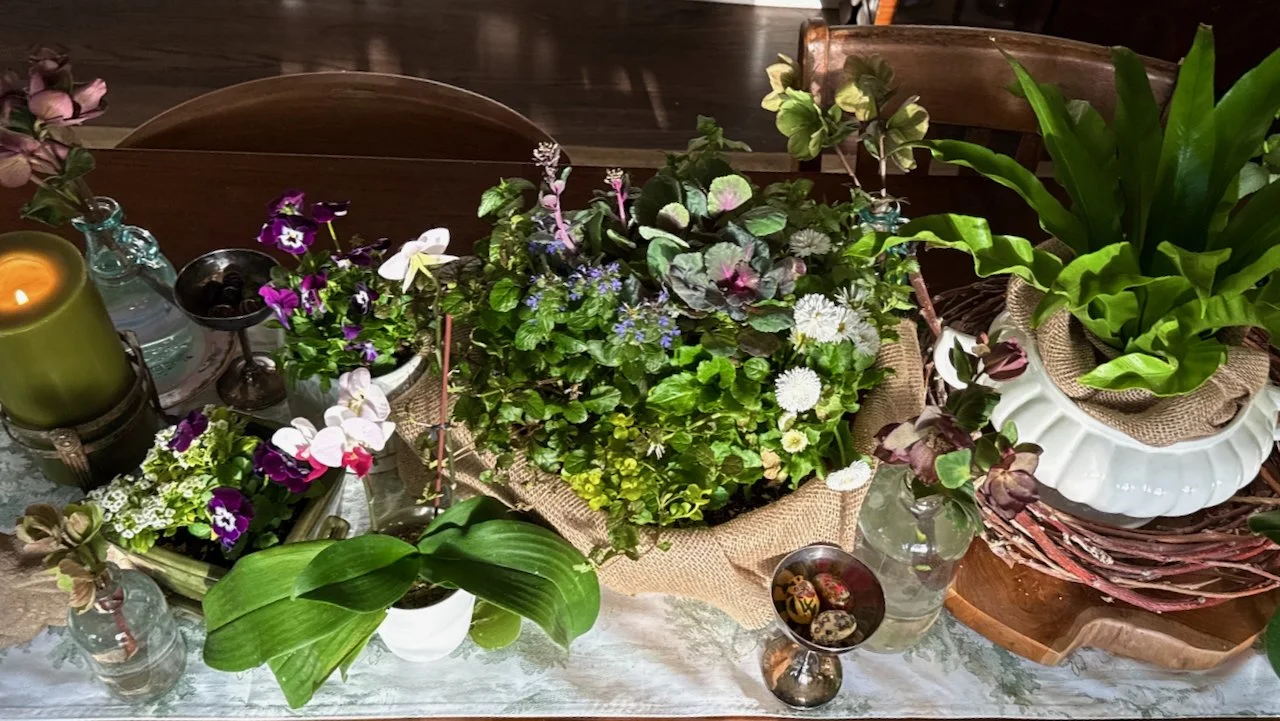
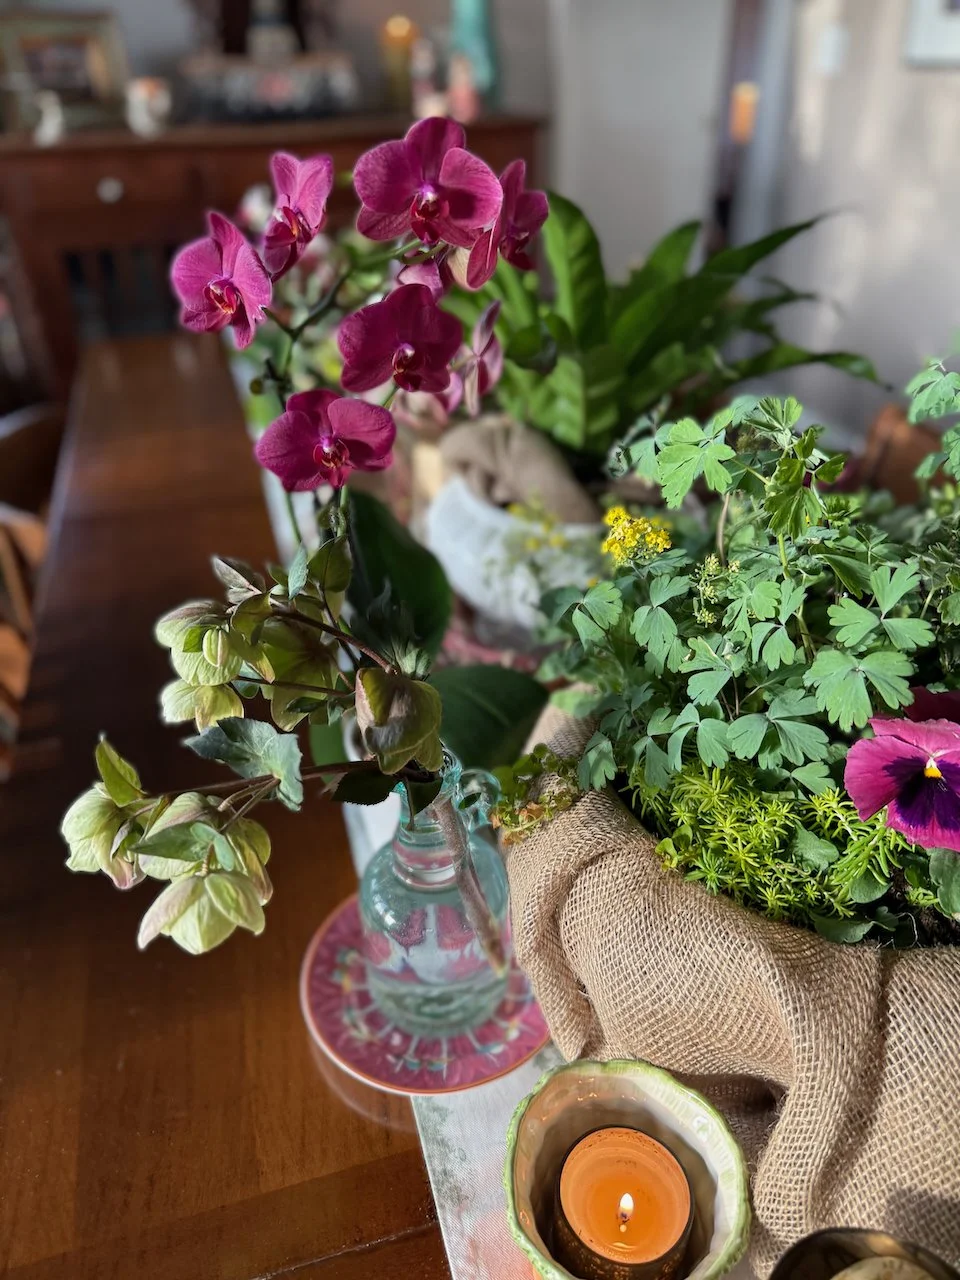
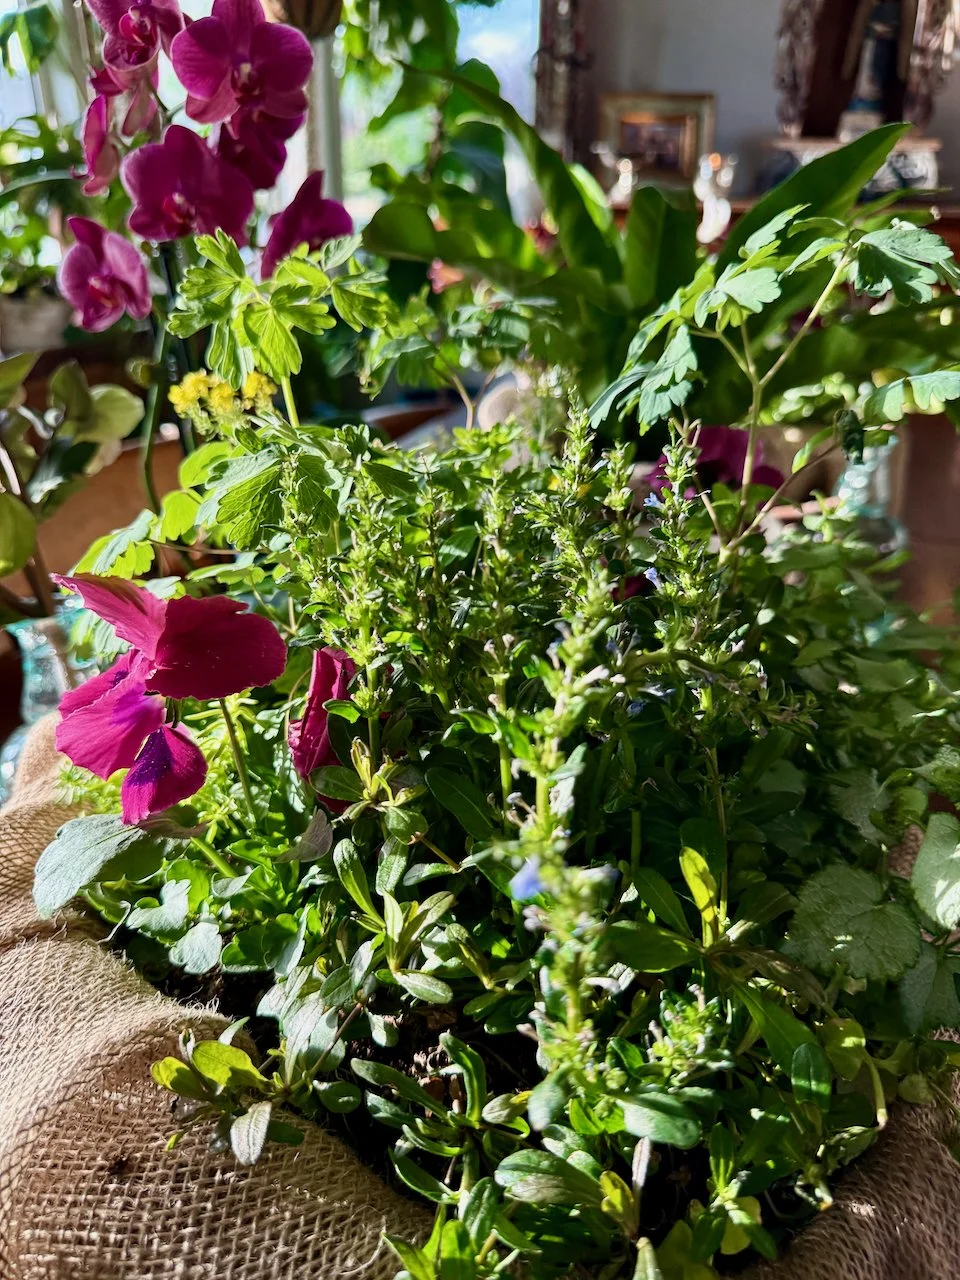
The Miss Elinor Dashwood
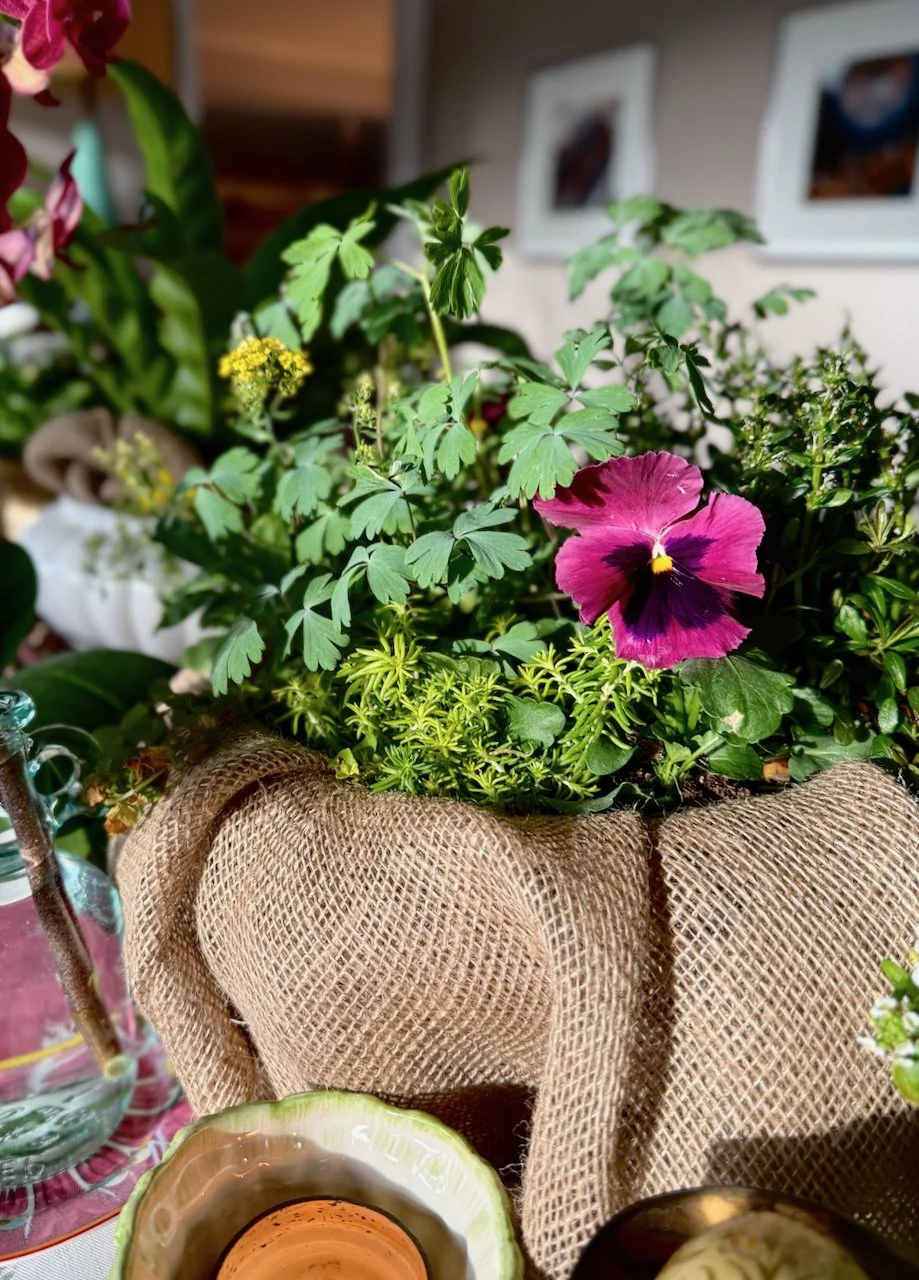
Aquilegia | Columbine
Lamium purpureum | Purple deadnettle
Penstemon virens | Beardtongue
Sedum mexicanum Britton
Ajuga reptans L.
Pansies or Violas
Yellow Alyssum
Design Formula
Thriller: Aquilegia and Penstemon virens. Plant one in the center and the other off center.
Filler: Pansies or Violas, Ajuga reptans, and Yellow Alyssum
Spiller/Groundcover: Lamium purpureum and Sedum mexicanum
Why This Combo Works
Aquilegia provide instant spring color
Penstemon virens adds vertical interest and attracts pollinators later
Alyssum offers tidy mounds and pink blooms
Sedum fills gaps and tolerates drier conditions
Planting Tips
Use a container with excellent drainage
Place in part shade
Avoid overwatering—especially for sedum
Transplanting to the Garden
When these containers get a little leggy, or you are ready for a summer combination:
Plant Aquilegia in amongst the Lamium and the Ajuga
Plant Ajuga in a part-sun perennial border
Use sedum in rock gardens or dry areas
Penstemon works well in edges or low borders
Tips for Success with Perennial Containers
To get the most out of your spring planters:
1. Don’t overcrowd
Perennials will eventually go into the ground, so give them space to grow.
2. Harden off before transplanting
If conditions change, give plants a few days to adjust before moving them permanently.
3. Time your transition
Move plants on a cool, cloudy day to reduce transplant shock.
4. Water consistently
Containers dry out faster than garden beds—check soil frequently.
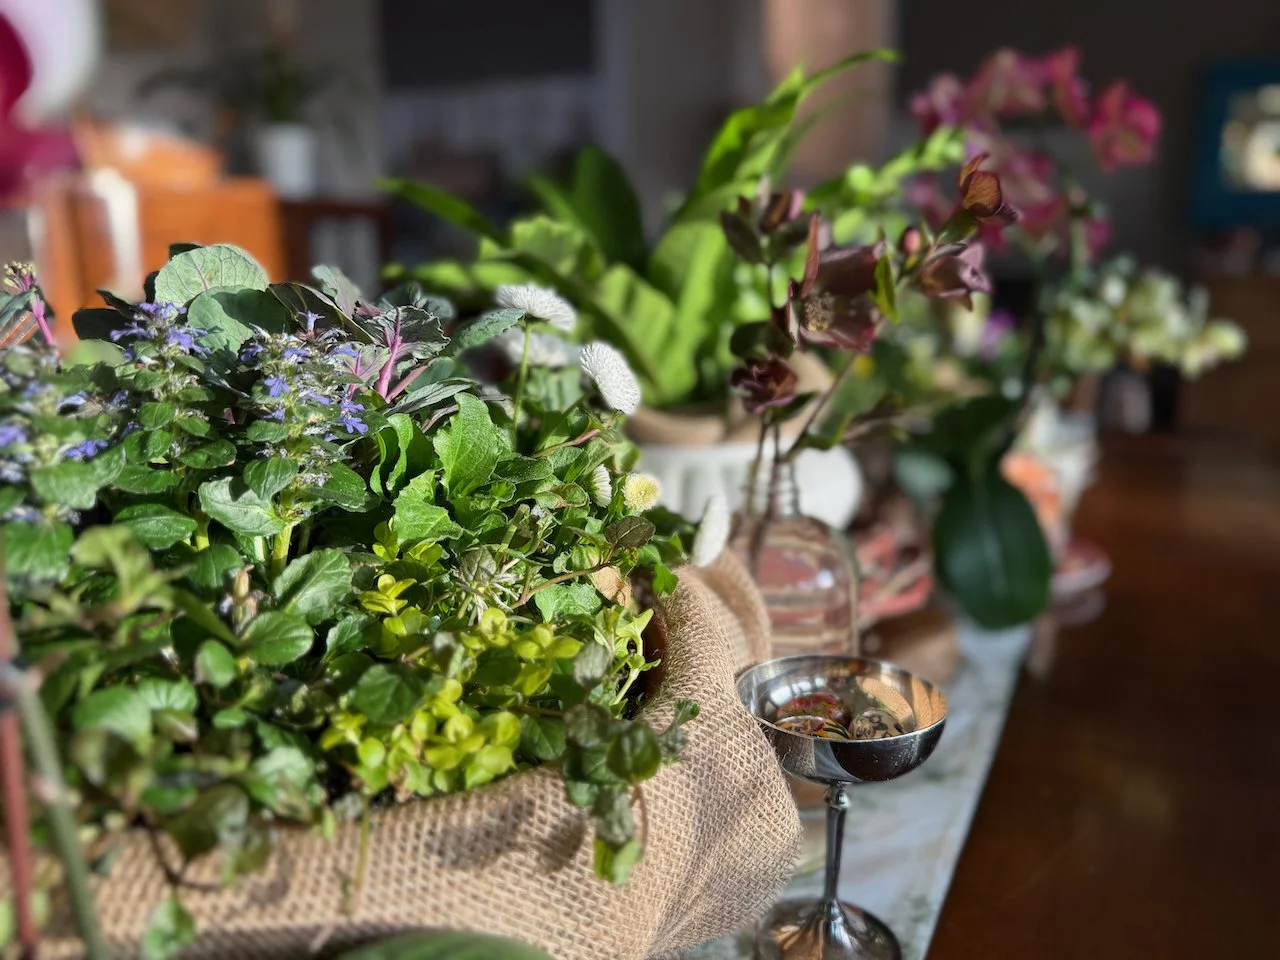
It’s not important to get the exact varieties of these plants, but they work so well together in these beautiful pots. And so many of them will work well out in the garden, too, once I’m done with the pots. So that is a win for us all.
A note: a few of these species may be considered invasive where you are. Always take care that you are not planting invasive species in your ecosystem. For more about invasive plants, check out this post:
at the close…
A Smarter Way to Garden
Designing spring containers with perennial plant combinations is one of the easiest ways to make your garden more sustainable and budget-friendly. I hardly ever put annuals into my containers. I would rather have a beautiful perennial which I can then plant out into the garden once the containers are done.
It's more ecologically-responsible – and it saves a LOT of money! Plus, it helps to build up my collection of plants which, over time, will make my garden even more lush and beautiful. Instead of starting from scratch each season, you’re building a garden that evolves—moving plants from pot to soil and creating lasting beauty.
Try one (or both!) of these recipes this spring, and you’ll have containers that don’t just look good—they grow with you.
Subscribe now so you never miss a thing!