

The Gravel Garden
What to do in the driest, hottest, most inhospitable part of my garden?
So, to start, this isn’t a true gravel garden in the Beth Chatto sense. At least not all of it is. It’s called The Gravel Garden because it is the site of LOTS of gravel.
Prior homeowners, evidently, had a beef with the city. They liked to park their boat in this location. But they never mowed under it or anything, so evidently it was a sea of weeds surrounding a fishing boat that was rarely used. Cited by the city for creating a weedy mess, the homeowners did the cheapest possible thing: they laid down landscaping cloth and covered it with the cheapest gravel they could buy.
When we bought this house, the driveway had been replaced, but the ocean of gravel remained. And I do mean an ocean. There are places where the gravel is 18 inches deep.
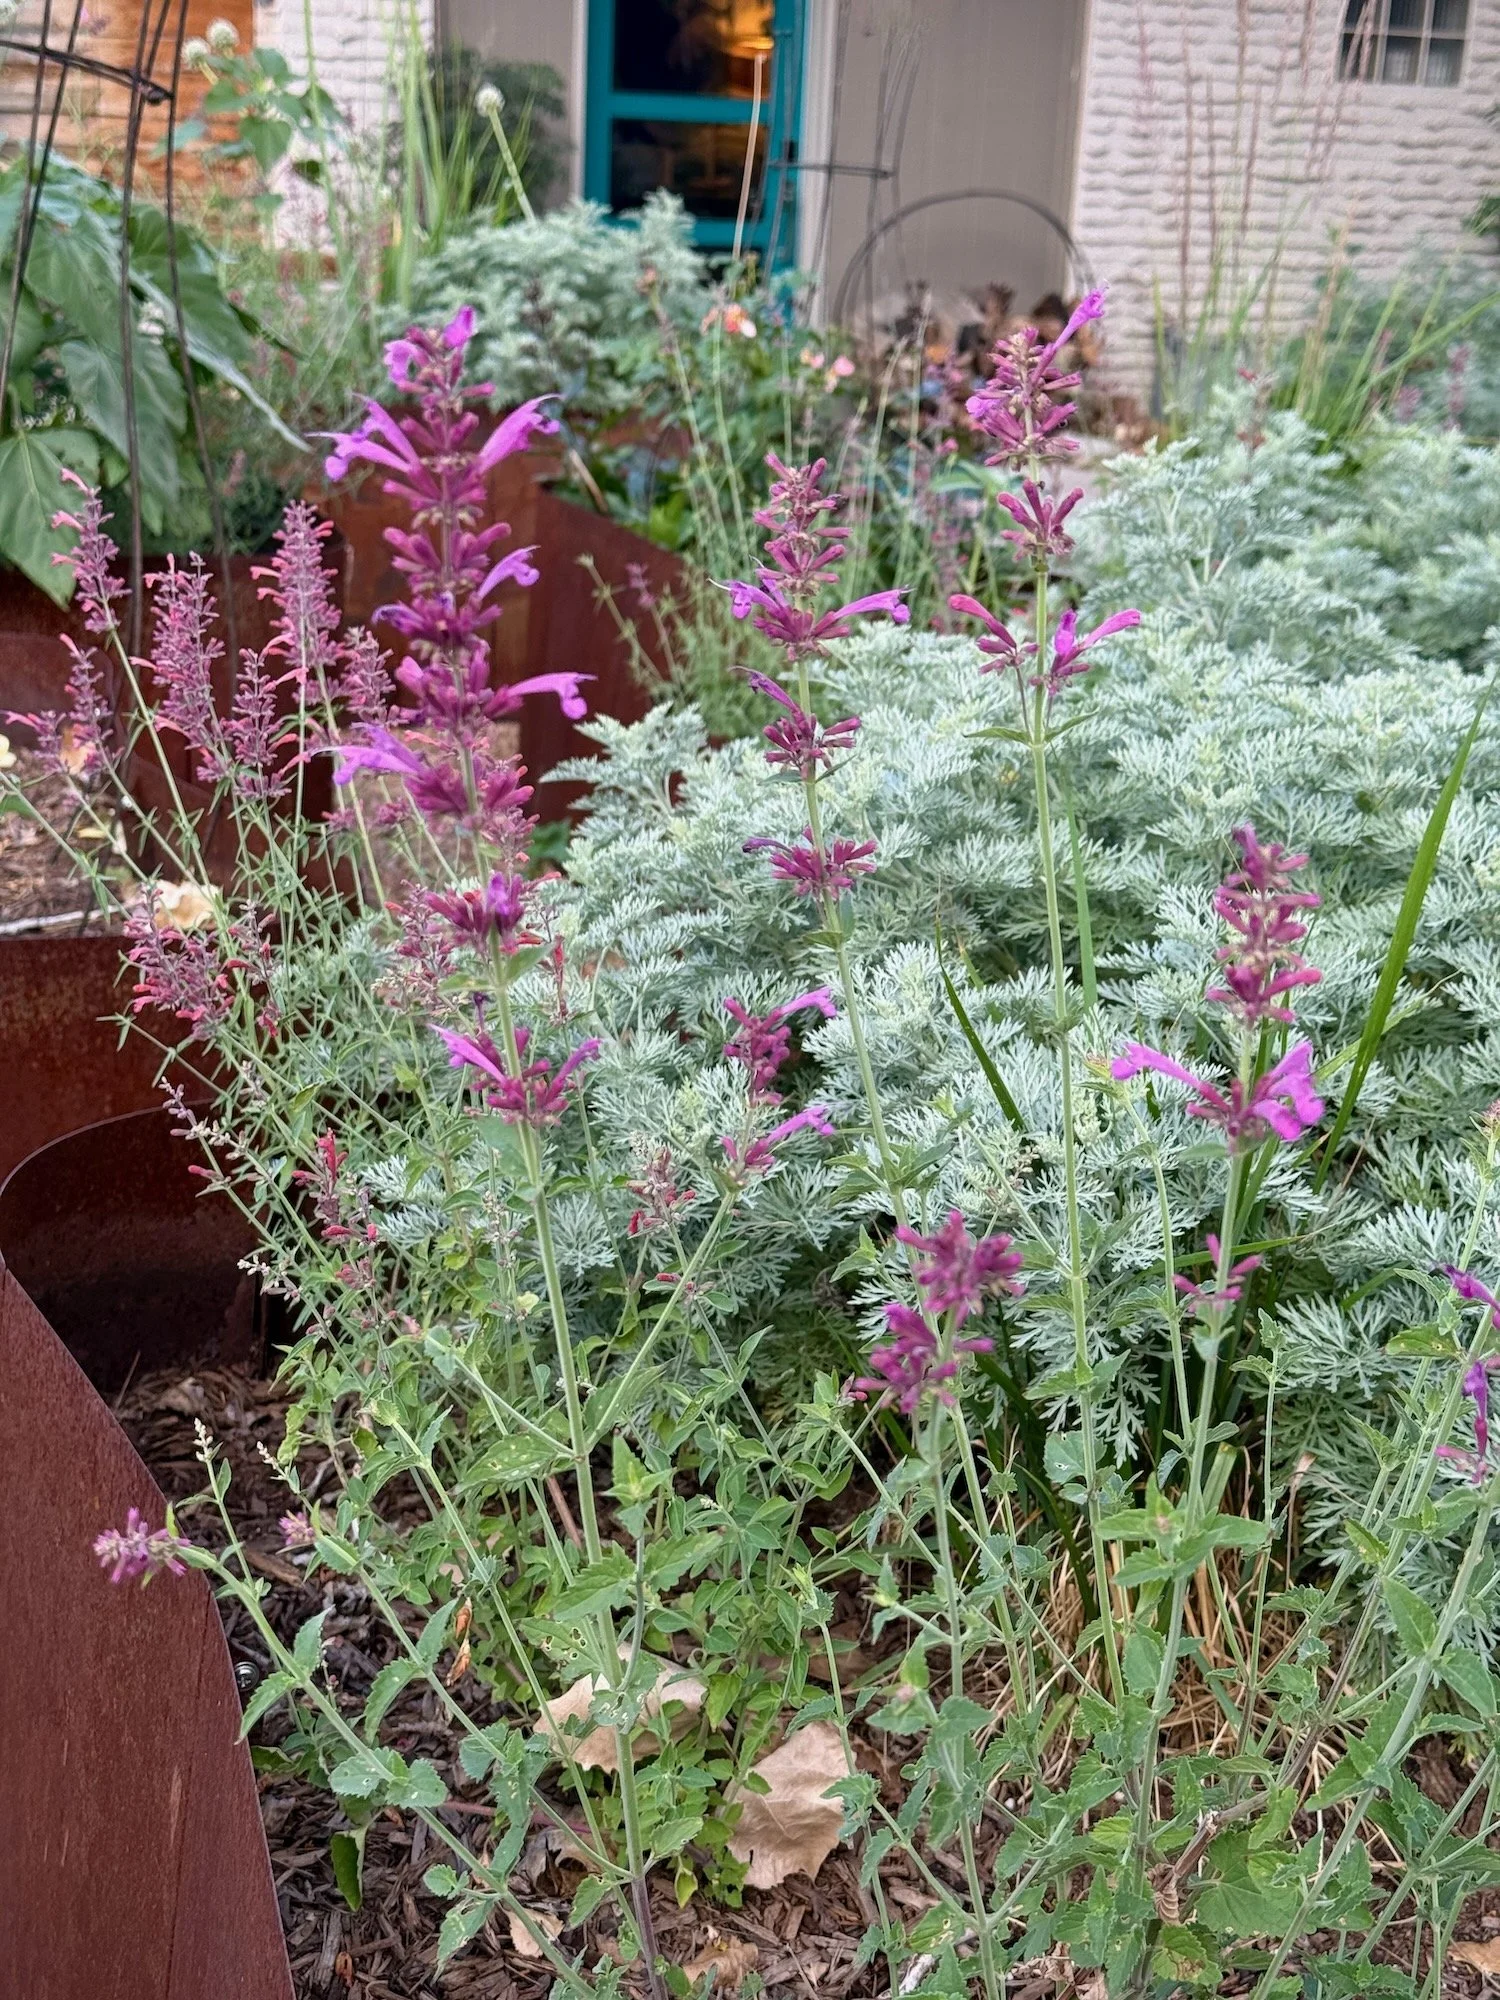
For several years we used this area as a place to store lumber for the building projects we had going in the back garden. But the mess bothered me. A lot. So finally we turned our energies and resources toward cleaning it up.
But we had some limitations:
Because a boat had been parked there for decades, we knew oil, gas, and other chemicals had likely leached into the soil that is somewhere under the gravel.
The cost to remove the gravel, the polluted soil, and the plastic was a LOT.
The cost to bring in new soil was prohibitive.
So we needed the cheapest solution possible.
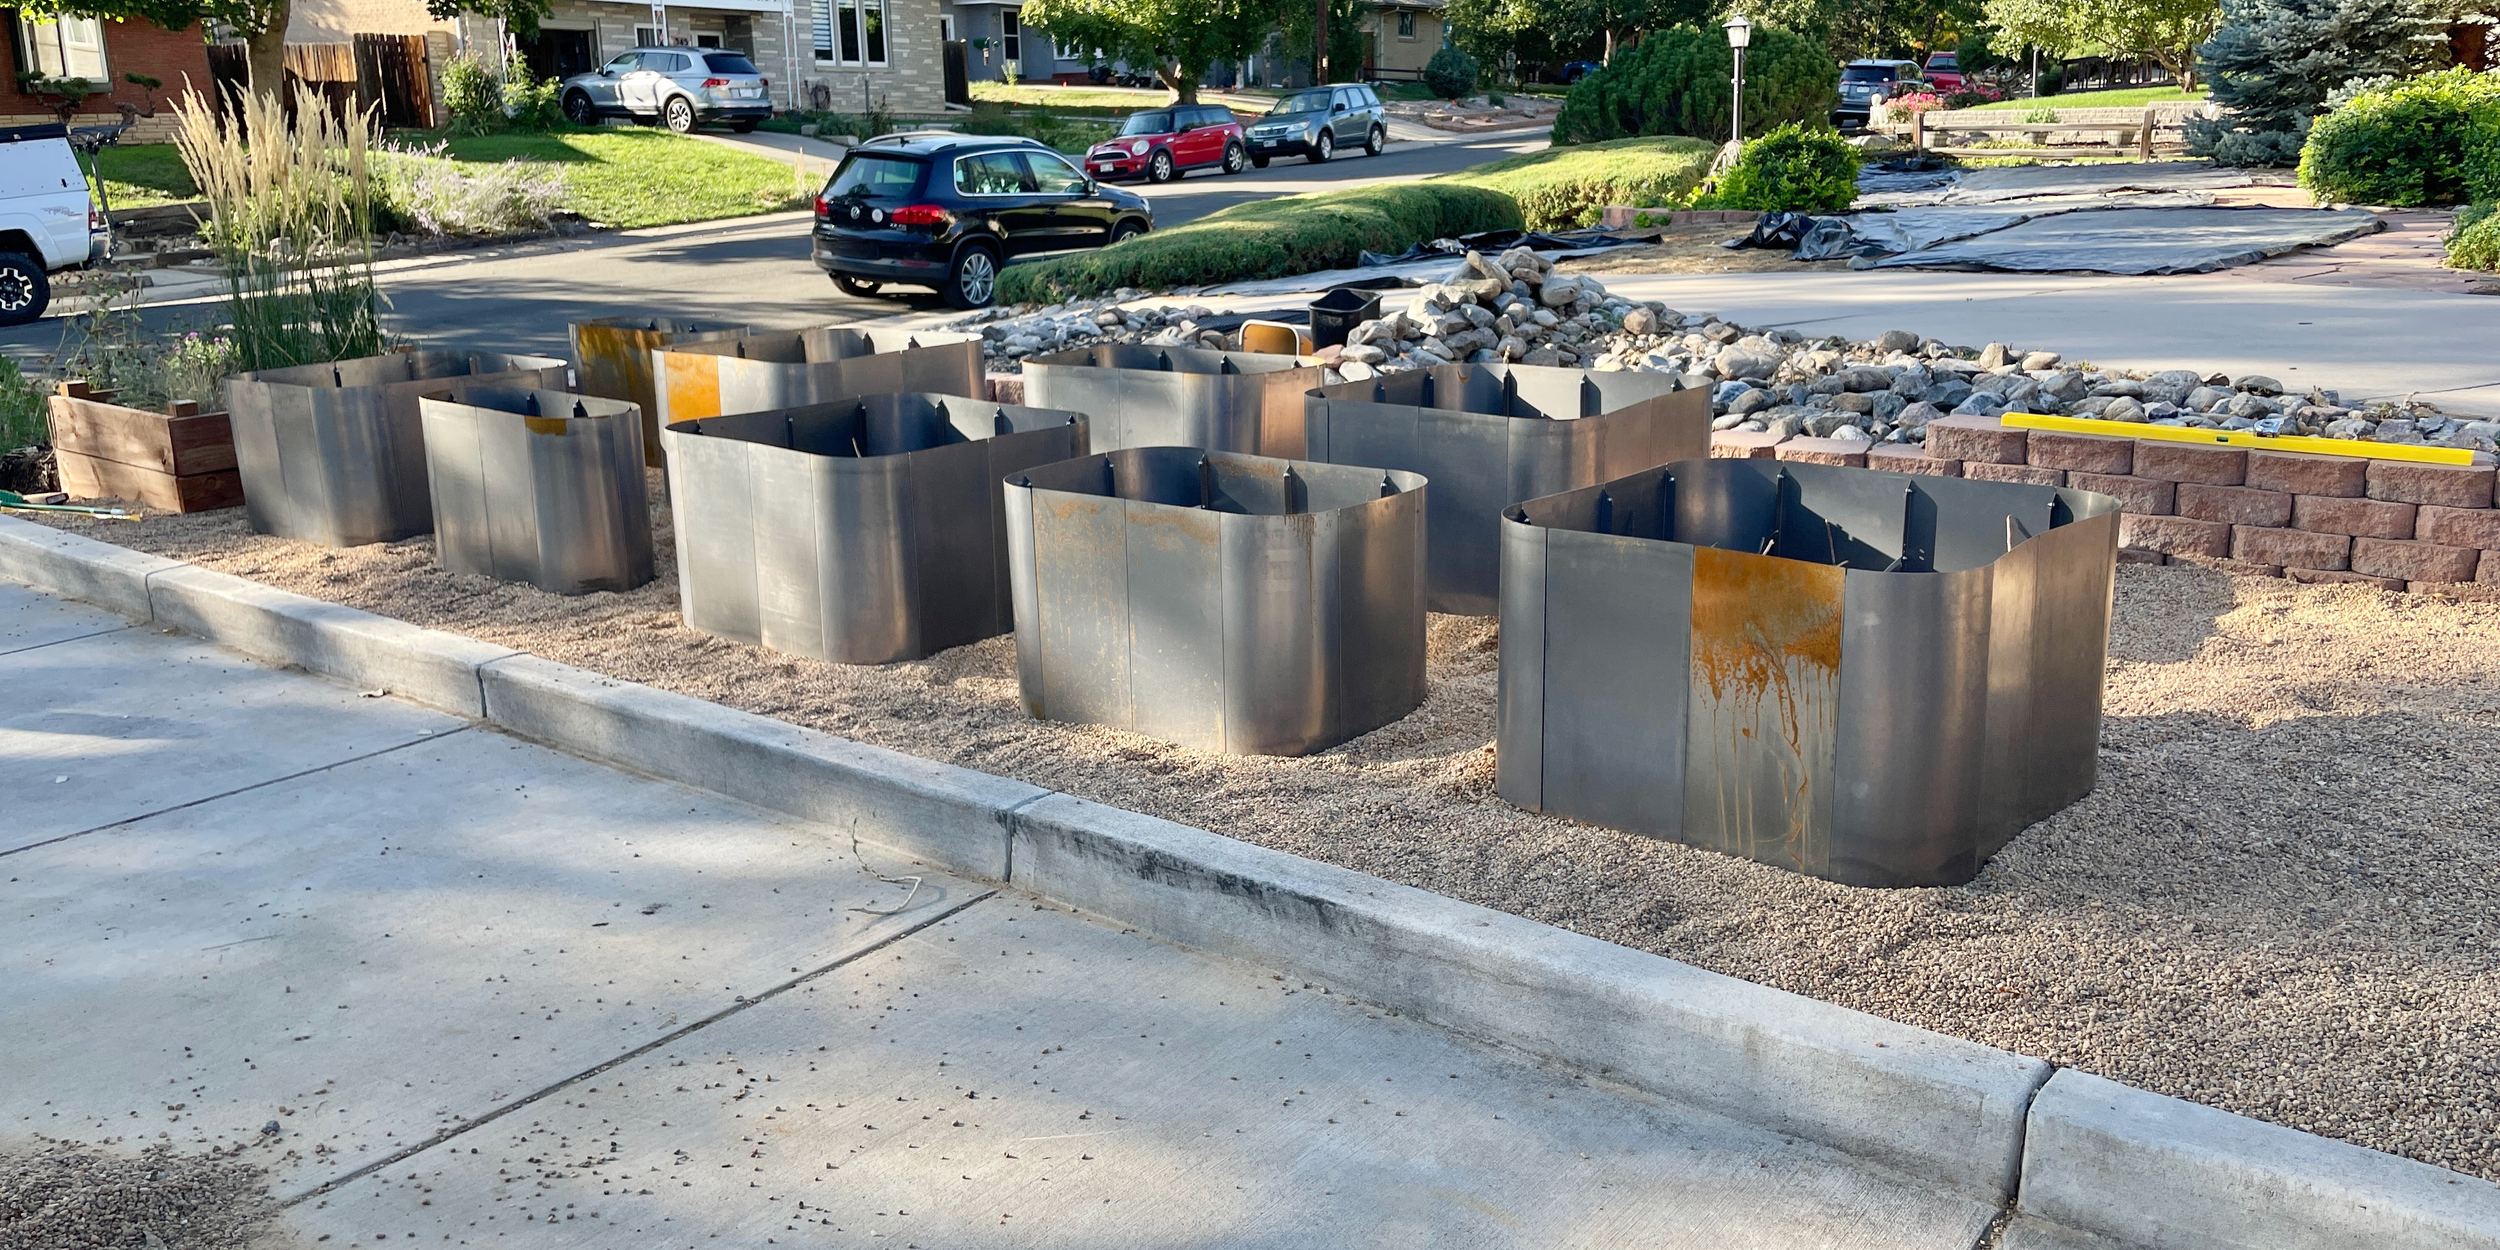
At the time I was doing work for a client who sold raised beds, and I was able to get them for free. So we got a delivery of wood chips (also free) from an arborist and a delivery of pea gravel. And some raised bed mix — a lot of raised bed mix (not free, but discounted).
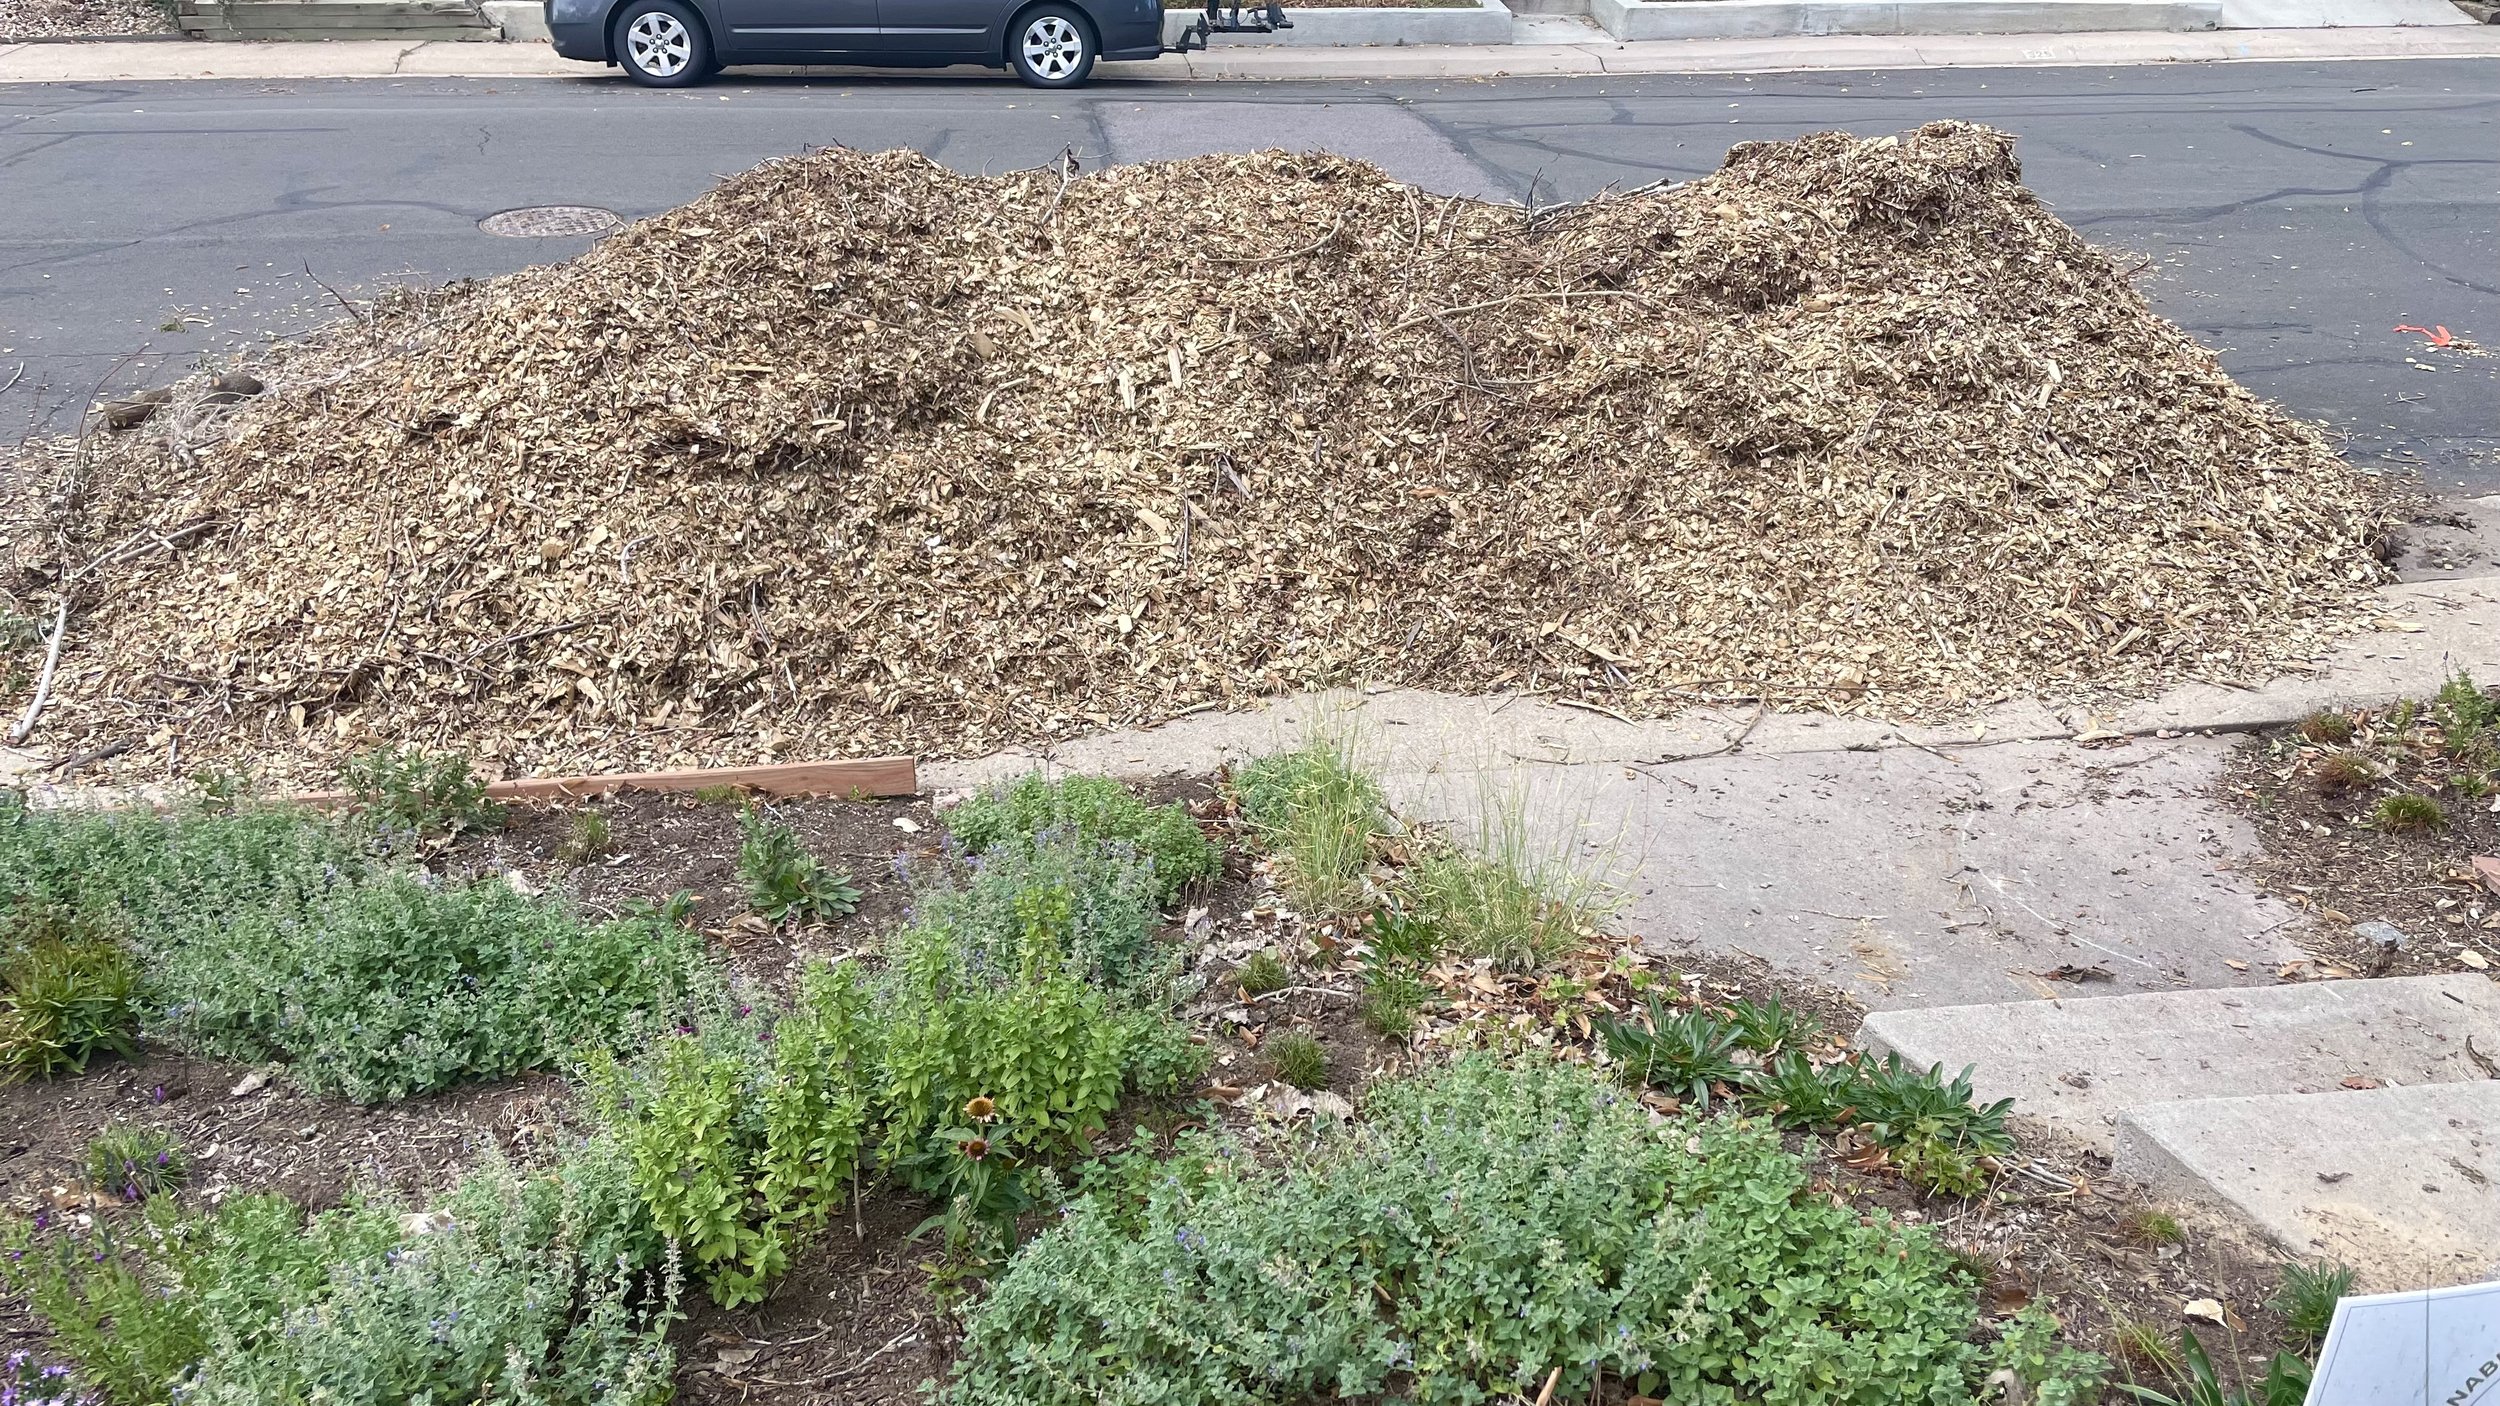
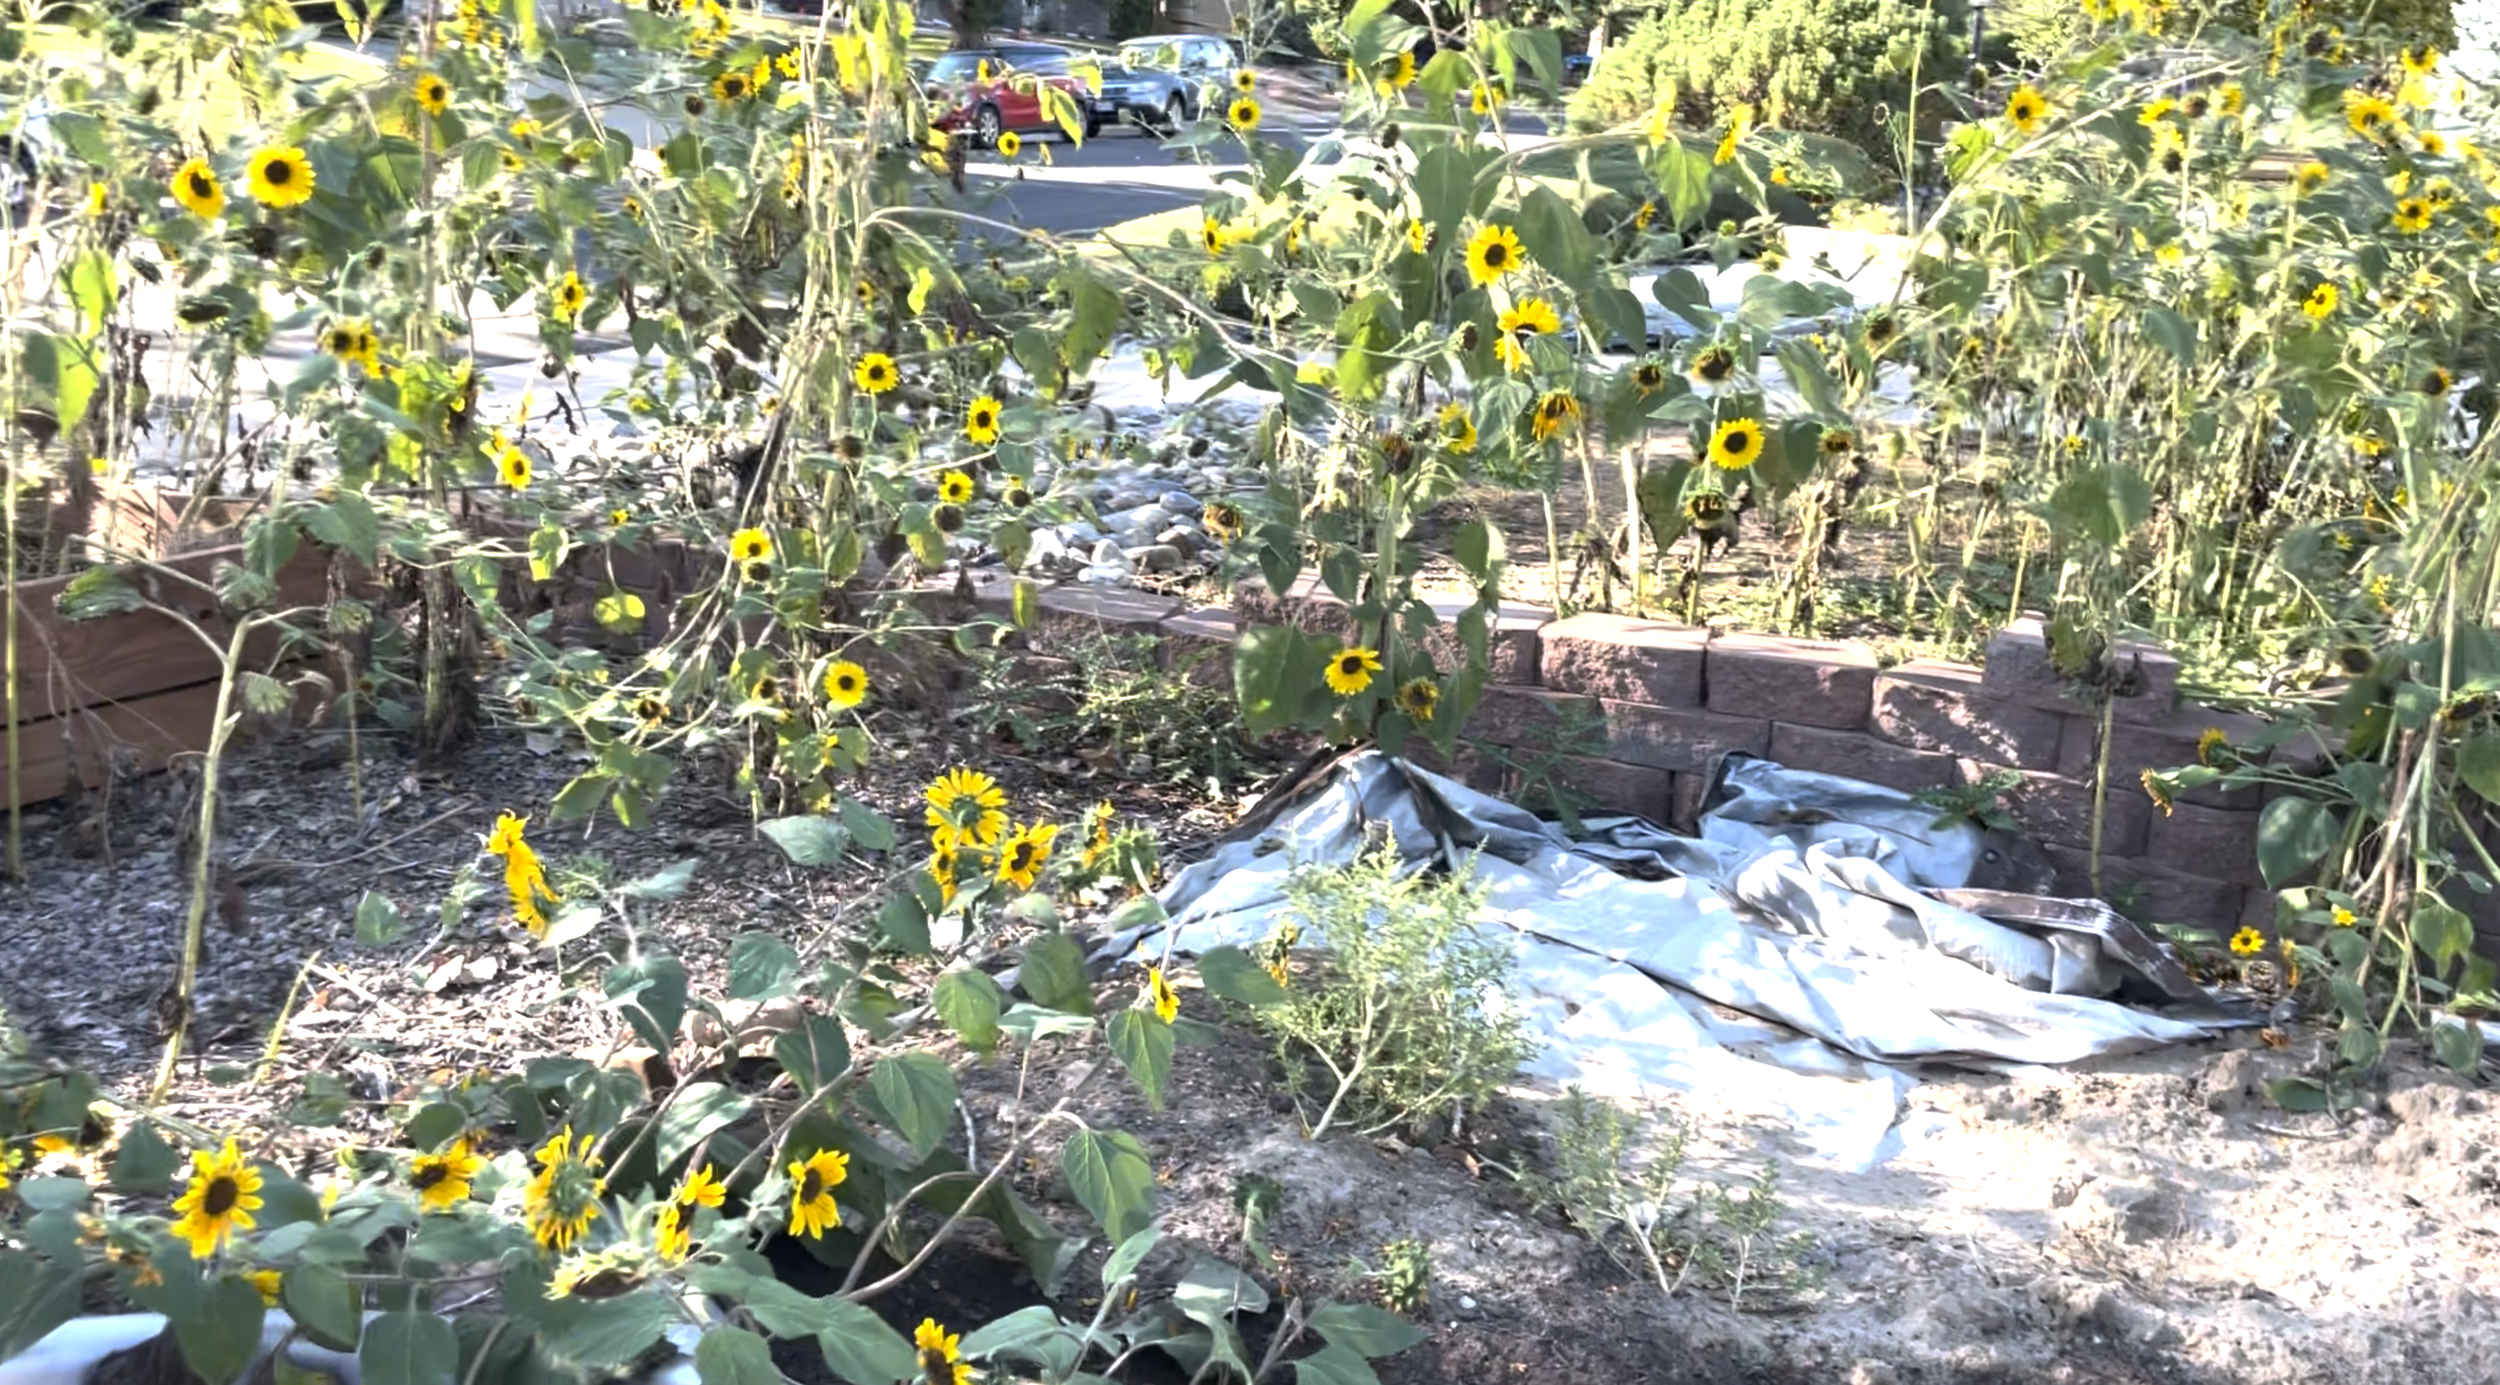
With a lot of free labor from my family, we transformed our horrid gravel bed into The Gravel Garden over a few weekends.
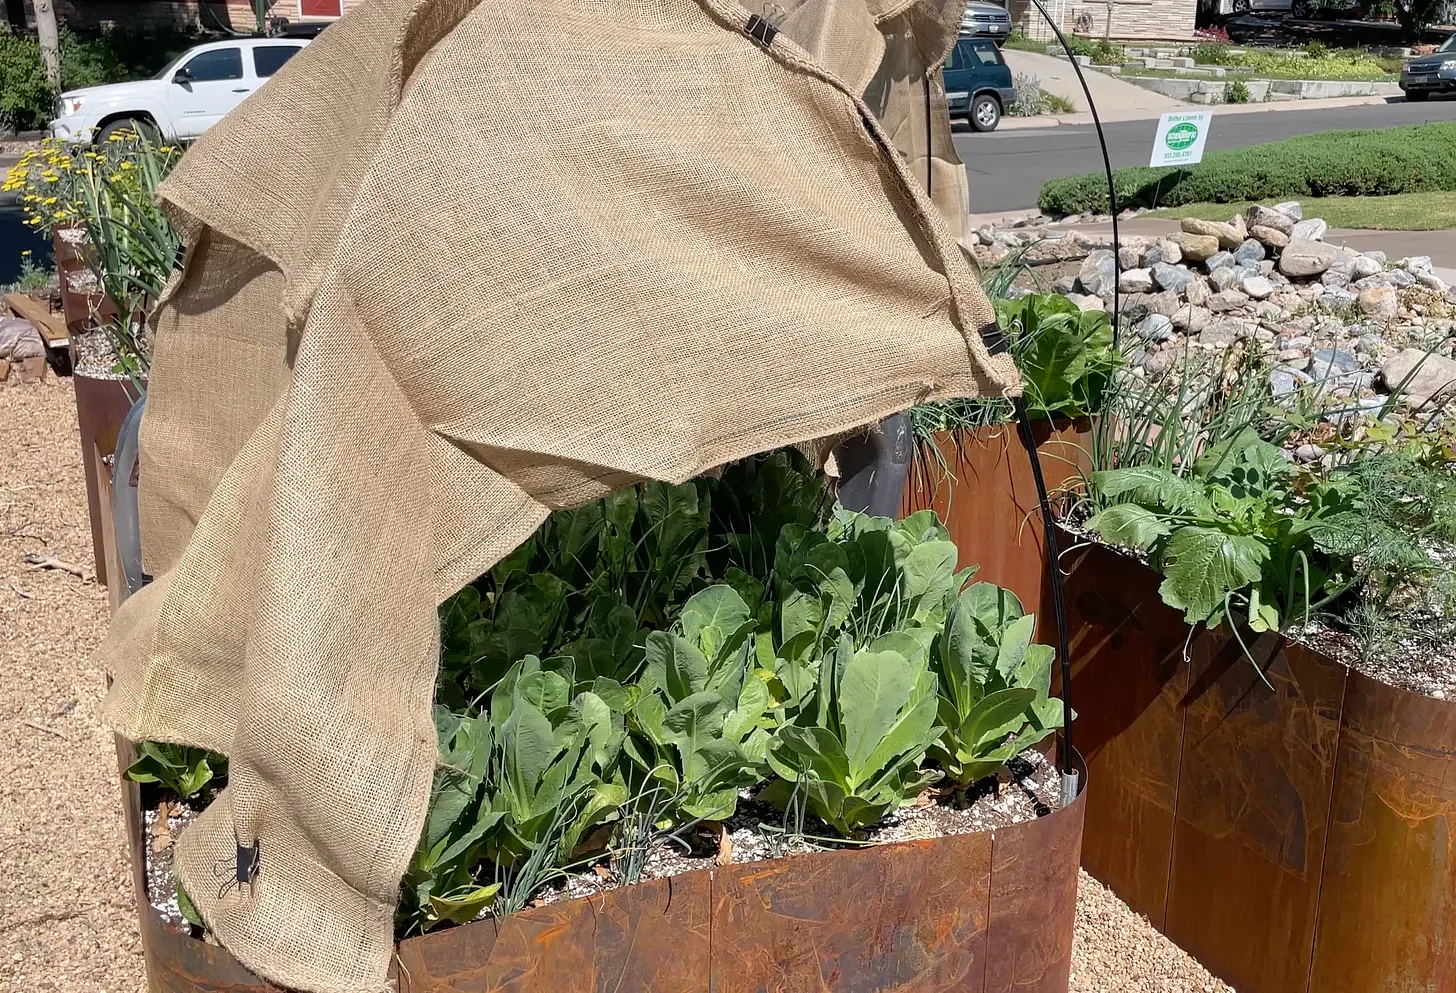
For several years it served as my Potager Garden — a kitchen garden with a mix of vegetables and flowers.
But it’s a spot that is tricky to water, and with all of the reflected heat given that it is between two driveways, keeping tender veggies alive was just too hard here. I also felt like it looked beautiful in the spring and then progressed to more and more of an overgrown mess through the growing season. And it’s in the front garden — not ideal for my neighbors.
So last fall I decided to turn it all over to perennials.
I moved some plants around, and then waited until spring.
April: Planting Time
This week I did a Live check-in which did not go well. I was in my front garden — usually pretty quiet during the work day. Nope. Neighbors came by and wanted to chat. There was lots of noise. And then in the replay recording the sound dipped in and out a lot.
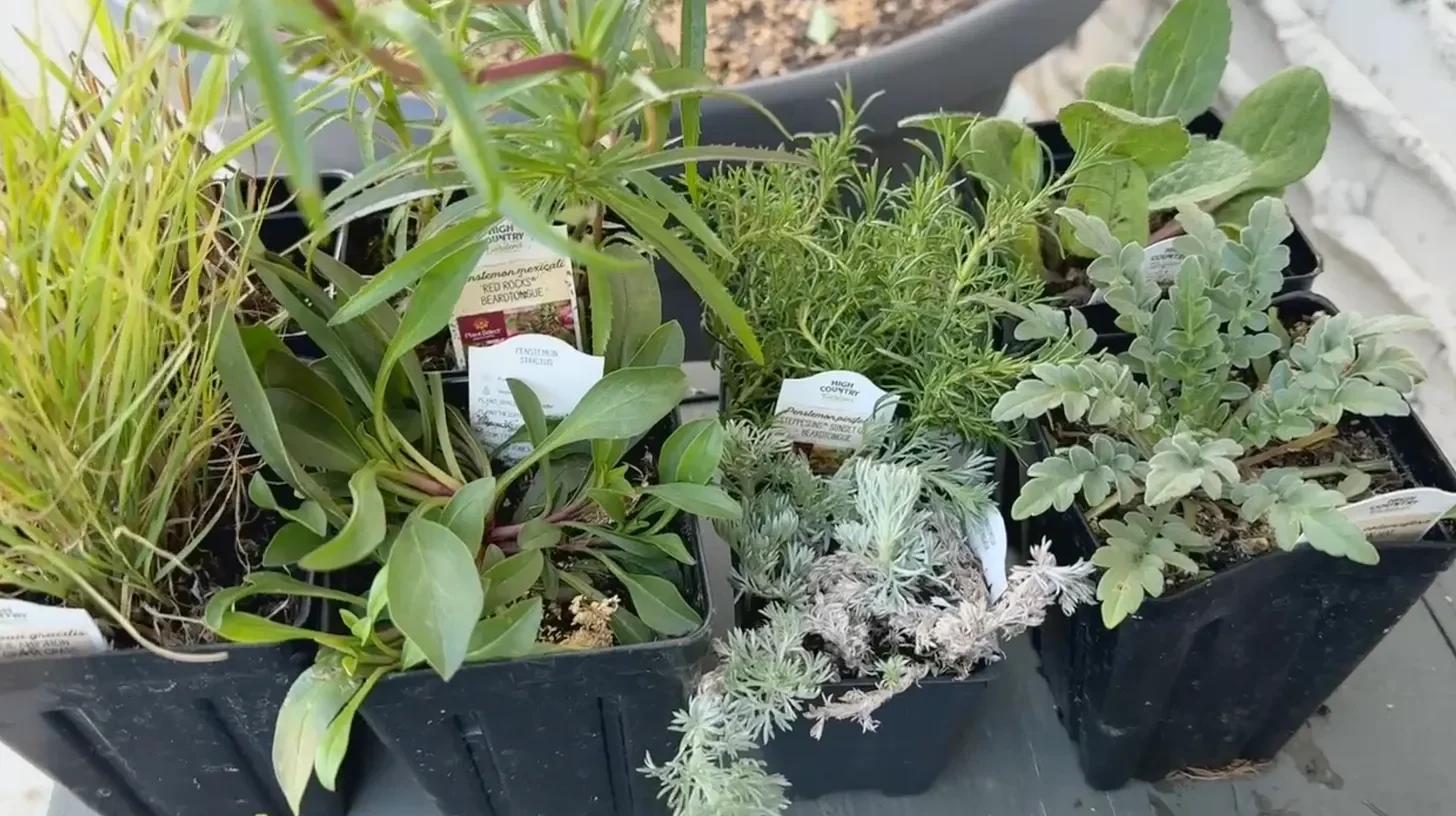
Soooo… let’s try this a different way! If you’ve been around, in April High Country Gardens sent me a bunch of plants to play with. And I tucked them all into The Gravel Garden.
Plants from High Country Gardens arrive very small. That’s by design. It helps them establish healthy root systems much more quickly. But it can mean that it takes awhile for those plants to fill in.
Patience is the key!
Three Months Check-In
So, three months later, how are those little plants doing?
This is the Colorado Perennial Collection:
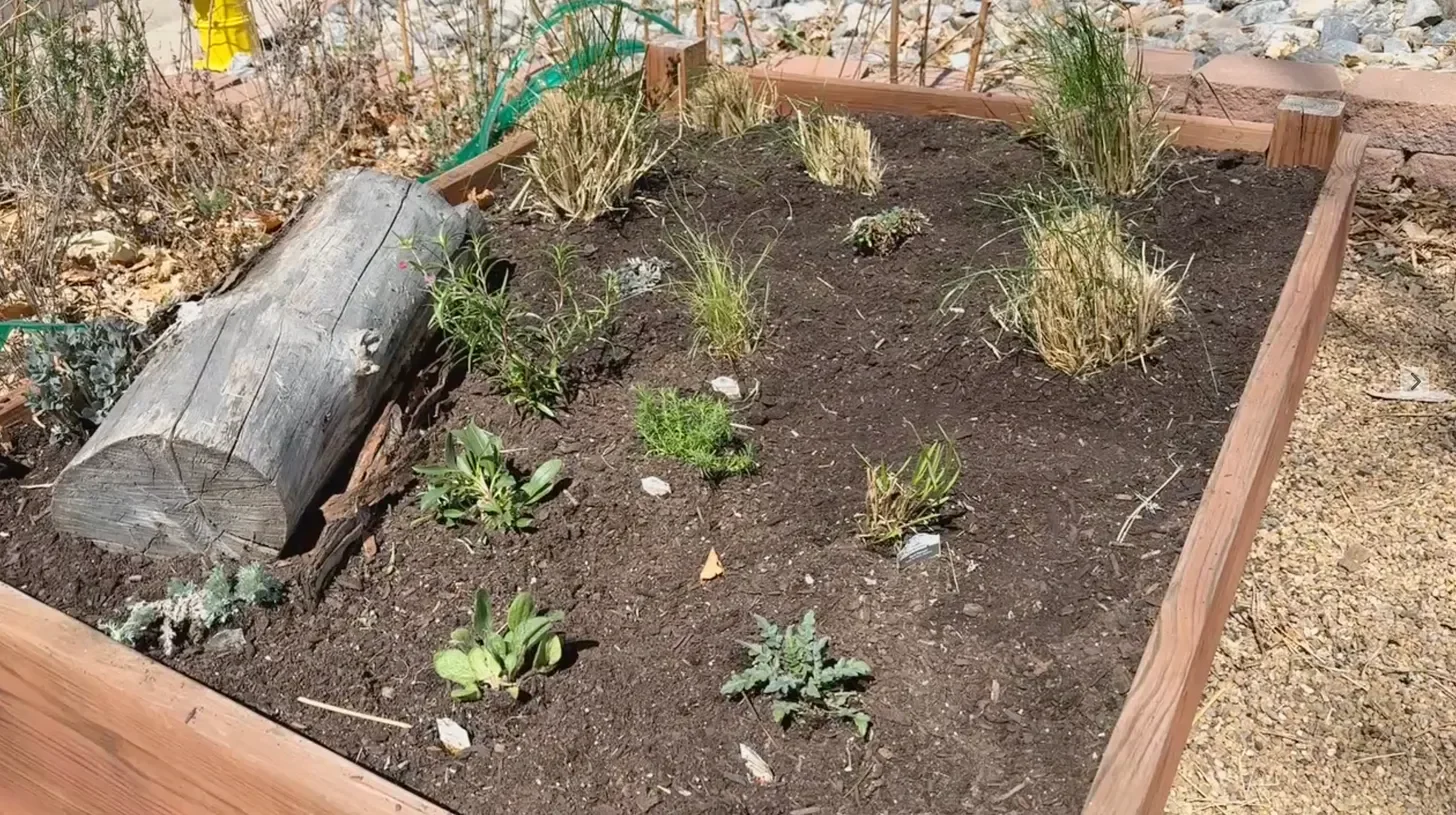
Here it is in April just after planting.
This collection is actually mixed with a few plants that I already had — they are pushed to the back of the bed. And there’s a volunteer sunflower poking up, too! But the plants look so healthy and happy!
They are still small. Remember with native North American plants that is by design.
Seriously! So right now they are focused on root development. These are all perennials including Blonde Ambition Blue Gramma Grass and Red Flame Switch Grass — and remember, grasses take a long time to establish!
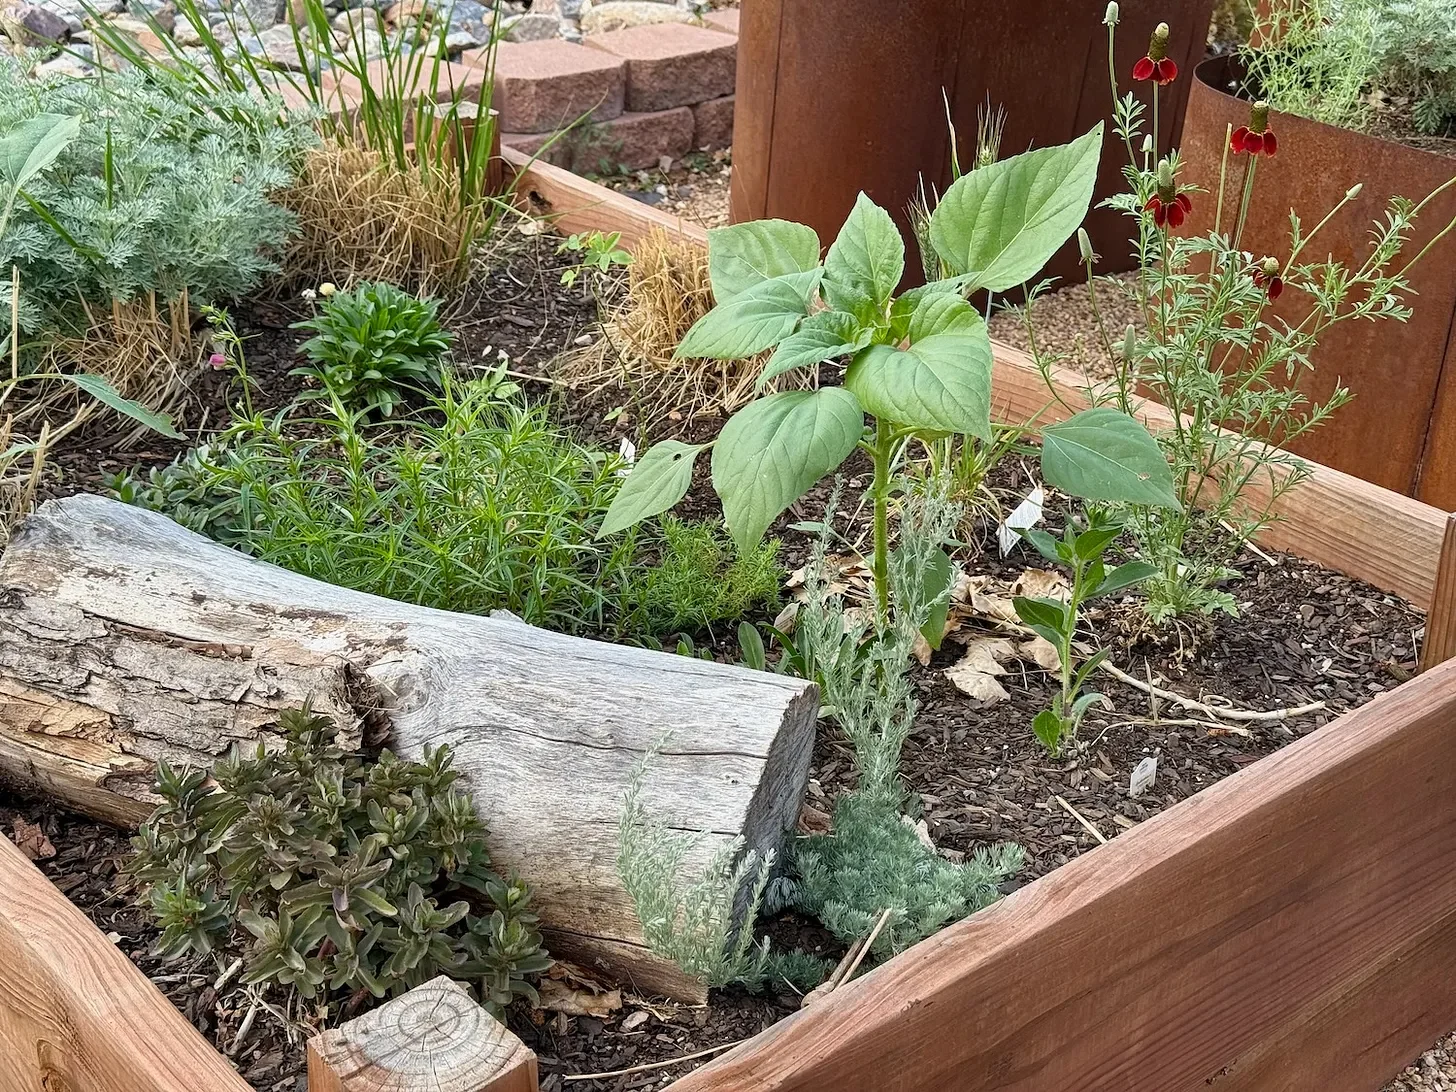
And here it is this week! Lots of great growth!
Year One: they SLEEP
Year Two: they CREEP
Year Three: they LEAP
But what’s blooming in here for year one:
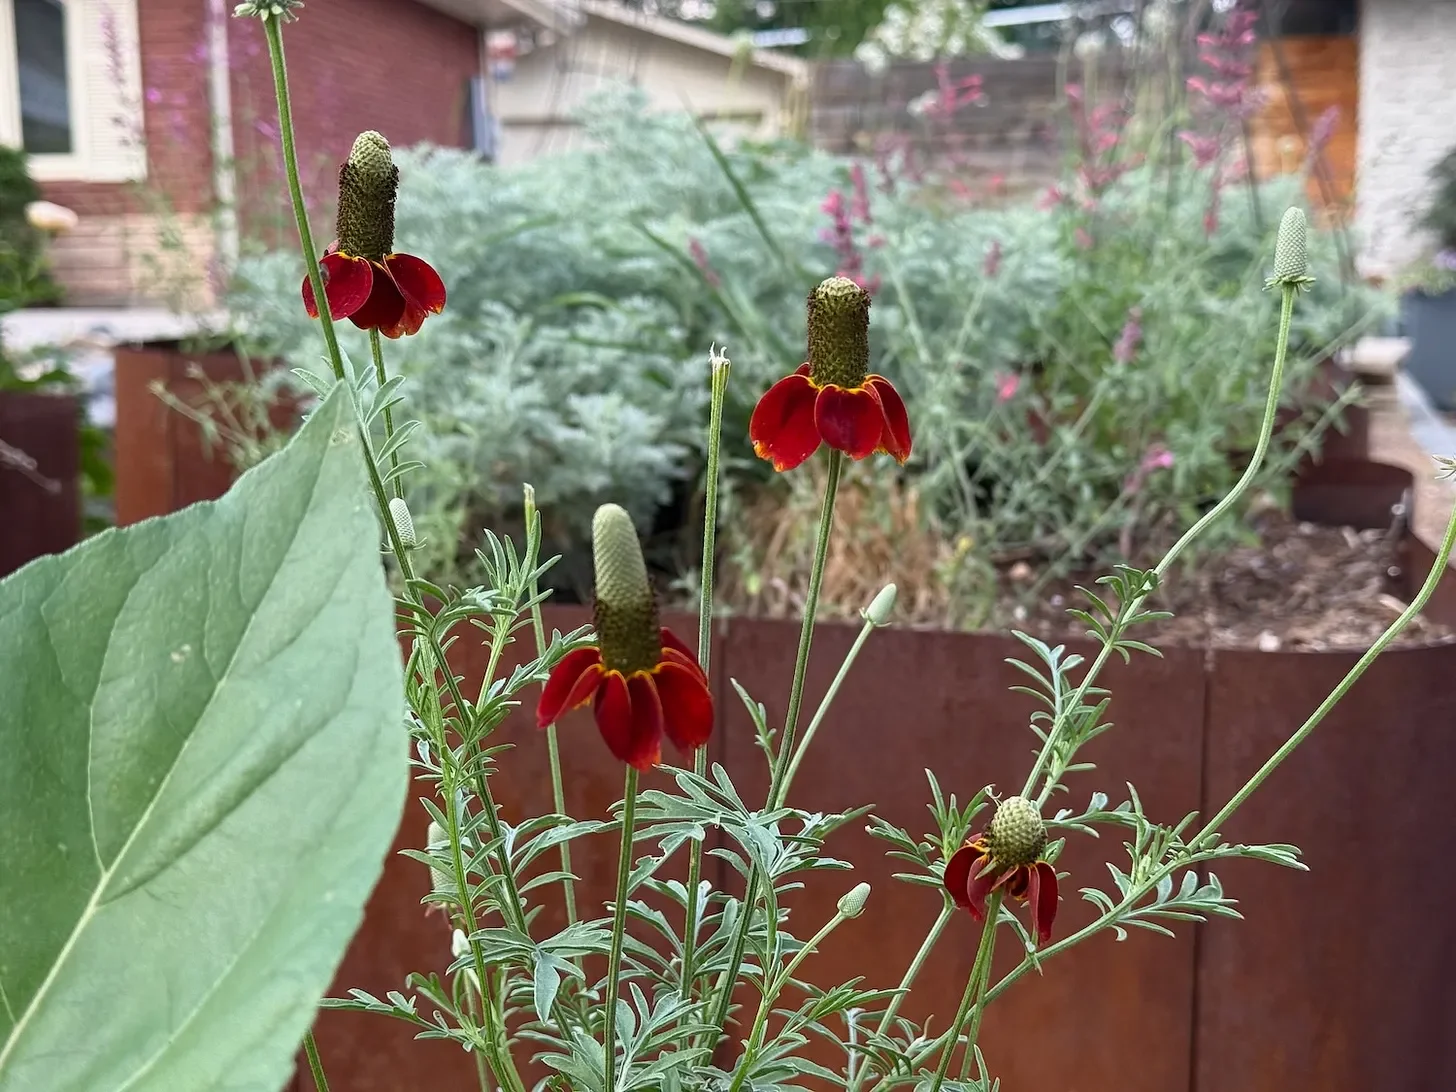
Ratibia Mexican Hat is covered with flowers, and when I was filming the Live, it was covered in tiny native bees
Penstemon Mexicali Red Rocks has several buds and should be blooming in the coming days
Rudbeckia Denver Daisy has one big bud on it, too, even though it is a tiny plant still. Rudbeckia was one of our Plants of the Week this spring!
I have planted these in amongst a few other plants I had hanging around — some grasses I divided and an Artemesia Powis Castle. Oh, and a Rose ‘Marie Pave’ which is brand new and small. The bed is about 4 ft x 7 ft — so 28 square feet.
For the first 2 months, I watered this bed three times per week. Now I am watering it twice per week, but with excessive heat, I’m always at the ready in case it needs more support. I’ll do this for the first 2 years, and then it should need much less water going forward.
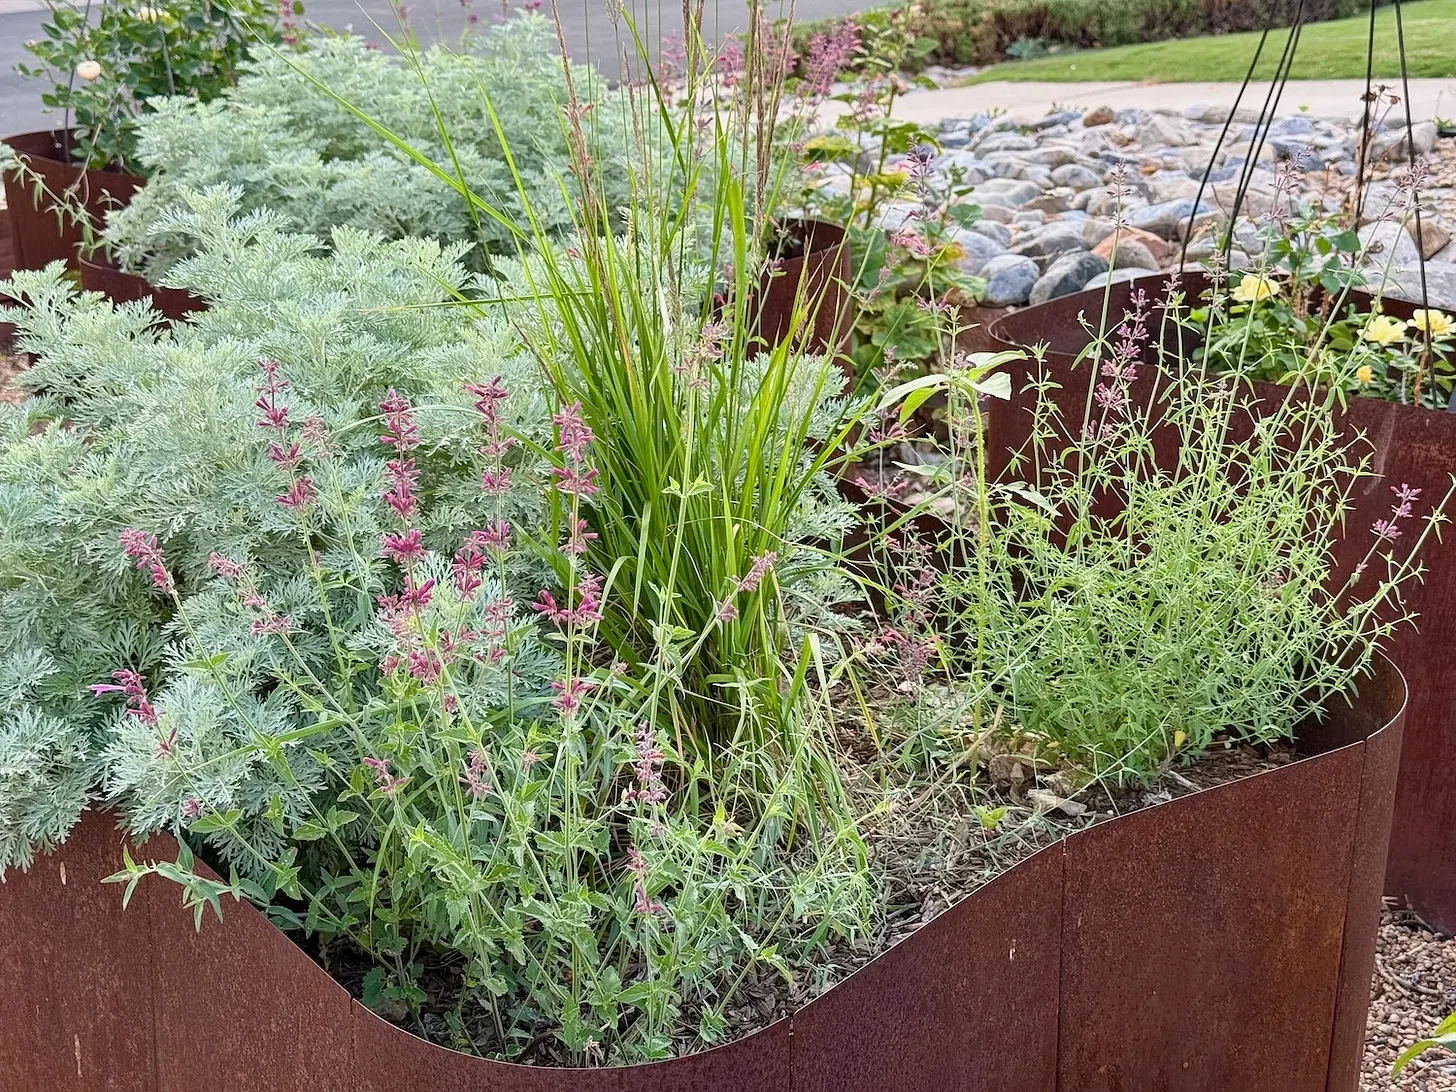
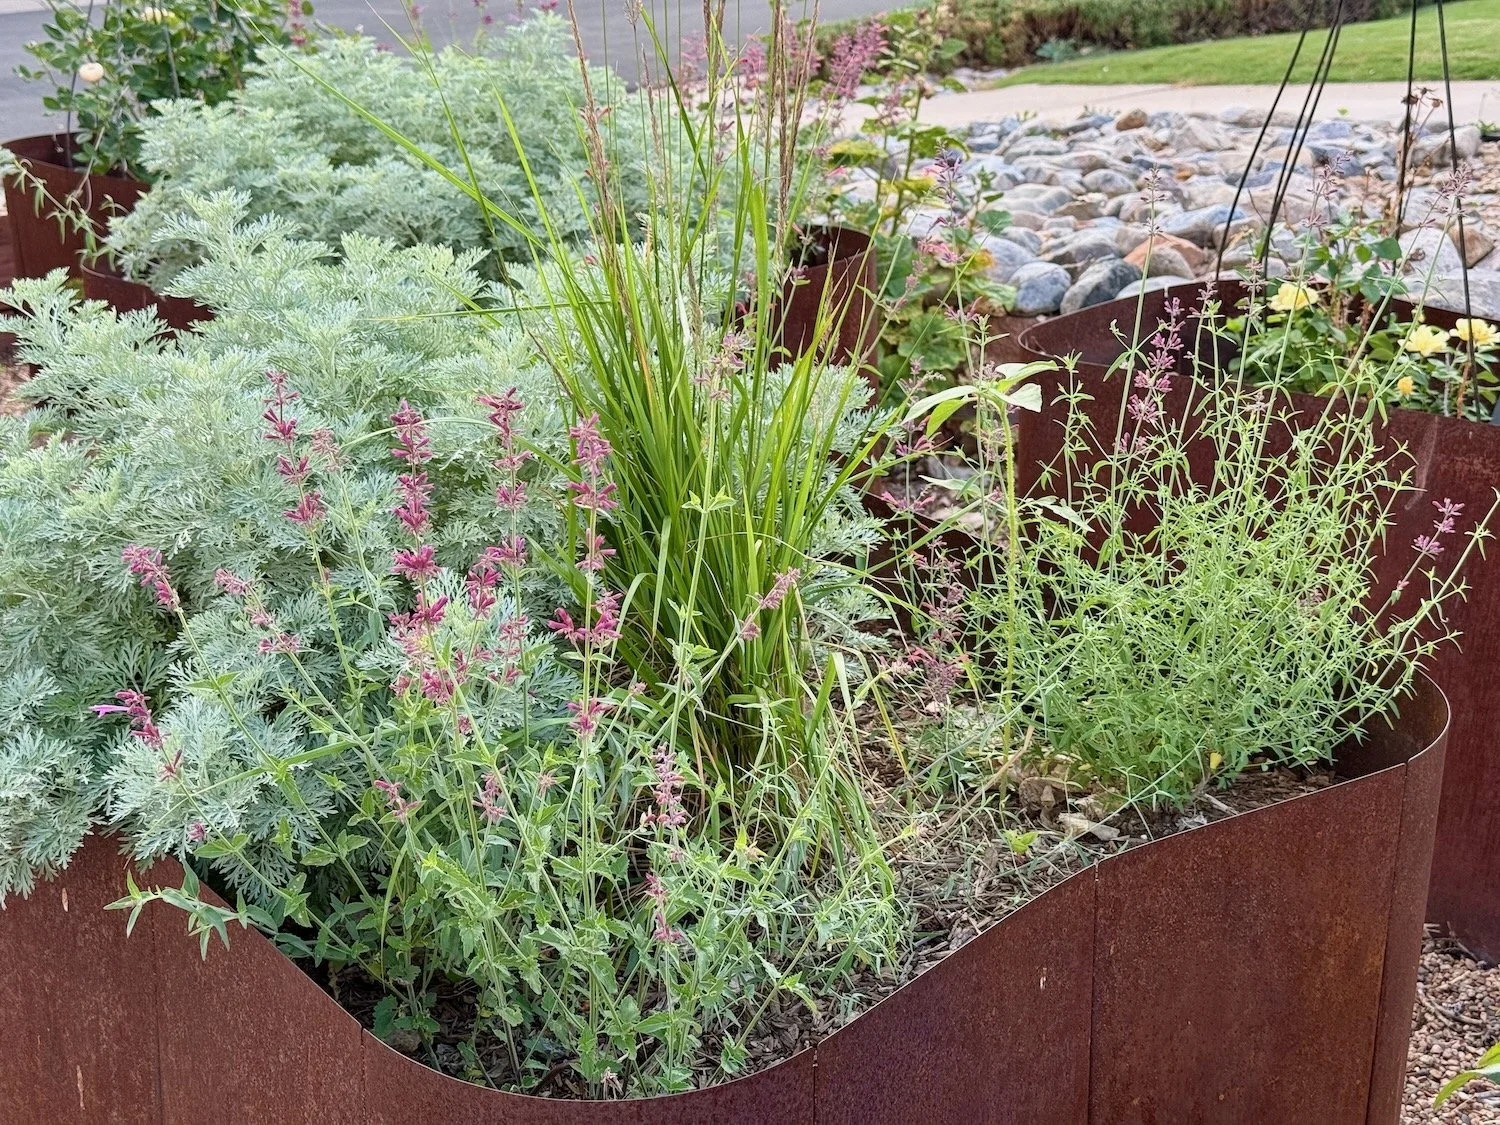
I also planted out the Best in Show Agastache Collection in April.
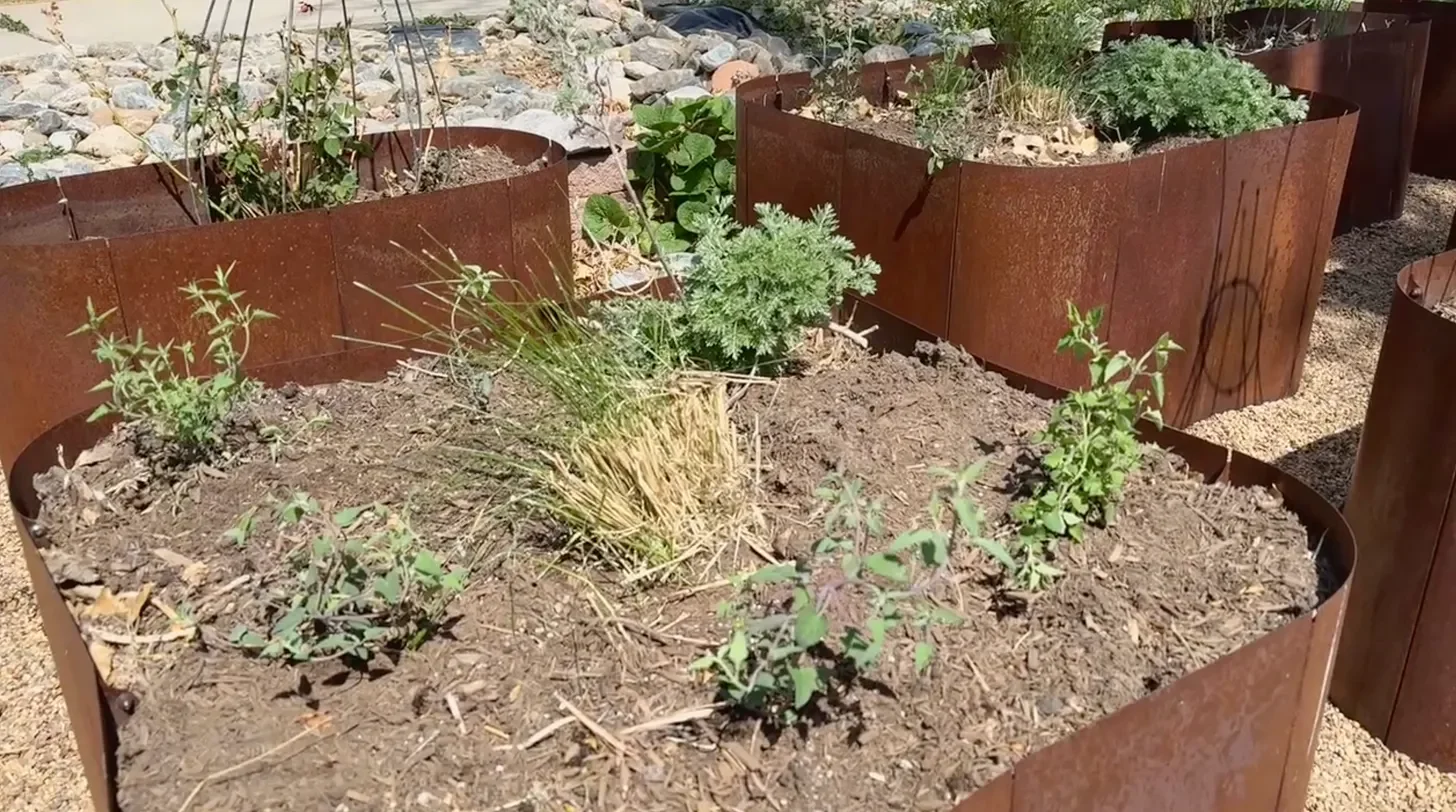
The Agastache collection planted out in early April.
Almost all of the Agastache are coming into bloom, and not a moment too soon! My hummingbirds have arrived, and I can’t wait for them to find the banquet I have planted for them!
Now that they are blooming, I need to learn all of the Agastache names, too. There are five different varieties, each with a subtlely different color and growing habit. They range in color from oranges to purples. I am in LOVE!
To fill out these beds, they are also planted with some Artemesia Powis Castle and a Korean Feather Grass in each bed (there are 5 identical beds).
The Artemesia is too big, and I either have to commit to cutting it back every 2-3 months or moving it. But I knew that going in. I just wanted something that would take up space as the Agastache got established. I have some other places where the Artemesia might be happier to sprawl. But the grasses will definitely stay. They are happy and healthy and will make a good centerpiece for each of these beds.
I have struggled with Agastaches in the past — largely, I think, because if we have a wet winter, their roots rot in clay soil. But these beds used to be my vegetable garden. They are filled with loamy soil that has been depleted over the years. So I suspect the Agastache will be quite happy here long-term.
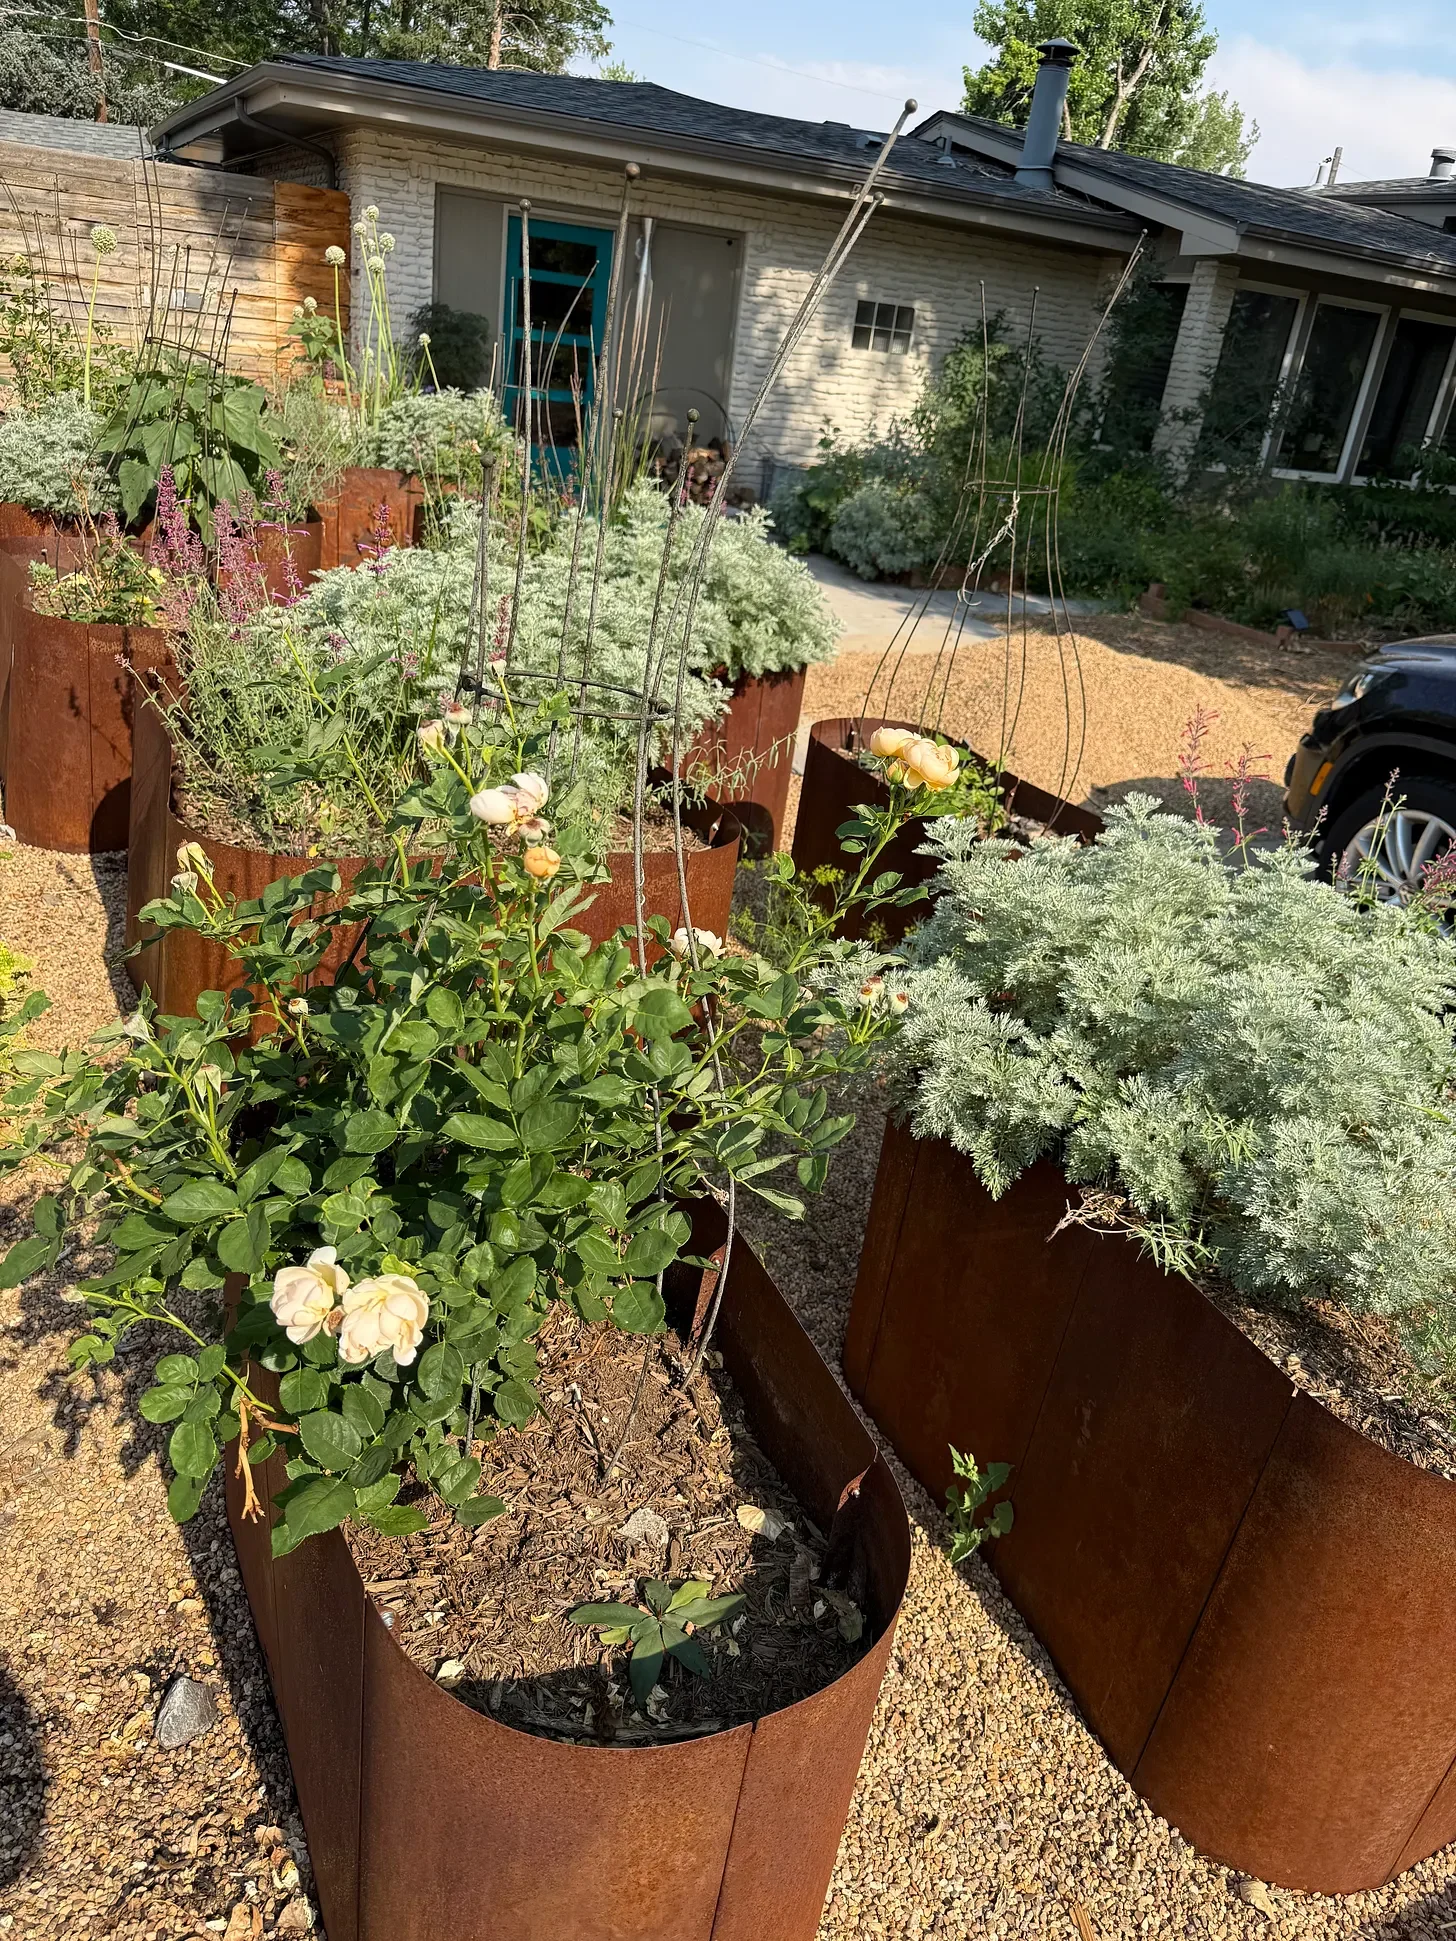
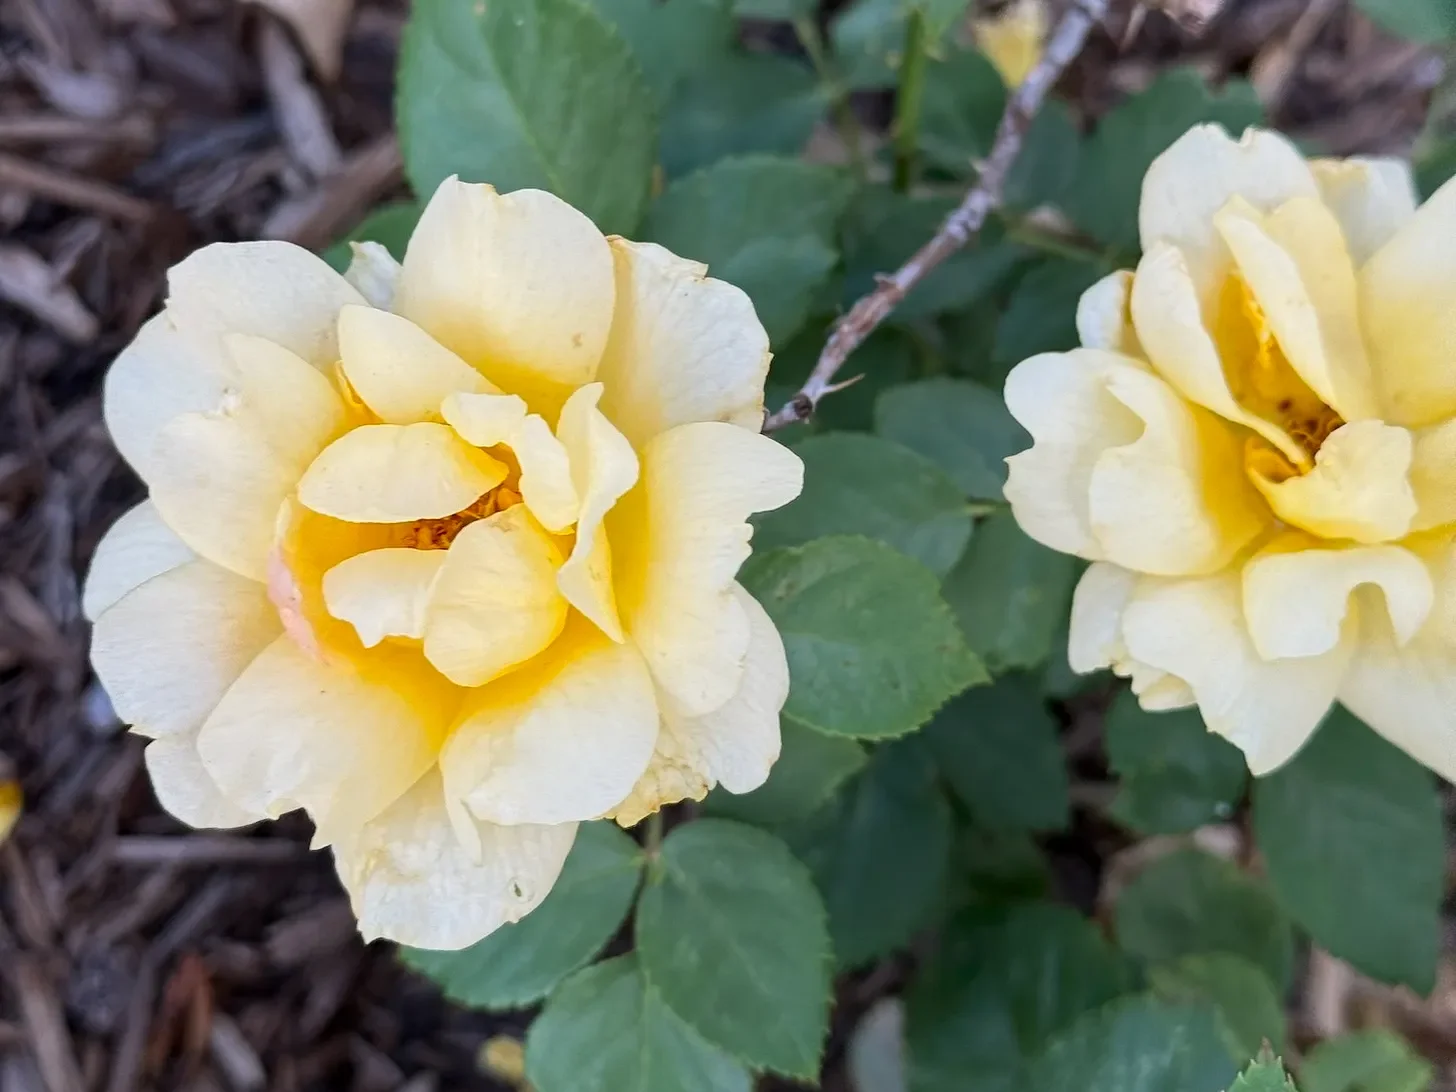
Also in this Gravel Garden: roses. I have five different varieties of shrub rose here, and some have finished their first flush and others are just coming into flower.
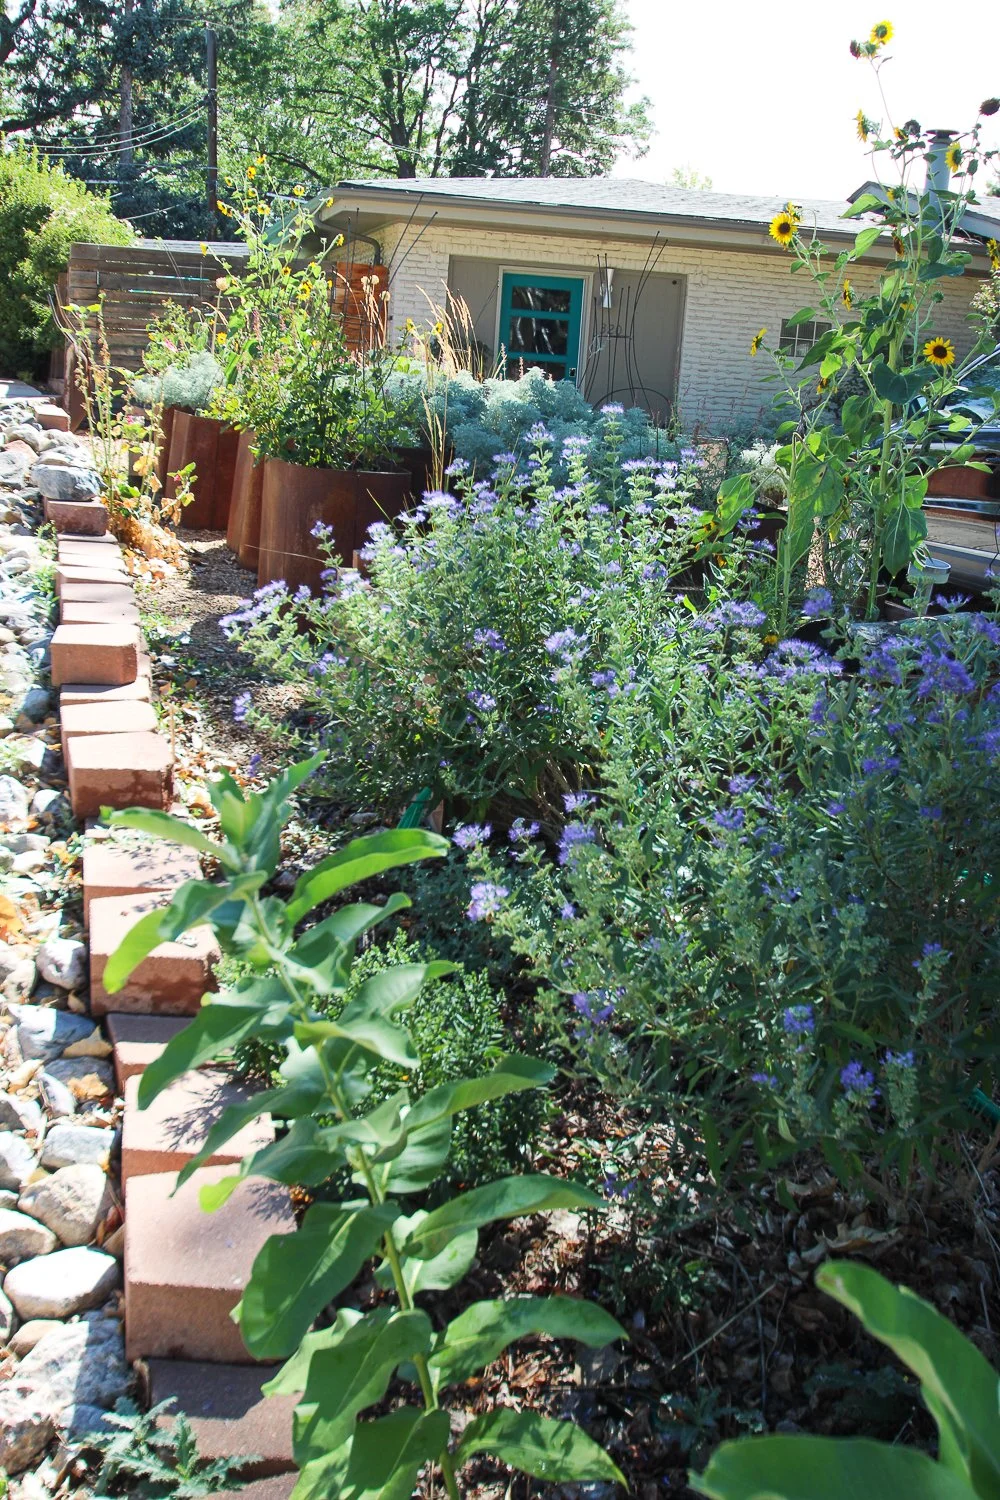
And here they are this week! Blooming and verdant!
The Gravel Garden Updates
This is part of a series on the Gravel Garden’s progress.
To see more, check out these posts:
at the close…
Sometimes switching gears is the best thing you can do for your garden. I didn’t want to abandon my Potager Garden, but it just didn’t work as I had intended. The Gravel Garden promises to be a MUCH better solution!
If you have questions, don't hesitate to ask!
This post originally appeared on my Substack. Subscribe to my Substack, and all of this gardening goodness will appear in your email inbox weekly!
Happy Gardening!
Angela
Subscribe now so you never miss a thing!