Step-by-Step: How to Replace Your Lawn
Thoughtfully crafted to elevate what matters most.


Step 1: Start Small (and Strategic)
You don’t need to remove your entire lawn at once. Begin with:
A border along your house
A pollinator garden bed
A low-use section of yard
This phased approach makes the transition manageable.
In my garden: to date, our transition has taken six years. We started small – carving out sections at a time. And we drew up a master plan one winter – before we ever started. Has that plan changed? Absolutely! But it defined different areas of our garden, and broke it down into smaller pieces. We have worked on those pieces bit by bit as we have had time and money to do so.
And the master plan wasn’t plant-specific. It defined our lot into zones and gave them functions – The Orchard, the Cutting Garden, the Potager Garden, the Wildlife Garden, the Shade House. But when it came time to tackle those areas, then I started planning what to plant and when.
Your transformation does not have to be overnight! It can evolve over time. In fact, I would argue that in some ways that’s more fun!
Step 2: Remove or Smother Grass
Common methods include:
Sheet mulching (cardboard + mulch)
Solarization (plastic sheeting)
Manual removal (sod cutting)
Herbicides
Sheet mulching is widely recommended because it builds soil while suppressing weeds.
In my garden: I have used almost every method, but in different situations.
Sheet Mulching: I use this at the bottom of raised beds and in paths. When putting in a raised bed, I put down a thick layer of cardboard at the bottom of the bed. Then I fill the bed. All of our paths have been made with cardboard at the bottom and then mulch or pea gravel over top.
Solarization: I use recycled billboards. They are HUGE, and they last for years. I purchased two and just kept moving them from place to place in our yard – often leaving them in place for a year or more. I hold them down with landscaping staples. Don’t even bother with plastic sheeting. It disintegrates and tears too easily. Get the billboard.
Herbicides: for grass, this is overkill. Grass dies easily. But for persistent weeds like Bindweed, this may be your only solution. A professor once told me: “use herbicides like chemotherapy. Use them once to kill the cancer, not every time you have a cold.” I have used them once – in a bindweed-infested area where I had tried everything else. And it worked.
Sod Cutting: we didn’t have sod, so this is the only thing I haven’t tried. But if you do use a sod cutter, lay the sod back down, roots up. The grass will die, but you’ll still retain the nutrients and top soil – and microbial life – in the sod itself.
Overall, I can’t recommend solarization more highly. It’s very effective, but it does take time. So, if you are impatient, this isn’t the method for you. Other resources with more information:
Step 3: Design with Layers
Healthy native landscapes mimic natural ecosystems. Include:
Groundcovers
Perennials
Shrubs
Trees
Layering increases habitat value and visual appeal.In my garden: I have to be honest – I sometimes forget about shrubs. And then I have to go back and add them later. Don’t forget the shrubs! They are really important!
And another note: plant some trees! And remember that tree size can be controlled. You don’t have to let all of your trees become huge. You can commit to some basic pruning and end up with lovely trees on the smaller side. This can also be achieved by planting them closer together or by choosing multi-stemmed specimens and coppicing.
In the Wildlife Garden I have six trees planted together in two clumps of three: two Serviceberries | Amelanchier canadensis and one Chokecherry | Prunus virginiana. I chose multi-stemmed Amelanchiers which I will then coppice every few years to keep them appropriately-sized. I will do the same with the Prunus. It’s a little more work, but they are planted very closely together, too, so they are keeping each other in check.
Step 4: Choose Regionally Native Plants
Focus on species native to your specific region, not just your country. Local ecotypes are better adapted and more beneficial to local wildlife.
New Jersey is very different from Alabama which is very different from Washington State – but all three have relatively similar levels of rainfall and USDA Growing Zone distributions.
Resources to help you choose plants are available here:
In my garden: I maintain a full plant list for my Wildlife Garden which I update each year. And I frequently consult the resources listed here when I’m choosing new plants.
Step 5: Plant Densely
Dense planting:
Suppresses weeds
Retains moisture
Provides continuous habitat
In my garden: this is HUGE! The best mulch is more plants. Hooray! But seriously, buy or grow as many plants as you can afford. Plant them 6-12” on center. That means 1-2 plants per square foot.
When I did the initial planting for the Wildlife Garden, I used plants in 4” pots – that’s a little bigger than a standard plug. Smaller plants tend to establish faster. They were planted at 12” on center – so one plant per square foot, roughly. If I had all the money in the world, I would have planted them at 6” on center. The garden simply would have established faster.
Tools that are Helpful:
Power Planter Auger: makes digging holes really easy
Concrete Mesh Grid: I used this as a grid to make sure my holes were evenly-spaced. Super helpful!
Compost: I compost raised beds, but not those in the ground. I did compost the Wildlife Garden before planting, though – just a little boost to help those plants get established and to save water.
You can read more about my Wildlife Garden project here:
Step 6: Manage — Don’t Maintain
During the first 1–2 years:
Water regularly to establish roots – this is very important!
Remove invasive weeds – plan to weed every week or two
Add mulch as needed – choose what’s appropriate for your climate
Chop and Drop as much as possible
Add and replace plants as needed
After establishment, maintenance drops dramatically.
In my garden: without a sprinkler system, watering to get plants established can be a big job, honestly. I can recommend several great solutions which make watering easier.
Hoselink Hose Reel: a hose reel makes watering soooo much easier. I love Hoselink’s products – and their sprinklers are great, too!
Oto Watering System: I compare the Oto to a 3-D printer for water. You program and schedule it, and they water on schedule. Connect it to a Hoselink, and you have a quick, temporary sprinkler system. Great for getting new plants established!
Soaker Hoses: I wish I had put in soaker hoses before I started planting the Wildlife Garden. They would have been an easy and cheap watering solution. I do have them in many of my garden beds. Buried under the mulch, they are very efficient.
In addition to watering, I weed – far less now than I did in the first two years. And I don’t mulch, but I do allow fallen leaves to remain all winter and well into spring. I only remove them in places where I want seeds to germinate. They are good insulation and cool the soil, and they help keep weed seeds from germinating.
at the close…
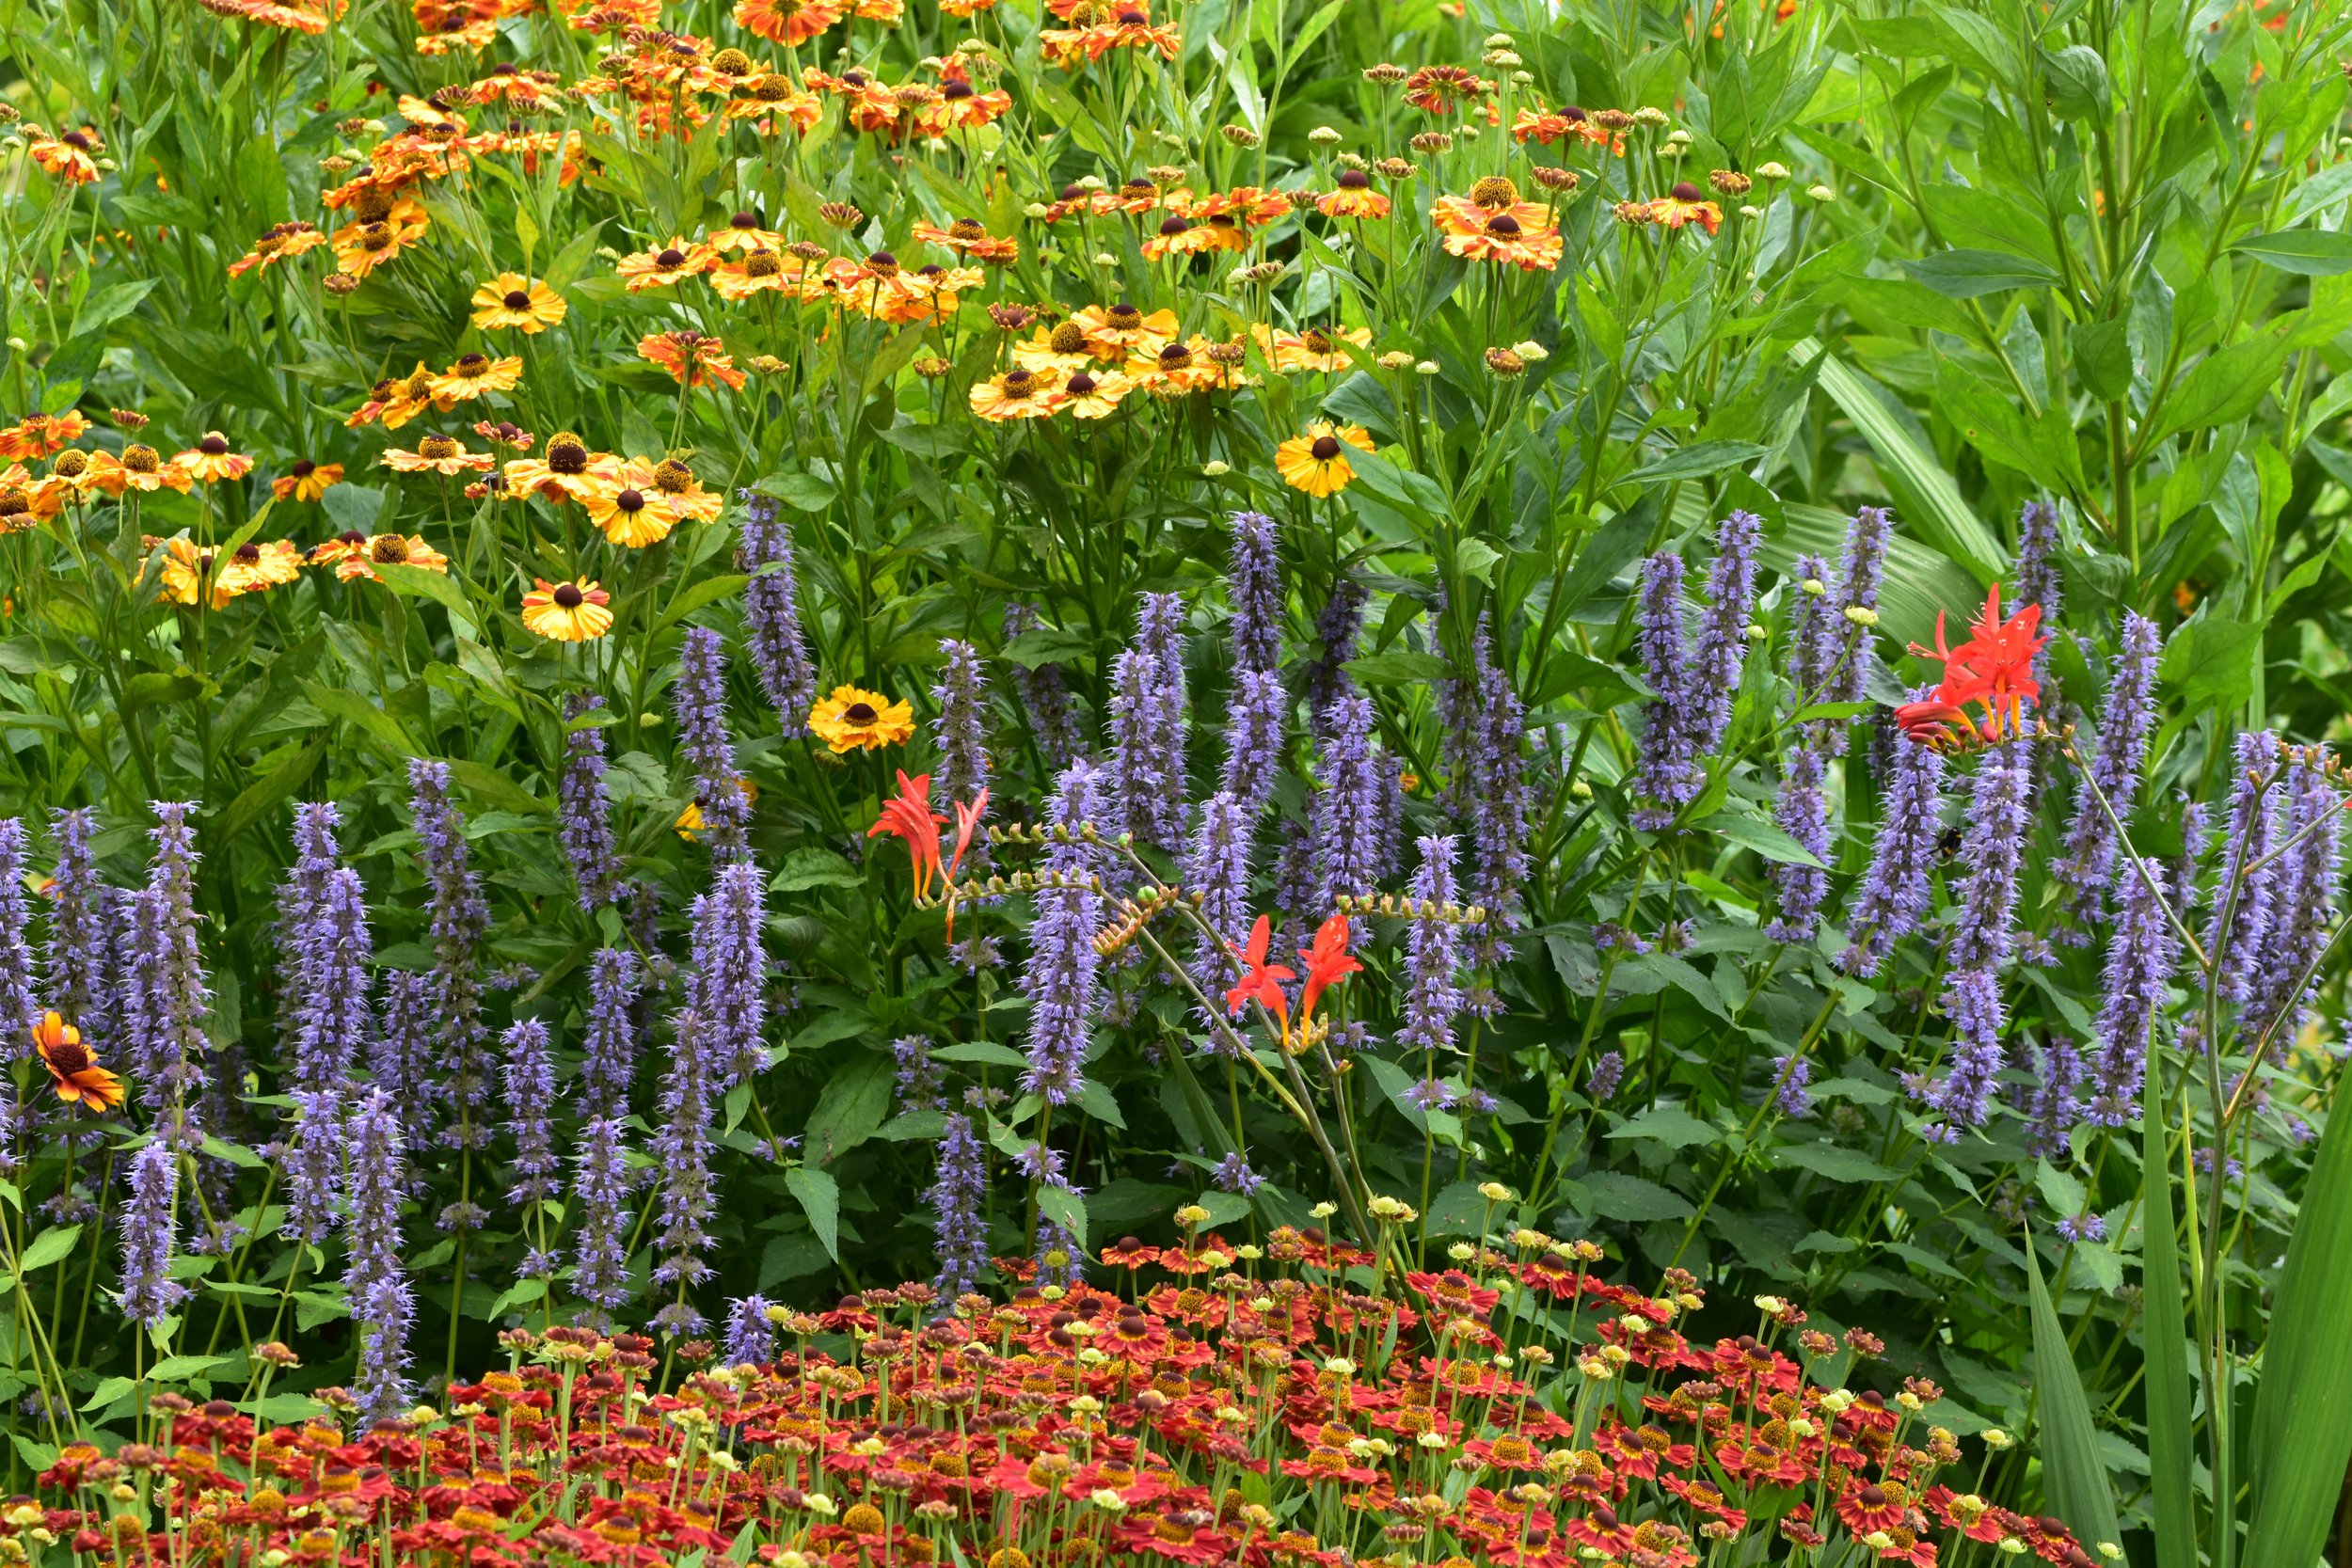
Agastache is so much more than a pretty perennial.
When you choose native species and plant them well, you’re:
Supporting pollinators
Reducing water use
Building resilience into your landscape
And honestly? It’s one of the easiest ways to make your garden feel alive. There is nothing more satisfying than welcoming wildlife into your garden. I look forward to a summer of hummingbirds and butterflies feasting on my Agastache garden. I'll let you know how it goes!
If you have questions, don't hesitate to ask!
This post originally appeared on my Substack. Subscribe to my Substack, and all of this gardening goodness will appear in your email inbox weekly!
Happy Gardening!
Angela
Subscribe now so you never miss a thing!